Well Equiped; What The Pros Are Using

Here is a oldie but a goodie from a South African magazine named Sports Illustrated.

This magazine featured an article that makes a comparison of kit worn between Shankar Lakshman, who was goalkeeper in the 1950’s and Chris Hibbert the current South African.

Shankar Lakshman was nicknamed the rock of Gibraltar…

well-equipped

Downloaded the article here.

You will need the free Adobe Reader to open the PDF. .

Kicker Straps – Shoe Modification To Extend Life

One of the things I enjoy about the goalkeeping community is the sharing of hints and tips when it comes to all things kit; this is probably one of my favourites, hopefully you can benefit from this if you don’t already.

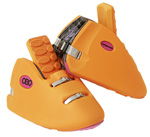
I should start by saying that I’ve used a few different brands over the years, and in my opinion OBO’s kickers are amongst the very best for staying in place. Also, while their ‘coated’ kicker straps seem to be the most durable, replacing them can be a costly nuisance – especially for those who regularly play on more abrasive sand-based pitches.

By cutting some studs from the soles of your astroturf trainers to create channels for the straps to sit in you’ll help the kicker to remain in place, and should find that the life of your straps are greatly extended.

Here’s an example of the finished article, posted by *Jones* over at the excellent Field Hockey Forum

To do this yourself, follow the steps below:

  1. Put your trainer only (not foot) in the kicker and do up as you normally would; making sure you have adjusted to the perfect fit and position
  2. Get a marker or felt tip pen and trace the outline on the sole of your shoes where the straps sit
  3. Remove your trainer and carefully cut away any of the ‘studs’ that sit inside the lines you have drawn.
  4. Repeat for your other shoe and kicker.

I’ve found this easiest on regular/old fashioned astroturf trainers which have lots of little studs/spikes on the sole, but the above picture shows it can also be done with the newer style tread.

To remove the studs from the tread I’ve tried lots of things, but for me a regular serrated knife (actually an old steak knife!) works best.

This will make your straps last practically forever (as your remaining astro studs are in contact with the ground, not the the strap itself) and have the added benefits of keeping the kicker itself closer to the turf and help prevent the straps from slipping when on your foot.

How To Keep Your Goalkeeping Kit In Top Condition

Here are some great tips and advice on how to keep your kit in its best condition.

1.After each training session or game, take the gear out of the bag to allow it to dry. It helps prevent odours and damage to body armour and other gear can be monitored and repaired.

2.Before putting the helmet into the gear bag after use wipe out the inside (use a small towel or rag kept in the bag and regularly washed). This will prevent both mould and a build up of odours in the helmet.

3.Where possible try and wash all the gear at least every month. Washing the gear will help to reduce odours and will prolong the life of all the gear in particular the body armour.

3.1 Use your bathtub or washtub to soak all gear including pads, kickers, gloves, helmet and any body armour in a solution of borax (approx 1 lid full) in plenty of cold water. Borax is available in the cleaning products section of most supermarkets.

3.2 Leave to soak for several hours or till the next day if possible. The pads, kickers and gloves will not remain covered with the solution. It is important that they are turned a couple of times and are re-immersed when possible. (You can use a scrubbing brush to remove any marks and dirt off any equipment if necessary).

3.3 After soaking drain the water completely.

3.4 Refill the tub with cold water and add a generous measure of fabric conditioner. Ensure that the tub is reasonably full to allow all items to be well rinsed.

3.5 Allow the gear to soak for at least 2 hours to remove any residue of the borax. If this is not done it is possible for a skin reaction to occur so it is quite important to ensure a good rinse process is followed.

3.6 Drain completely and hang the gear on the line. The gear will dry quite well overnight. The gloves need to be stood up to allow water to drain away. If the left hand glove still smells after the washing process put a diluted solution of bleach into it and leave for a short while then rinse thoroughly with clean water and some fabric softener. This will remove the odour.

3.7 The bag can also be washed in this solution if necessary, as it will absorb odours from the gear it carries.

3.8 If the helmet has any mould on the foam inside, this can be removed by using bleach and a small brush (toothbrush or similar will do the job). You will then need to rinse to remove any residue.

4.When the gear is dry, check all the gear for any damage that needs repairing.

4.1 Look for any areas of separation on the pads and kickers, which may need reglueing. This includes any tears or splits. Reglue as necessary using contact adhesive or shoe goo.

4.2 Check kicker and pad straps and if necessary, replace prior to them breaking and being a problem. It is likely that the kicker straps will break more often that the pad straps. Checking for wear and early replacement can prevent these problems from occurring. Look for any padding in the helmet, which may be loose and need reglueing. Check any straps and other replaceable items such as chinstraps are in good order. Repair and replace as necessary.

4.3 Check all the screws on the helmet and tighten any that may be loose. You may need to do this on a weekly basis. It can be useful to carry a couple of short handled screwdrivers in the gear bag to manage this process. If any screws or other pieces have been lost, replacement kits can be purchased. Also check for any splits or cracks to ensure that the helmet continues to meet the safety standards required.

4.4 Check body armour for any wear. If necessary repair any small tears and broken seams with a large needle and strong thread. Any major damage can be repaired by a saddler or a shoe repair company. If maintenance and checking of body armour is carried out on a regular basis, this allows repairs to be made quickly with minimal disruption to training and games.

4.5 Check the bag for any damage, which can be repaired. A saddler or shoe repair company can repair damage.

5. To assist with odours emanating from the gear and bag whilst in the car, a can of Glen20 kept in the bag and sprayed in the car and gear bag can temporarily neutralise the odours. However, keeping the gear reasonably clean and dry can help prevent any problems with odour. DO NOT USE DE-ODOURANTS AS THEY ATTACK THE FOAM If you are not leaving the playing fields straight away it may be helpful to leave the gear out to dry a bit before packing up.

6. It is in your interests to keep the gear well maintained and clean as it will last longer and will therefore not be a financial drain. If the steps listed above are adhered to any replacements or repairs due to wear and tear can be carried out quickly to minimise any disruption to you, your team, coach or club. Any repairs should be carried out as quickly as possible to ensure that gear is always ready for use.

7. It is imperative that you check your gear at the completion of the season to ensure that your gear will be in good playing order at the beginning of the next season. You will also be able to organise the purchase of new gear, which will reduce any extra costs to start the next season. This will also enable you to wear any new gear in prior to the start of the next season.
kit-maintance

Download the PDF

Thanks to Animal who supplied the PDF and wrote the content.

ROBO Fact and Feature Sheets

ROBO Fact and Feature Downloads.

robo

Download the fact and feature sheets below;

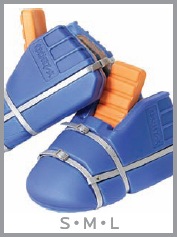
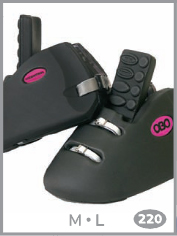
robo-hi-control-kickers
ROBO hi control kickers

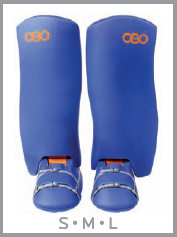
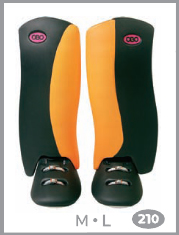
robo-hi-control-legguards
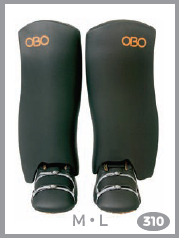
ROBO hi control legguards

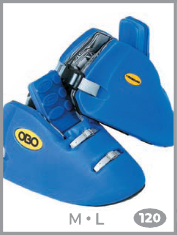
robo-hi-rebound-kickers
ROBO hi rebound kickers

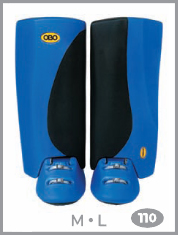
robo-hi-rebound-legguards
ROBO hi rebound legguards

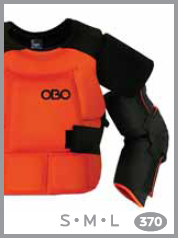
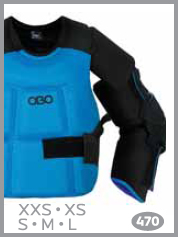
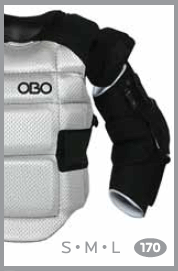
robo-body-armour
ROBO body armour

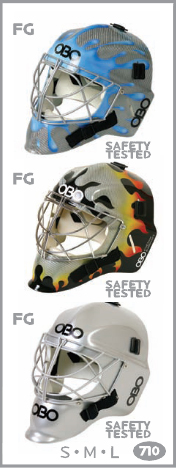
robo-helmets
ROBO helmet

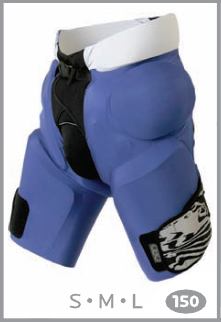
robo-hotpants
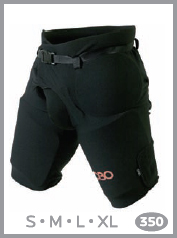
ROBO hotpants

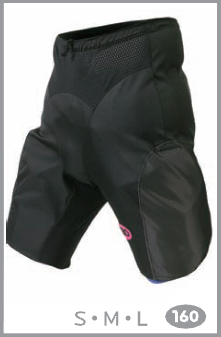
robo-waterproof-mesh-overpants
ROBO waterproof mesh overpants

robo-hi-rebound-rhp
ROBO hi rebound right hand protector, page 1 (5.80 MB)
ROBO hi rebound right hand protector, page 2 (5.82 MB)

Threading Your Robo/Cloud/Yahoo/OGO Legguards

The first thing you should do is nothing! Don’t even remove the old straps, because you can use them as a threader instead of having to make one yourself.

If you’ve already removed the old straps then you’ll need to follow the steps outlined below.

The first thing you should do is nothing! Don’t even remove the old straps, because you can use them as a threader instead of having to make one yourself.

If you’ve already removed the old straps then you’ll need to follow the steps outlined below.

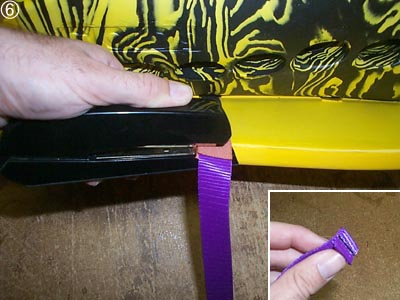
Otherwise, remove the male component of the clip from one end of the strap and cut the buckle off the other, without removing the straps from the legguards. Then all you need to do is staple your new straps onto the old ones and pull them through. Have a look at steps 6-8 below. It doesn’t get much easier than that!

legguard01

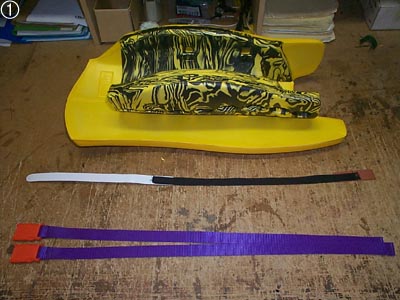
Here’s what you need: a legguard of course, your new set of straps and a device to help you get those straps through those channels. Note that both male and female components of the clip are at one end of the strap.

legguard02

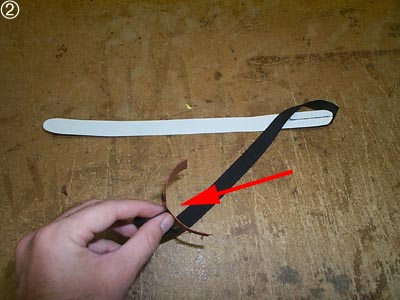
This is what we use at the OBO factory…. a threader! It’s a piece of flexible plastic, flexible enough to easily pass through the curved shape of the channel, but not so flexible that it snaps on you when you are half way through the process. We’ve sewn a piece of black nylon webbing onto the plastic. We’ve then sewn a piece of terracotta fabric to the black webbing. The legguard strap is then placed between the two ends of the terracotta fabric as shown by the red arrow. This helps the strap travel relatively easily through the channel.

The reason we use a plastic threader is because we need to thread hundreds of legguards. To thread a single legguard Jon O’Haire reckons a piece of 1″ cardboard with a pointy end will do the trick.

legguard03

Thread the plastic into the channel on the ‘wing’ side of the legguard. (This is a left legguard. The top of the legguard is to the left of the picture)

legguard04

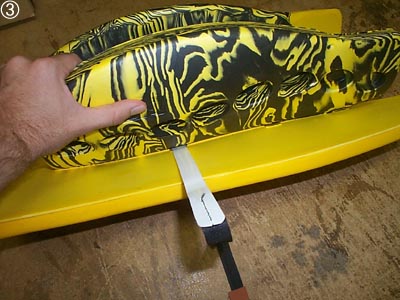
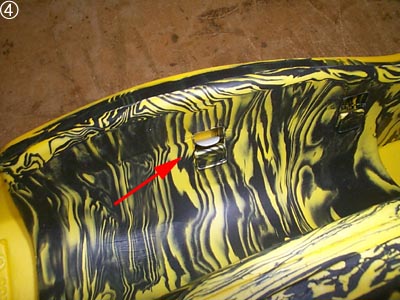
Thread the plastic all the way through the channel until the tip of the threader appears at the channel exit as shown by the red arrow. You may need to assist the threader through the exit with a finger.

legguard05

Pull the threader almost all the way through the channel. Leave enough of the black webbing and terracotta fabric showing outside the channel so that you can attach the legguard strap to the threader.

legguard06

Staple the legguard strap between the two ends of the terracotta fabric of the threader (check out image 2 above to refresh your memory of what we mean if you need to). Use two staples if you’re not convinced it will hold but you should only need one. The insert in the image above shows how the legguard strap is folded over on itself and sewn at one end. We staple the legguard strap into the threader with the folded end down so that the OBO logo on the clip faces outwards. (Okay…. a fairly
minor point I know, but it’s a little detail we always remember.)

legguard07

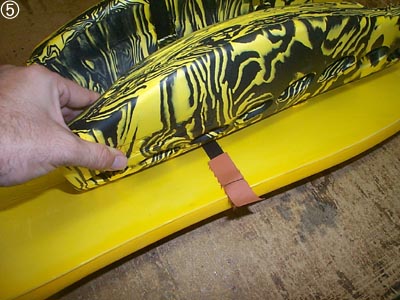
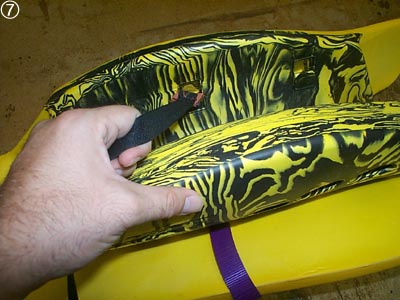
Pull the rest of the threader, with legguard strap attached, gently through the channel. If you go too fast the strap will probably come off the threader part way through the channel. You can just see the end of the strap exiting the channel in the image above.

legguard08

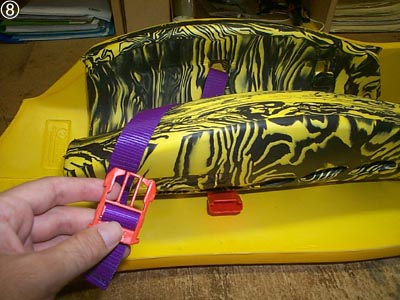
All that remains is to attach the male component of the clip to the other end of the strap. That’s it, real easy, especially after you’ve done several hundred like we have at the OBO factory!