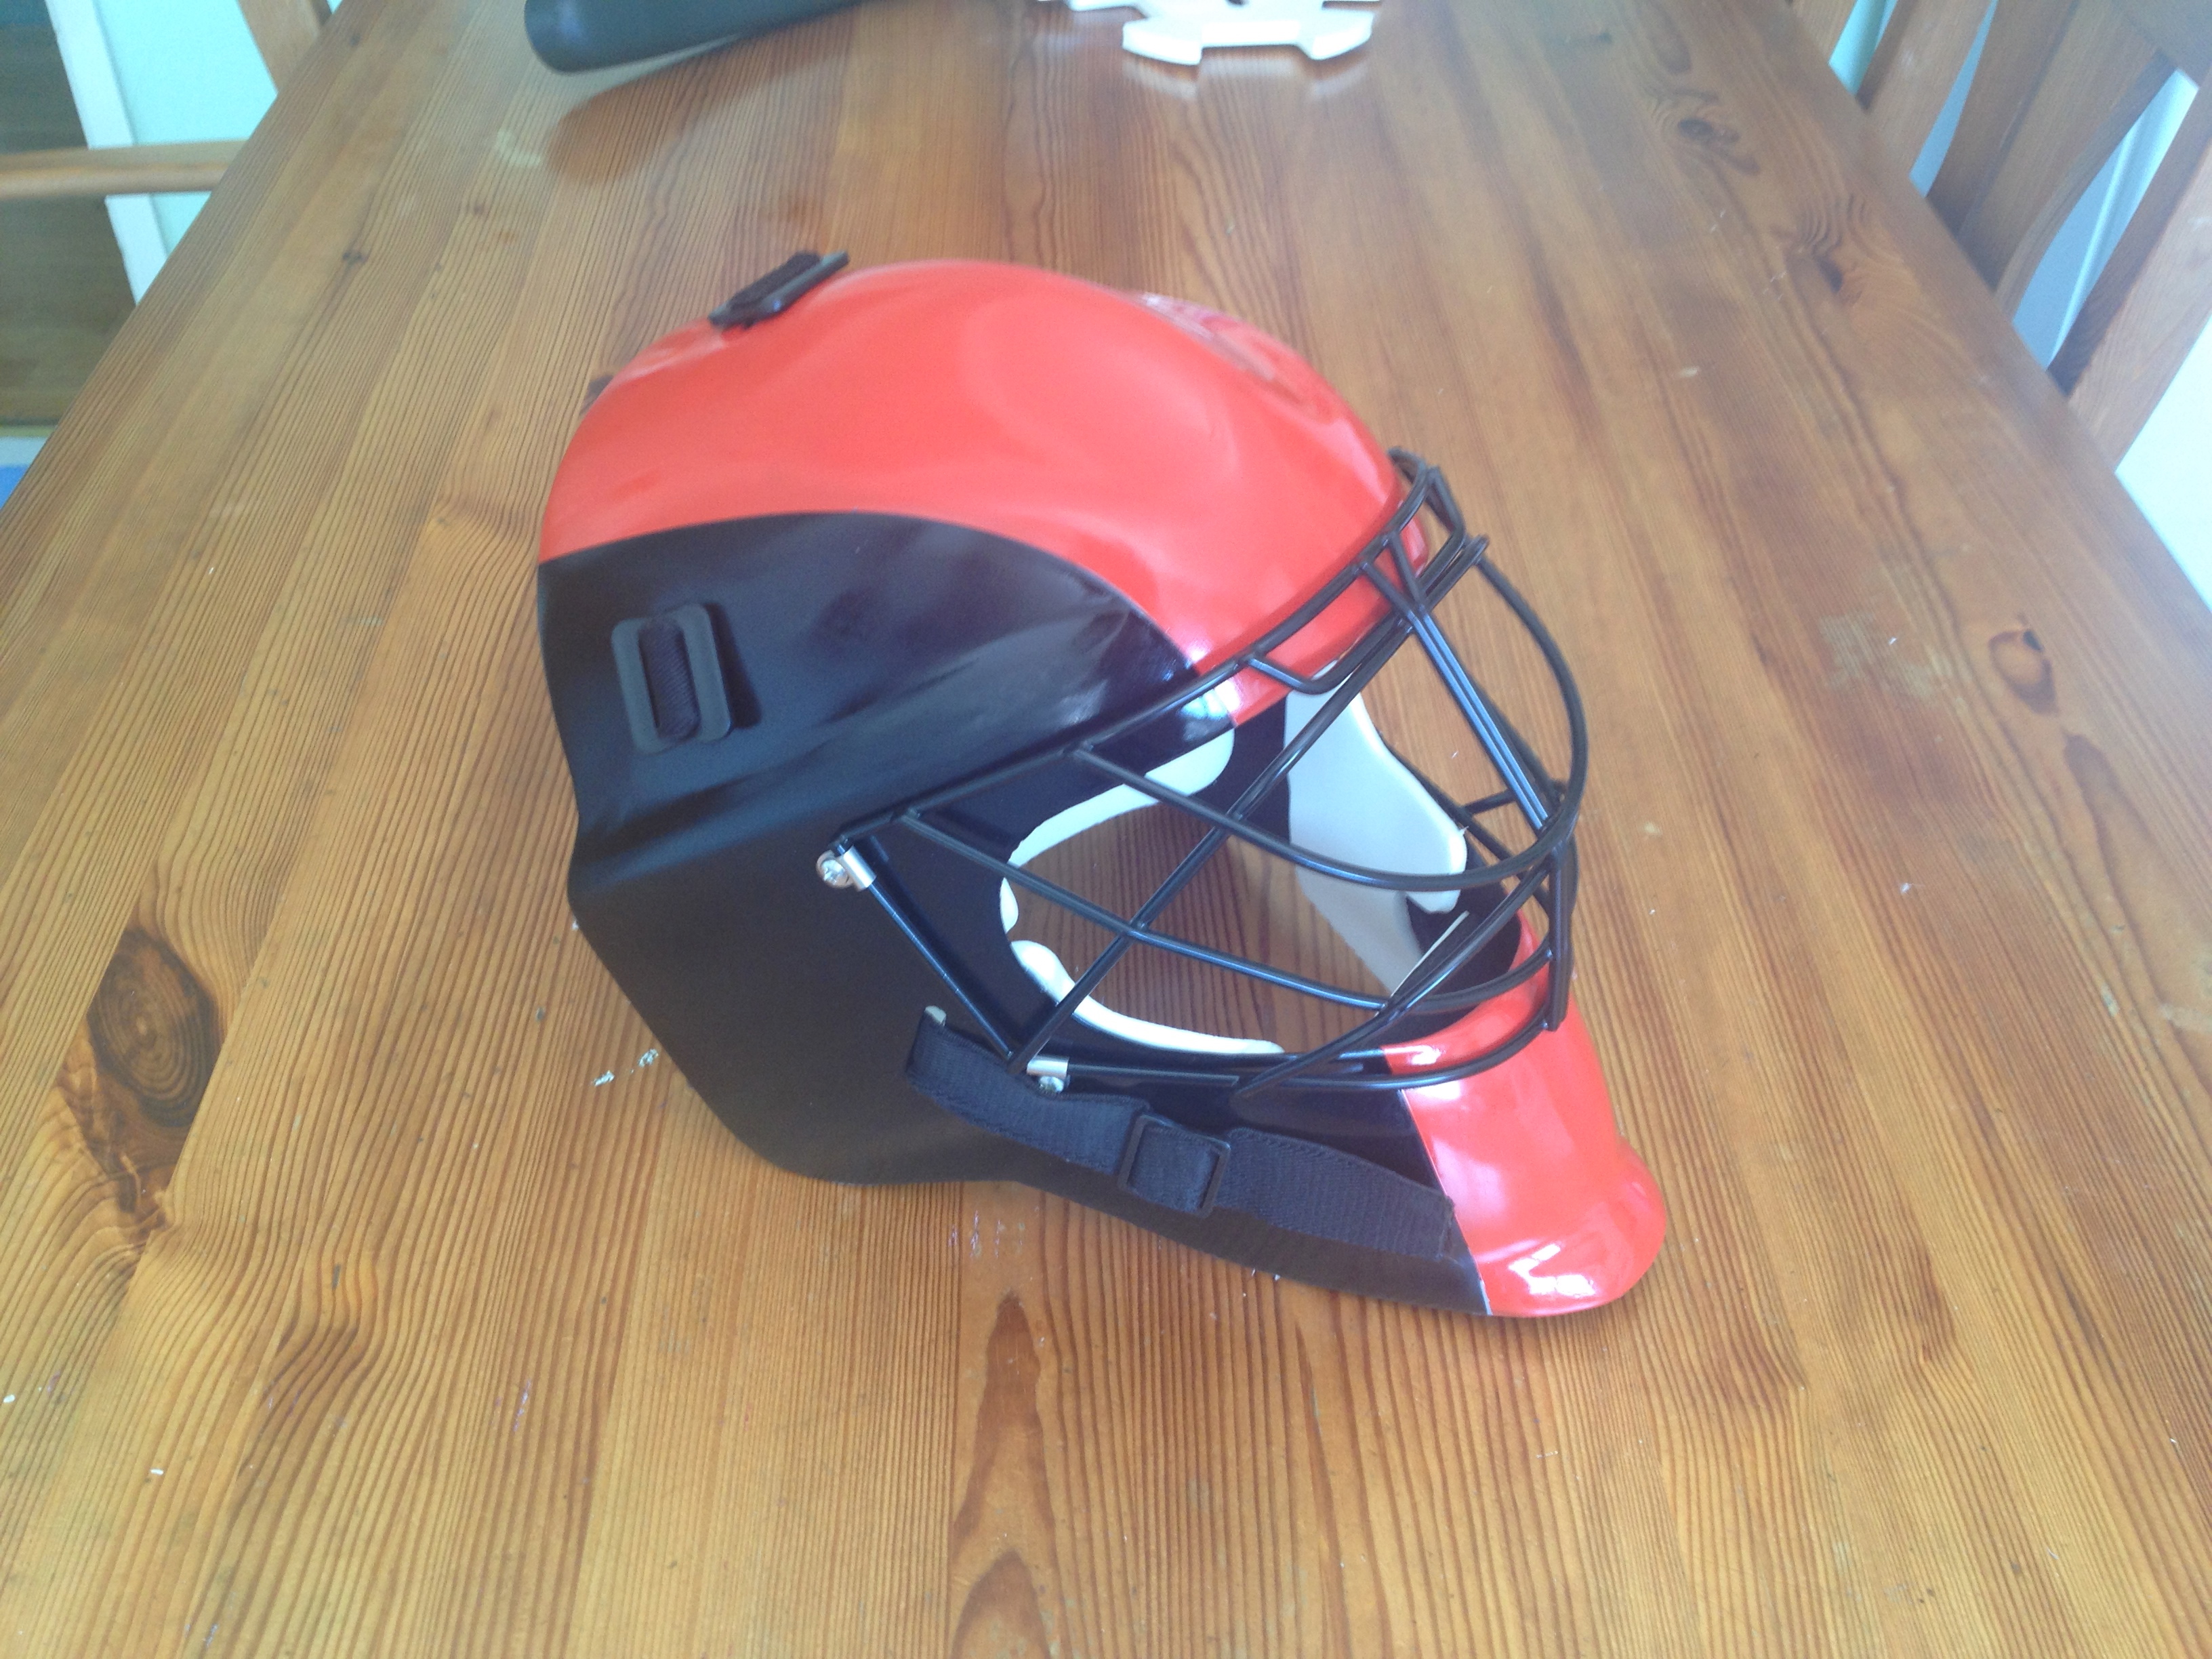
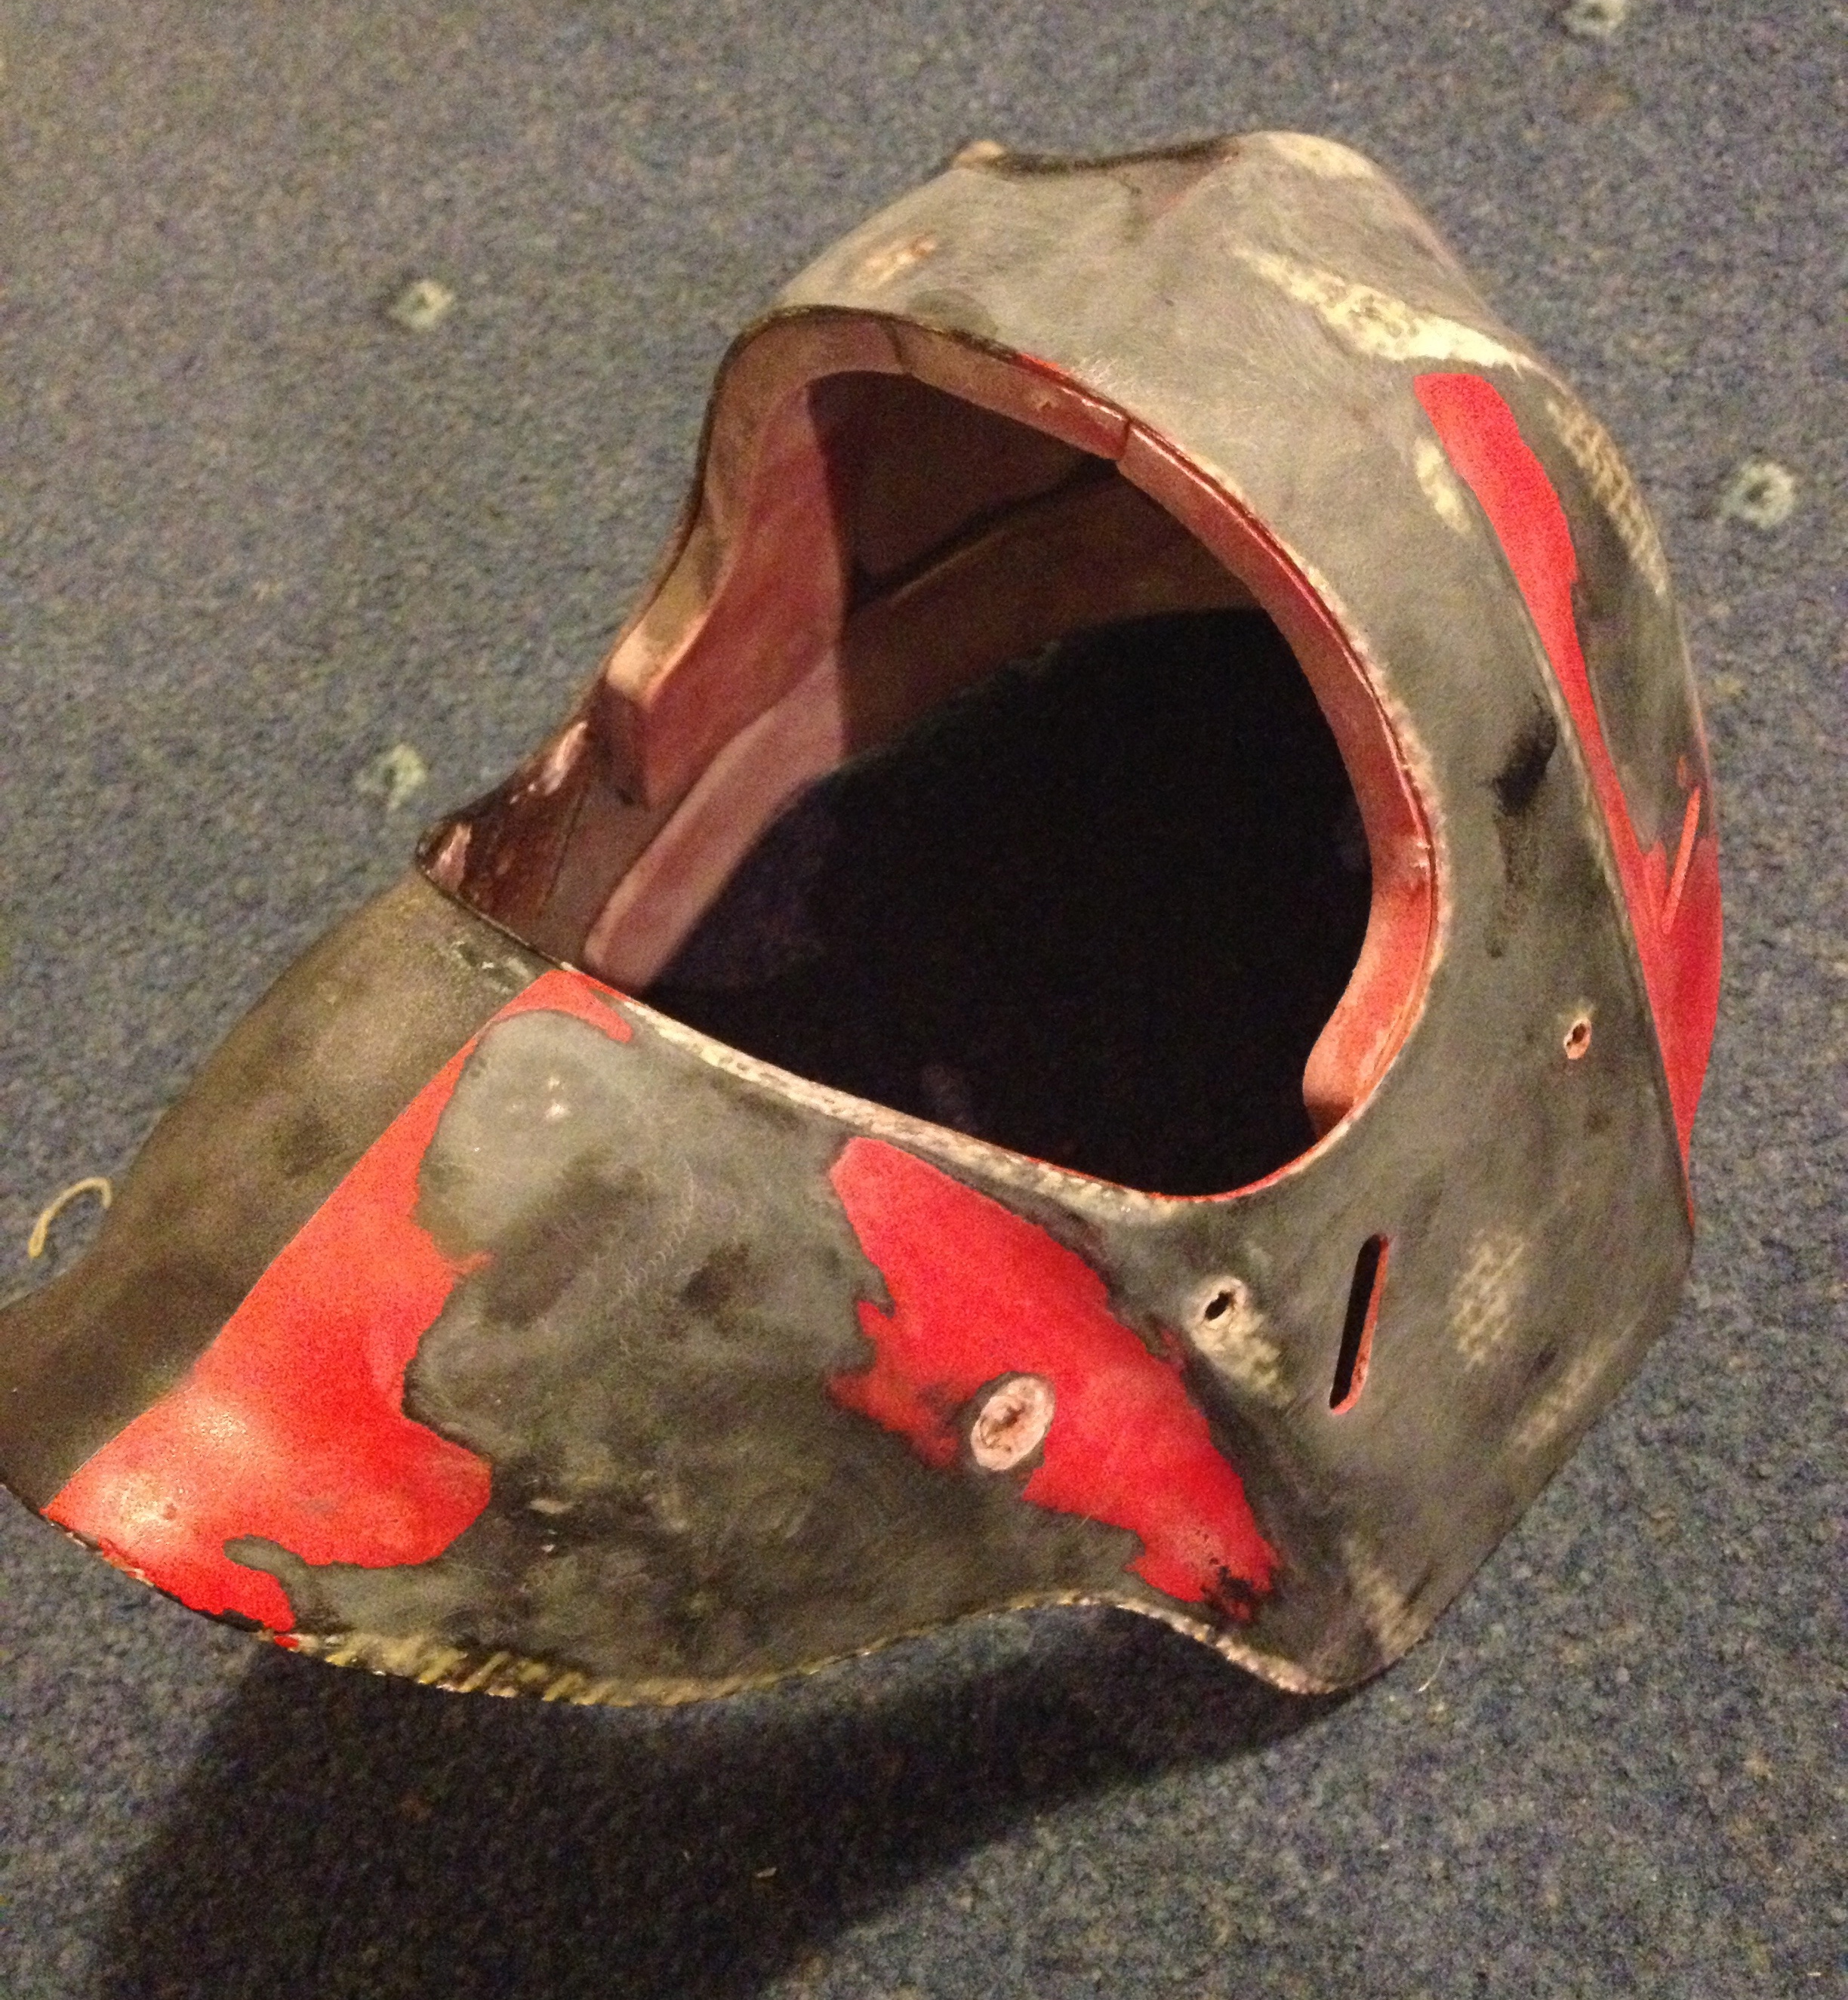
Three years ago, I decided to refurbish and repaint my OBO CK helmet. The default black paint had become a grey colour after exposure to the sun, and I wanted to try and create a custom colour scheme. So, I sanded it down to remove the clear coat and prepared the old paint surface for the new undercoat and paint. I also replaced the metal and plastic fittings, repainted the grill and replaced the internal foam. The end result was this.
It looked good for about a year, after which it started to become chipped and cracked and the clear coat started to flake and leave white residue on the helmet surface. So, before the start of this season I decided to redo the helmet completely from scratch, using better materials and more thorough processes to ensure a better end result.
Before you start.
Ensure you have adequate space to conduct this particular refurbishment. Setup for painting should be outside or in a well ventilated area, free of dust and particulate. I have a large paved area in the back garden which is out of the way and protected well with some cardboard and newspaper which I use for another painting project, which is quite good for this sort of thing.
Ensure you have enough time to conduct the refurbishment. This is not something you can do in between matches on a Saturday. This would definitely be something to do during the off season. I managed to finish this completely over the course of 3 weeks, on and off in conjunction with work. The main reason for this long time was the use of many thin coats of paint and long curing times for the filler material combined with life in general getting in the way.
Materials
You will need:
OBO Helmet Cage
OBO Helmet Replacement Foam (9 piece)
OBO Helmet Chin Cup [Note: some replacement foam packs include a chin cup so you may not need to buy a separate one]
OBO Helmet Forehead Pad Sweatband
OBO Elasticated Back Strap
OBO Helmet Fittings Set
Sand Paper – 80/120 grade
Wet and Dry Emery Paper – 400/600/1200 grade – used wet in all cases
Masking tape
Methylated Spirits
Old rags/cloth/old tea towel – non fibrous material
Newspaper/cardboard/tarpaulin to paint on
Spray Undercoat/Primer (car paint)
Spray Paint in colour(s) of choice (car paint)
Spray Clear coat (car paint)
JB Weld/Bondo/Other filling material
Copydex or other latex based glue.
Hot glue and glue gun
Gloves
Face mask
Safety Glasses
The specialist OBO helmet materials are available from Gilmour sports in the hyperlinked list above. The rest of the materials can be bought from most decent hardware, car body shops or similar retailers. I went to a small car body shop called JK Autospares in Belfast to get most of my materials. Retailers like this are usually quite happy for your custom and are generally quite helpful.
I list a face mask, glasses and gloves on the materials list as we will be sanding either carbon fibre (CK) or glass fibre (FG), as well as the cured polymer/resin associated with the bonding process. Sanding material like this will not produce particles small enough to inhale and cause long term damage to your respiratory system, but it will cause irritation if inhaled. As a result, I have covered all bases in terms of protecting your lungs and nose from harm. Composite fibre is also particularly irritant to your skin. It will leave unprotected skin feeling prickly, nearly like a rash. This will go away in time, but I recommend gloves and a long sleeved shirt to protect against this.
It should be noted that this is strictly an amateur’s guide to how to paint this type of helmet. It is based on my research and experience and is by no means a fully professional way to go about it.
This guide is not intended for use with OBO Poly P or PE helmets.
Step 1 – Preparation
Remove all the plastic fittings from the elastic straps and then remove the elasticated back plate of the helmet. Now remove the elastic webbing from the back piece and set aside.
Step 2 – Remove Internal Foam
Take a picture of the inside of the helmet to ensure the correct placement of replacement foam, then carefully remove the internal foam and set aside. This can be done by carefully peeling it away from the surface of the helmet. A thin sharp knife can also be used to cut away the adhesive and to scrape away any small parts that are stuck to the composite. The composite is much harder than the foam, but try and avoid damage to the internal weave of the carbon kevlar or fibreglass. Try to keep as much of the old foam as possible intact, as it can be used again if required. I left my foam inside the helmet until it came to spraying the undercoat, but this is personal preference, as my foam was pretty grubby and covered in paint from the previous refurbishment, so it was going straight in the bin anyway.
Above is a picture of the foam placement for reference.
Step 3 – Remove Fittings
Remove and collect all of the metal fittings from the shell of the helmet. If the metal screws have rusted or corroded to such an extent that you cannot unscrew them you may have to drill them out. Use a high speed drill and a 4 mm metal bit for the best results. Pay particular attention to the metal stud collar that the plastic fittings snap into. These parts are not included in the OBO Replacement part pack, so they have to be refurbished and reused.

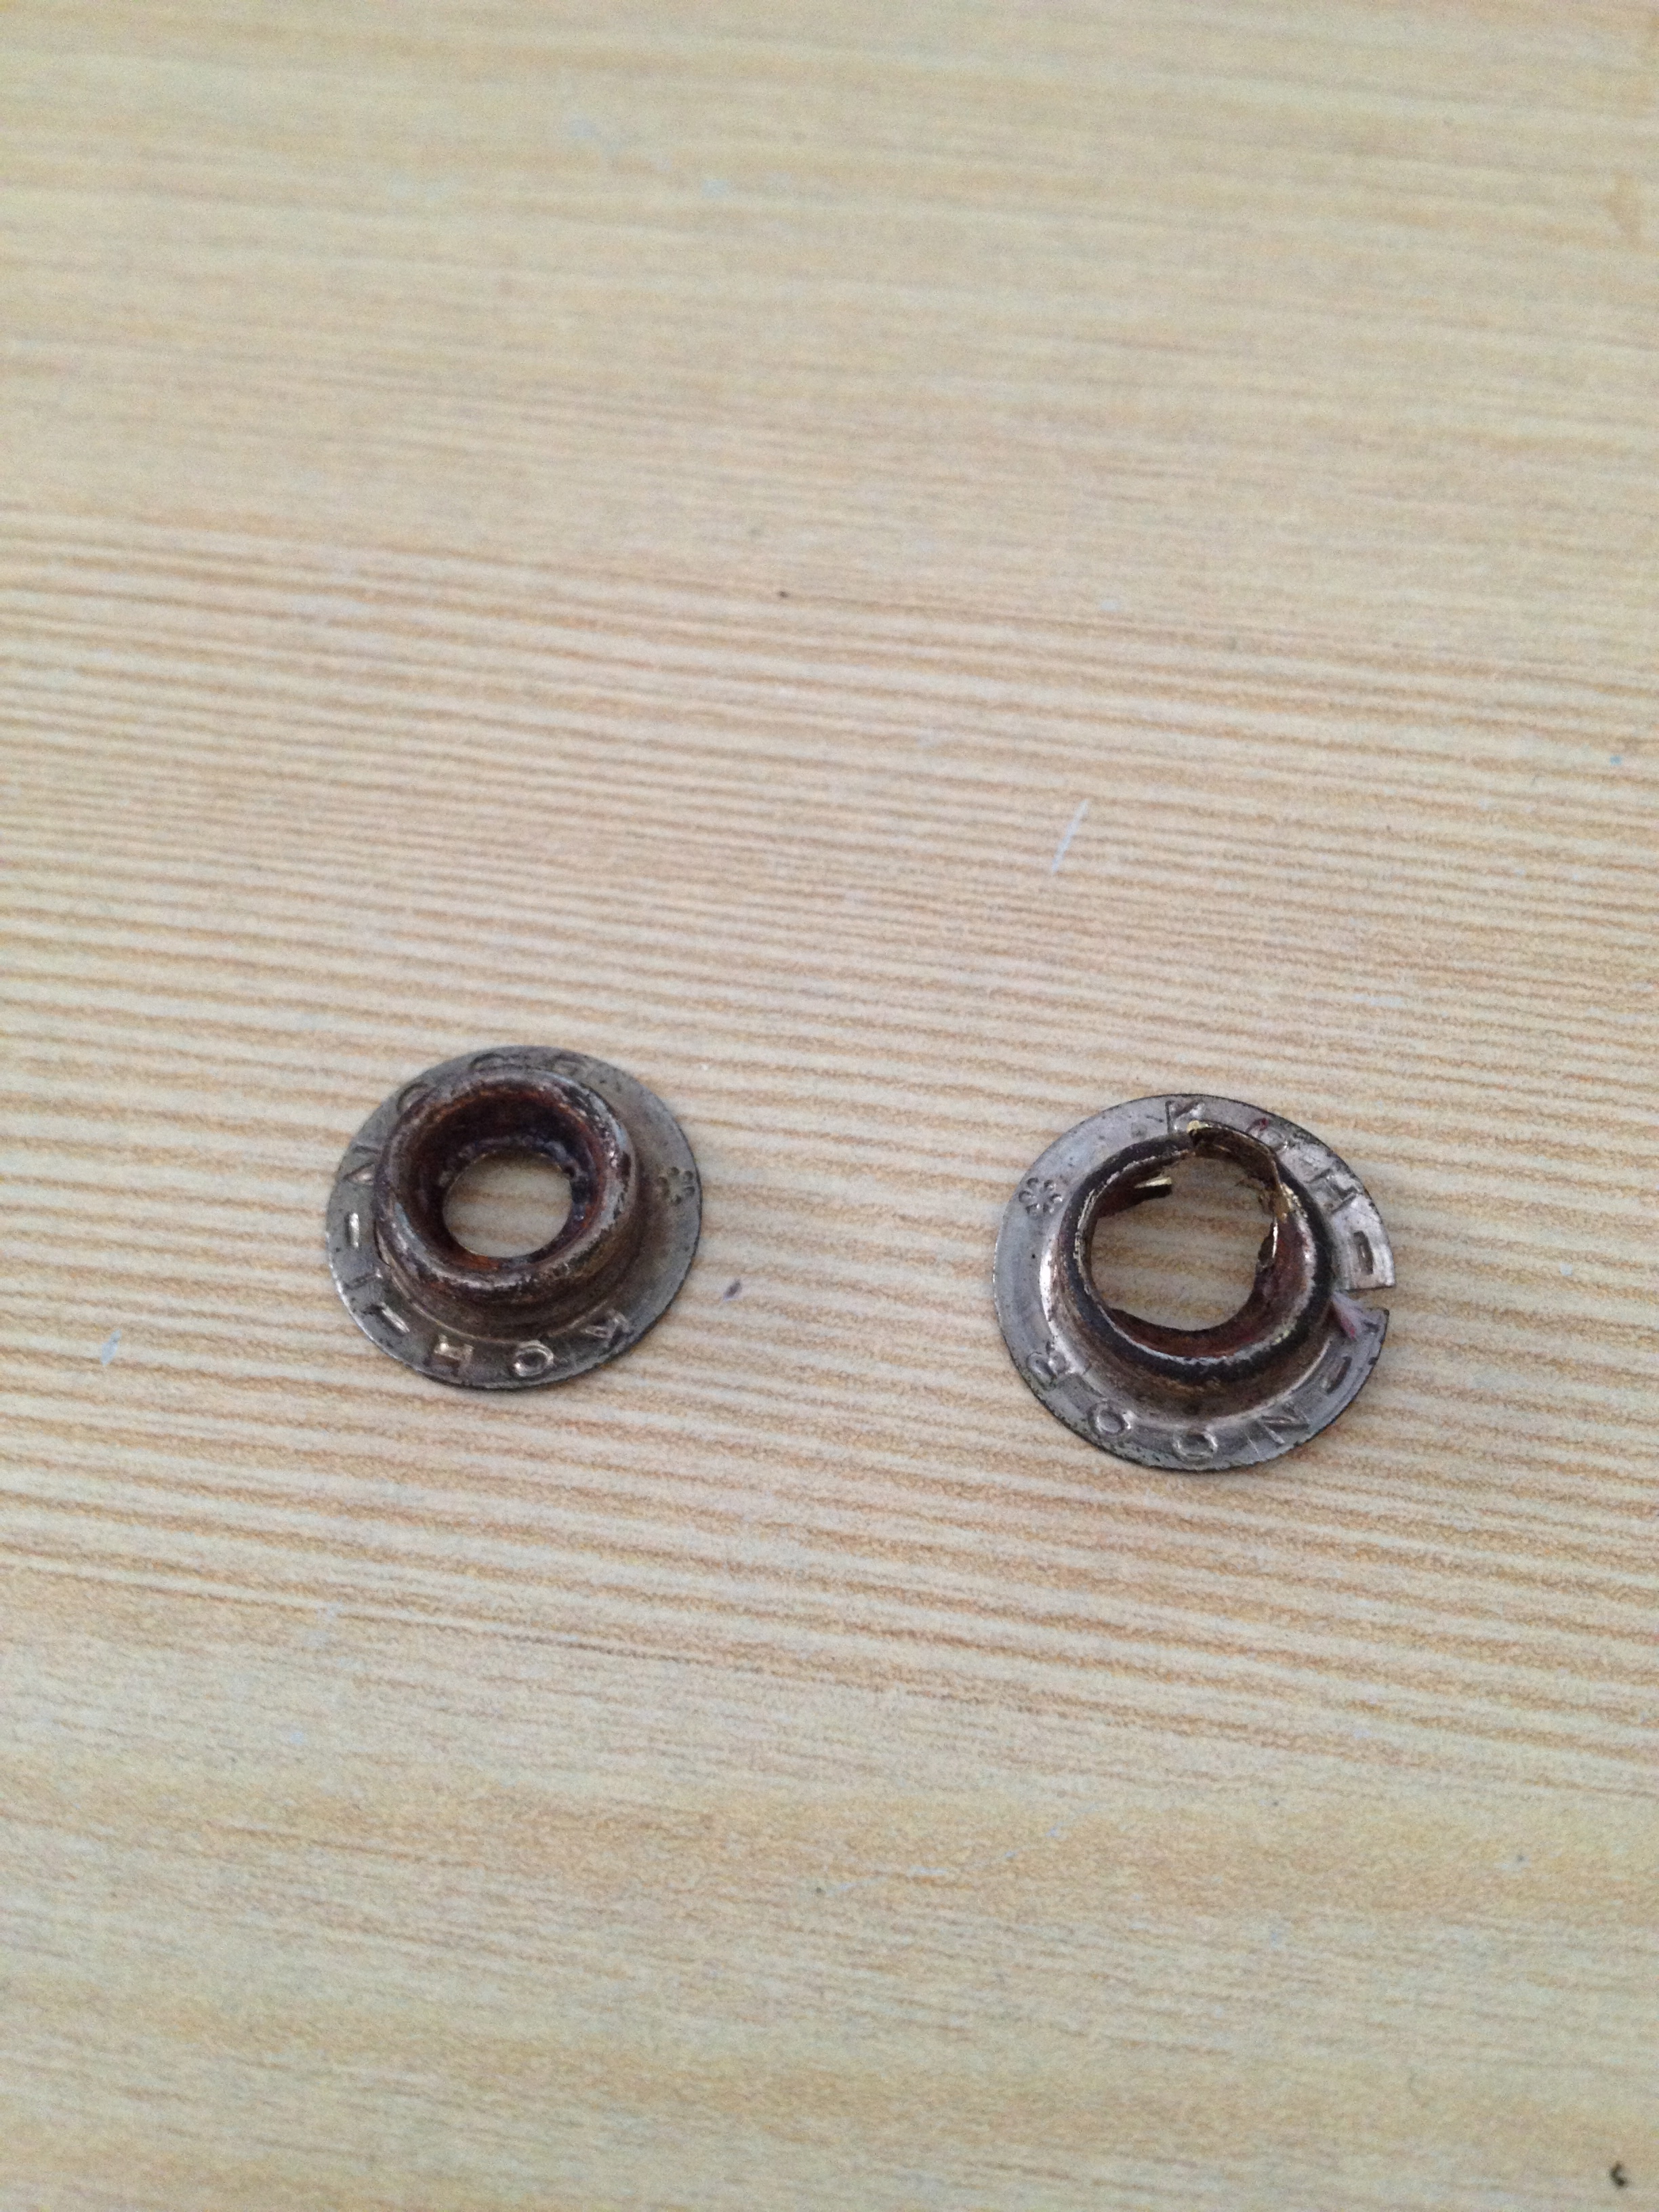
Shown above here are new studs from a spare helmet of mine, in comparison to the old studs that have just been removed. I managed to damage mine when drilling them out, so I contacted Mike at OBO to secure some replacement parts. If they are undamaged, but rusted badly then put them in some rust removal solution or some Coke to improve their aesthetics.
Step 4 – Sanding
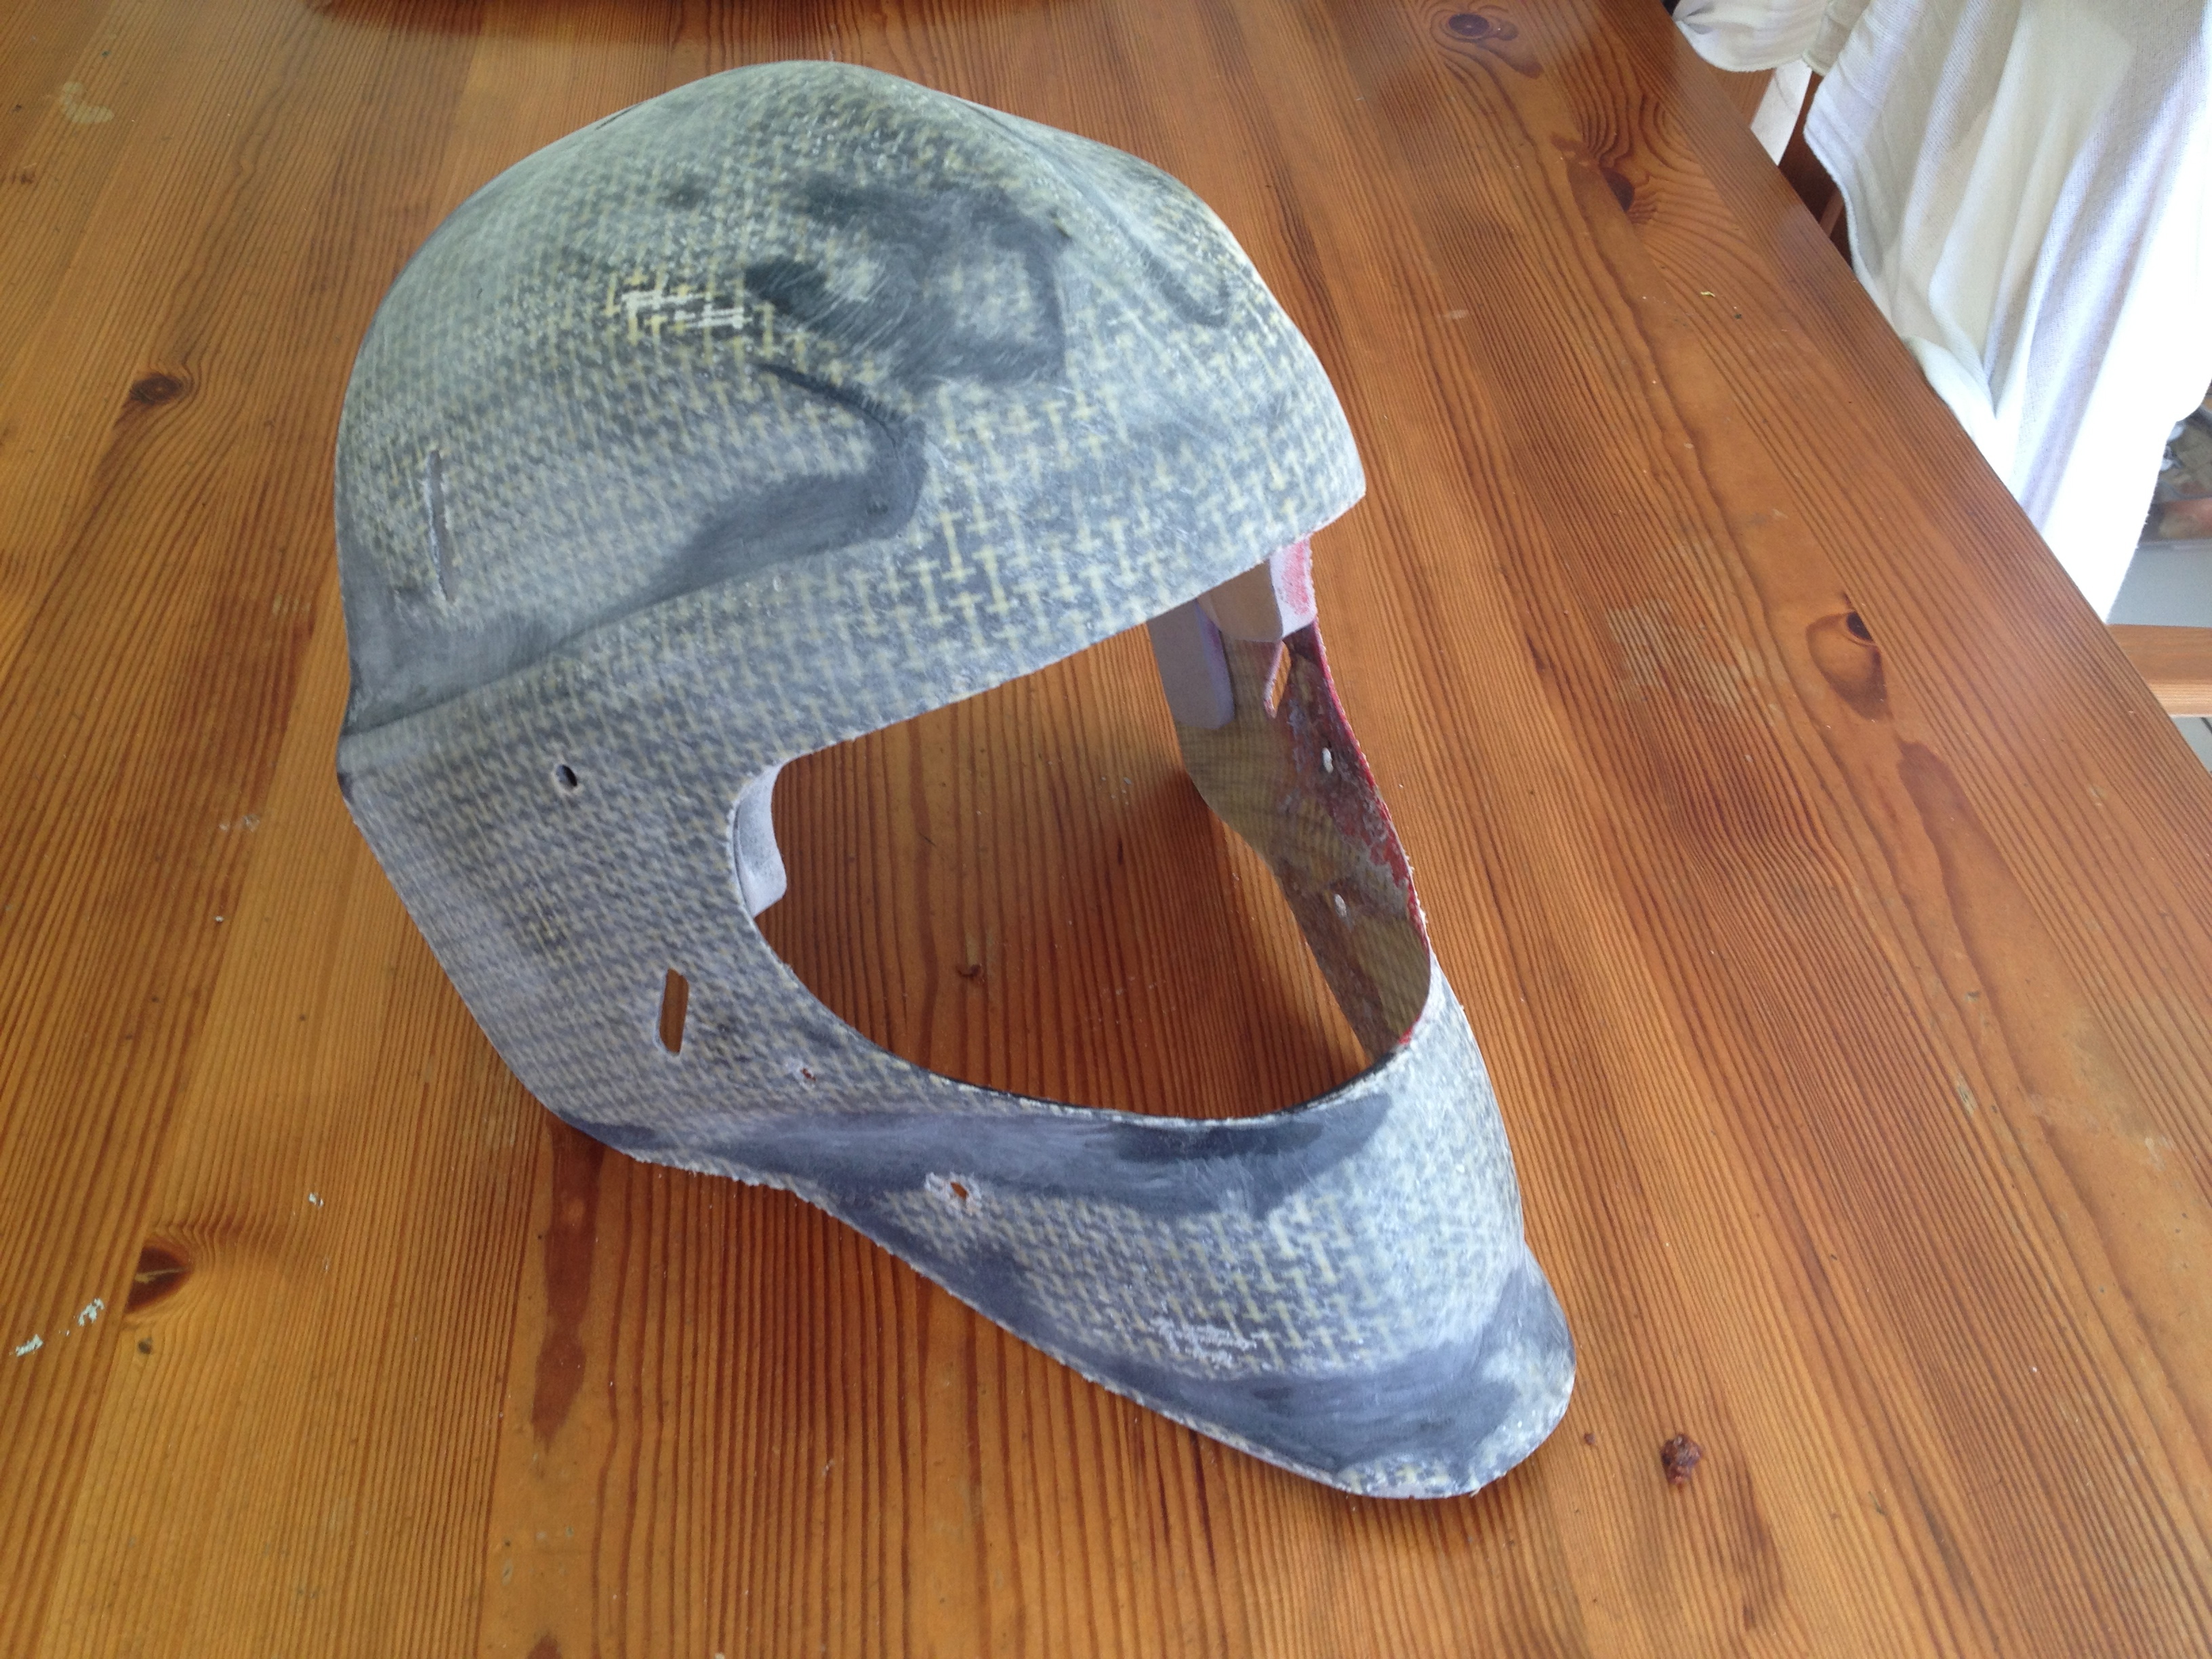
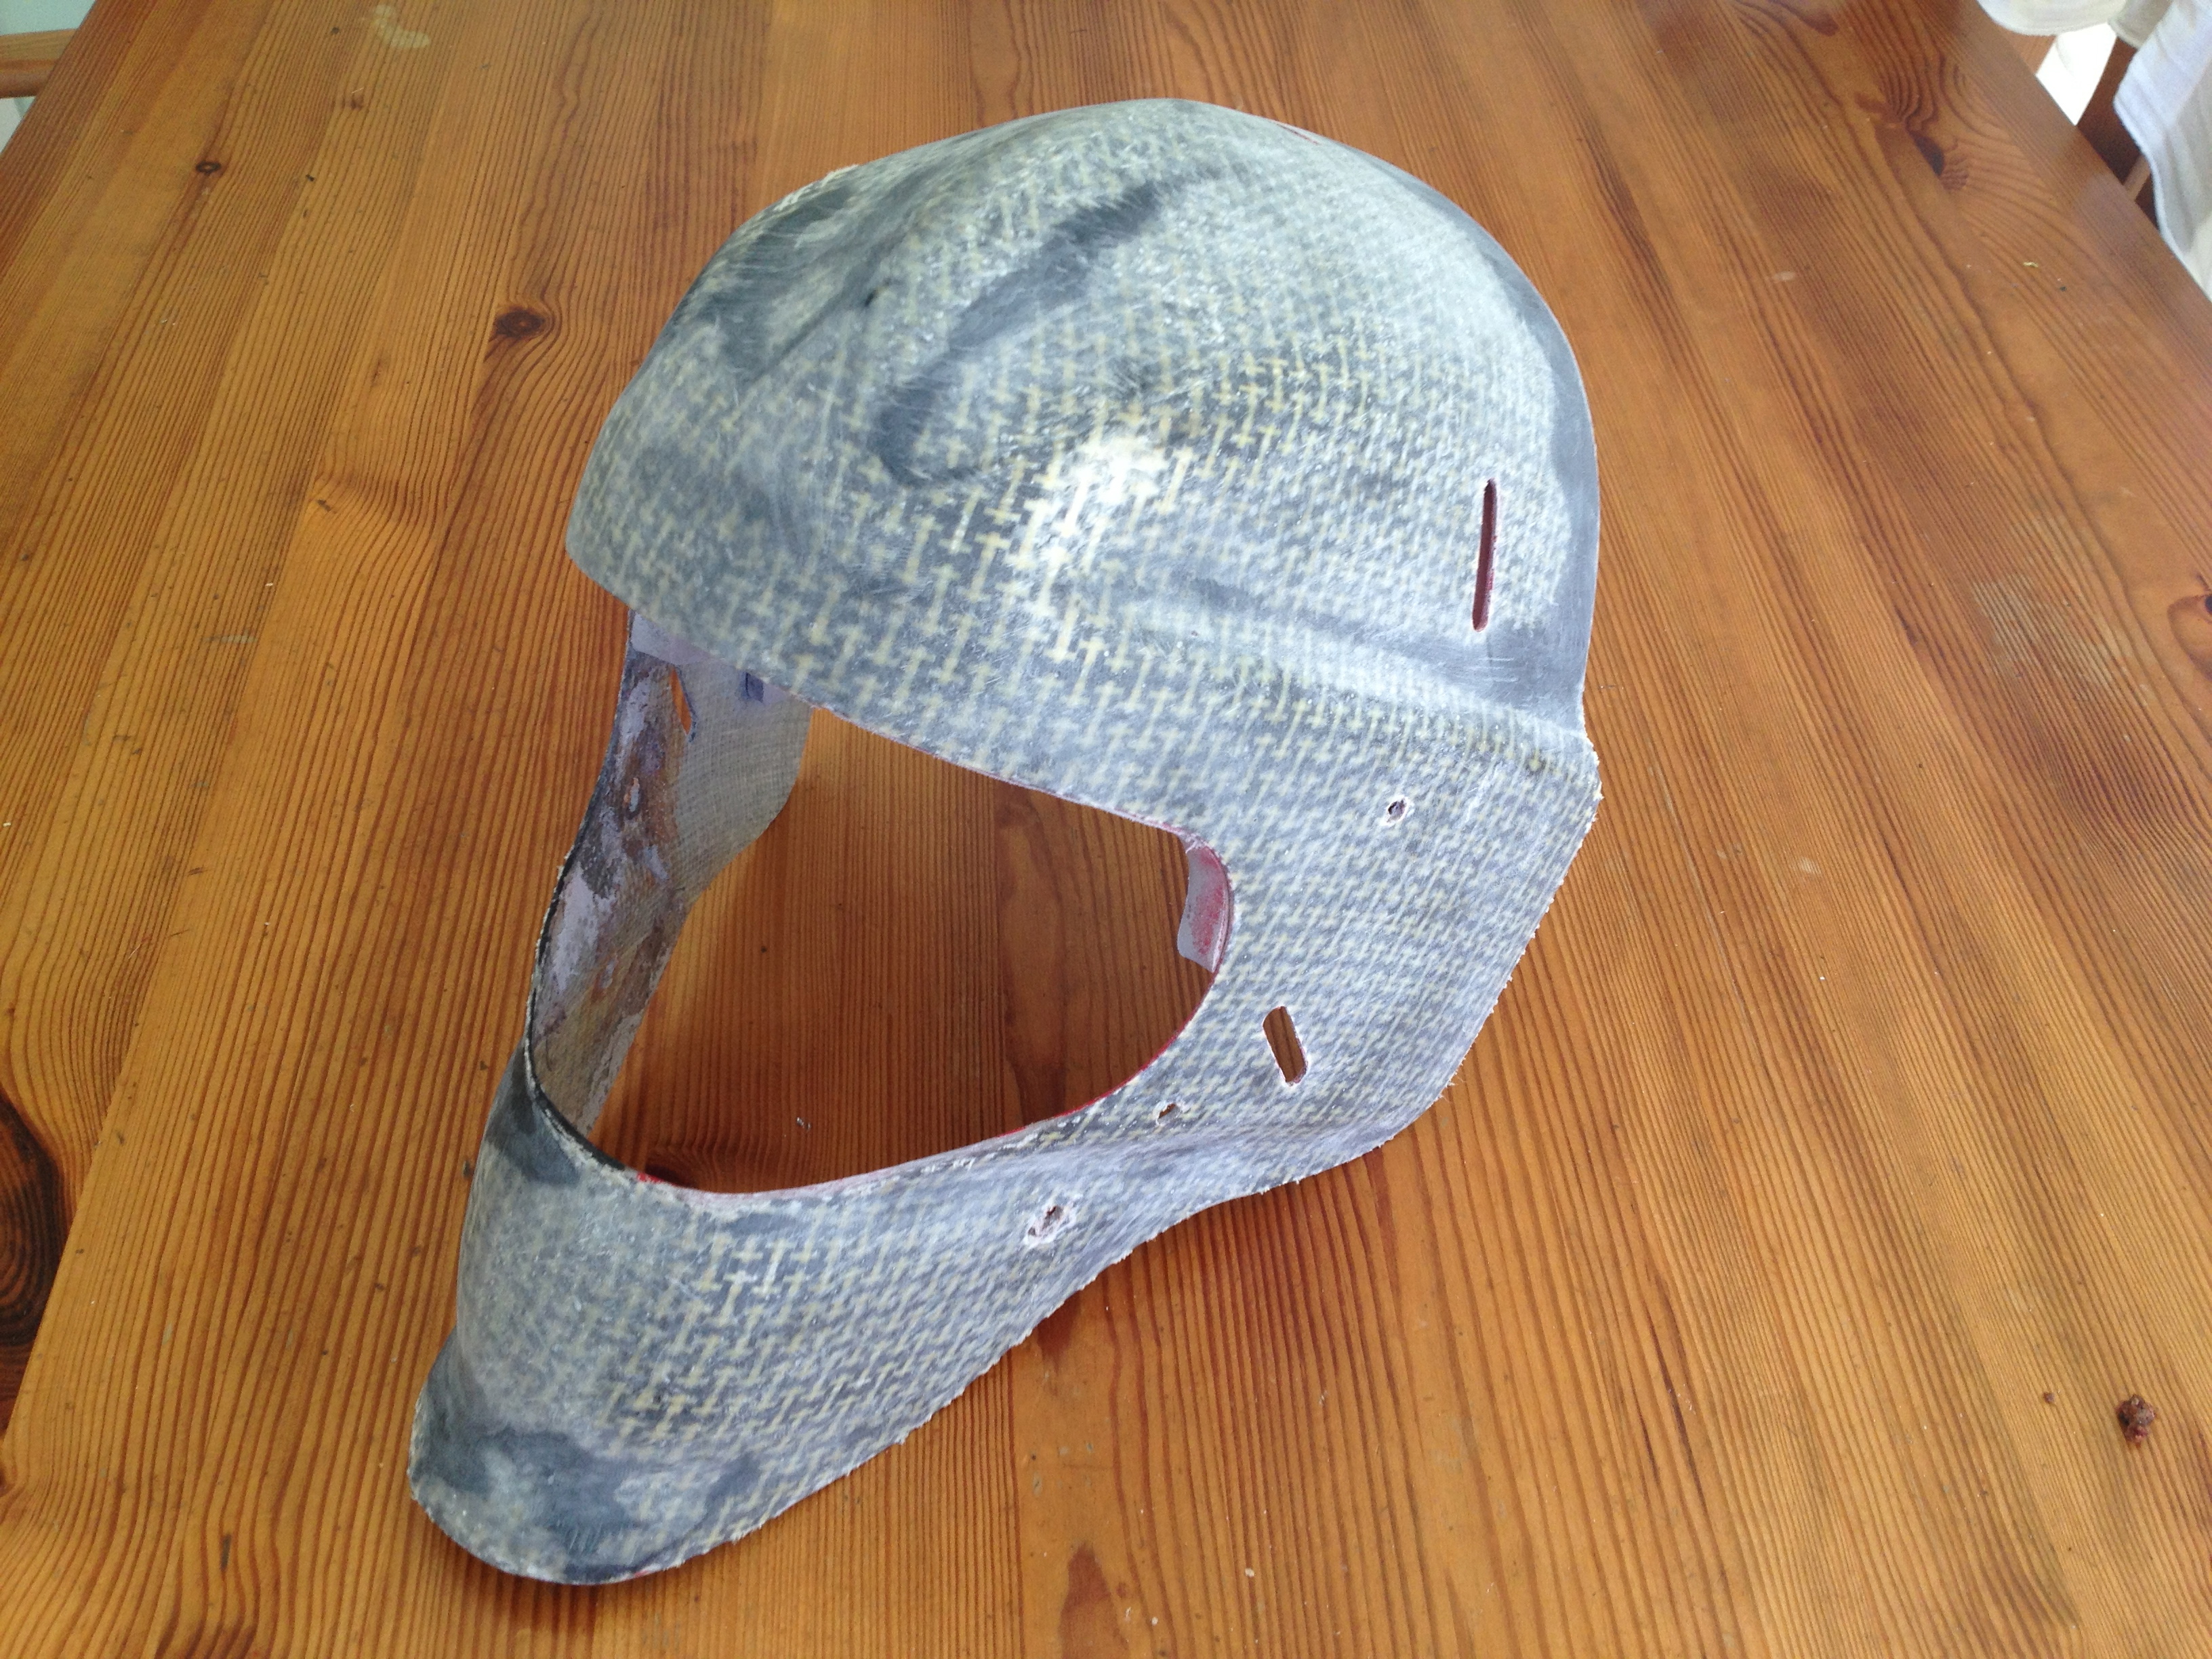
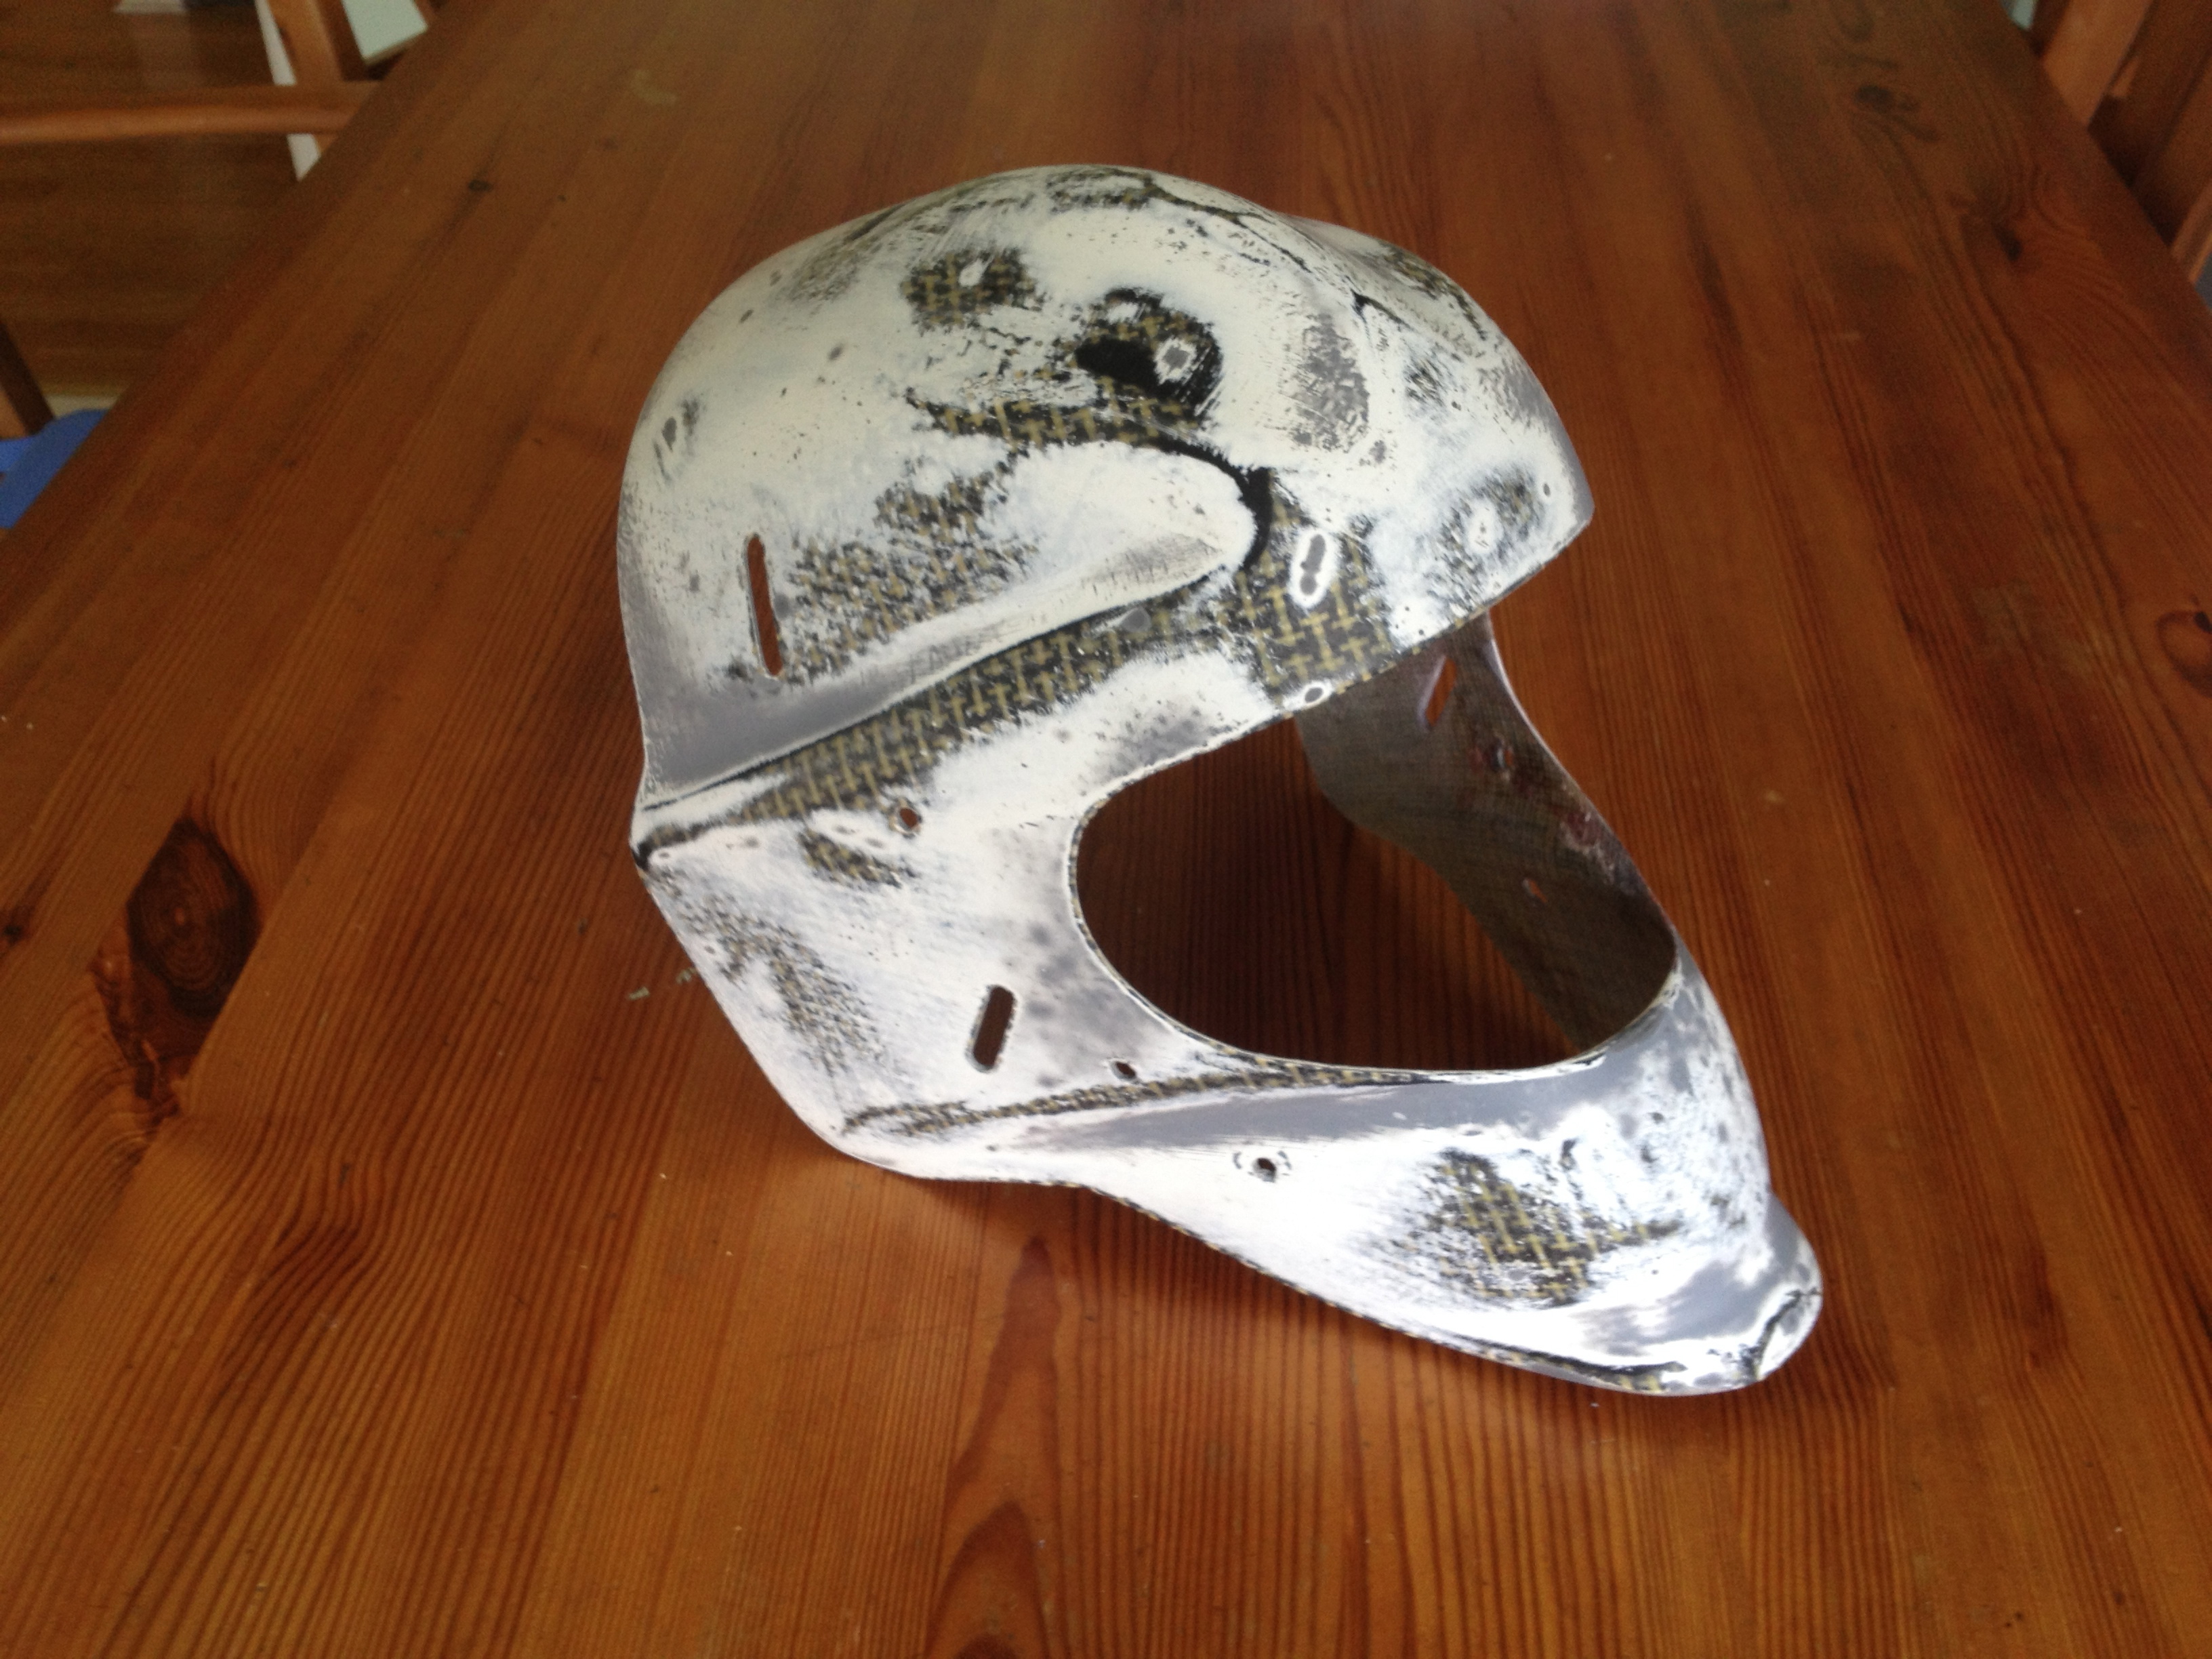
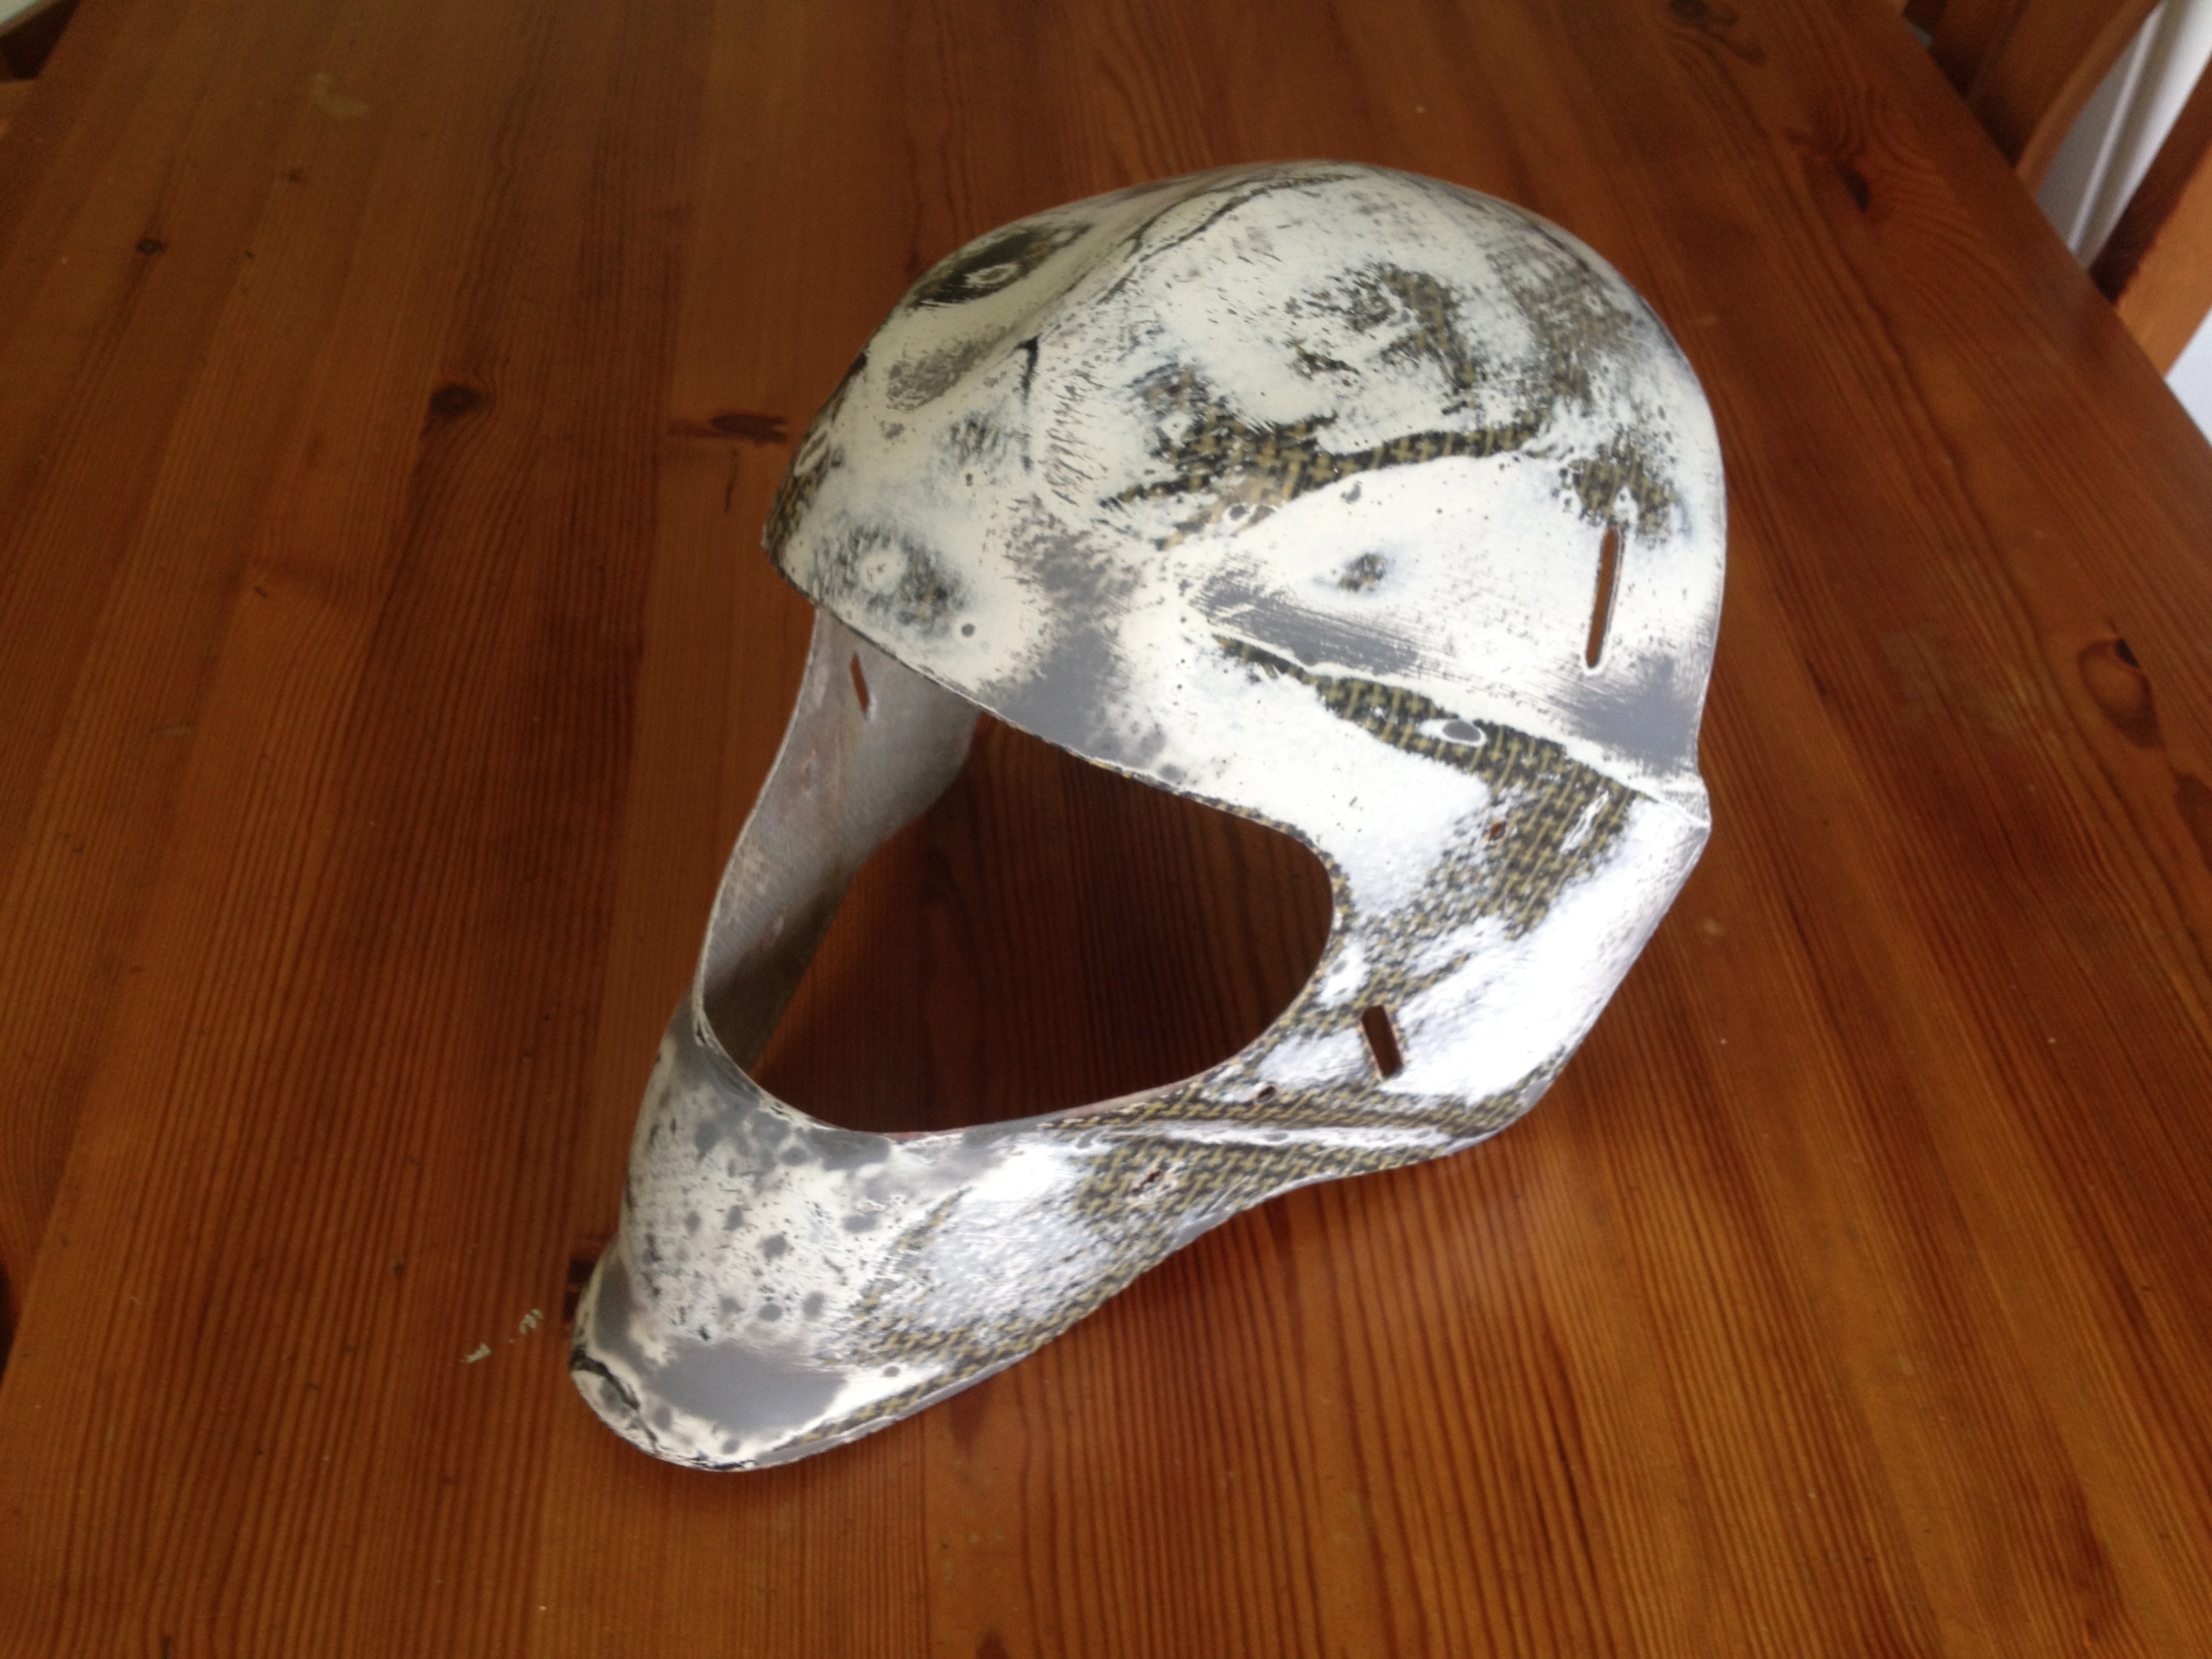
Start to sand the surface of the helmet down using the 120 grade sandpaper. If in doubt, use a finer grade of paper, you can always sand more material away if needed, but you can’t replace it once its sanded away. I used an electric sheet sander for the initial run through, to take the majority of the old clear coat and paint off, then I used a sanding sponge to take the rest of the surface down to Carbon Kevlar weave. The electric sander is good for the flat surfaces of the helmet, but is terrible for the curves and recesses, which is why either a sanding sponge or just plain old sandpaper is good for this process. After this, go over the helmet with the 400 grade wet and dry for a slightly smoother surface.
The pictures below show the helmet after the run through with the sheet sander, the sand paper and the wet and dry respectively. As you can see, the paint is removed on the flat surfaces, but is still present in the recesses and curves of the helmet. I ended up not sanding the remaining paint off, as I felt the surface was as uniform as I was going to get it.
Step 5 – Surface Preparation
Take the methylated spirits and wipe some over the helmet with the clean rag. You can also use a specialised degreasing product, but meths works just fine. This will clean and prepare the surface for the undercoat.
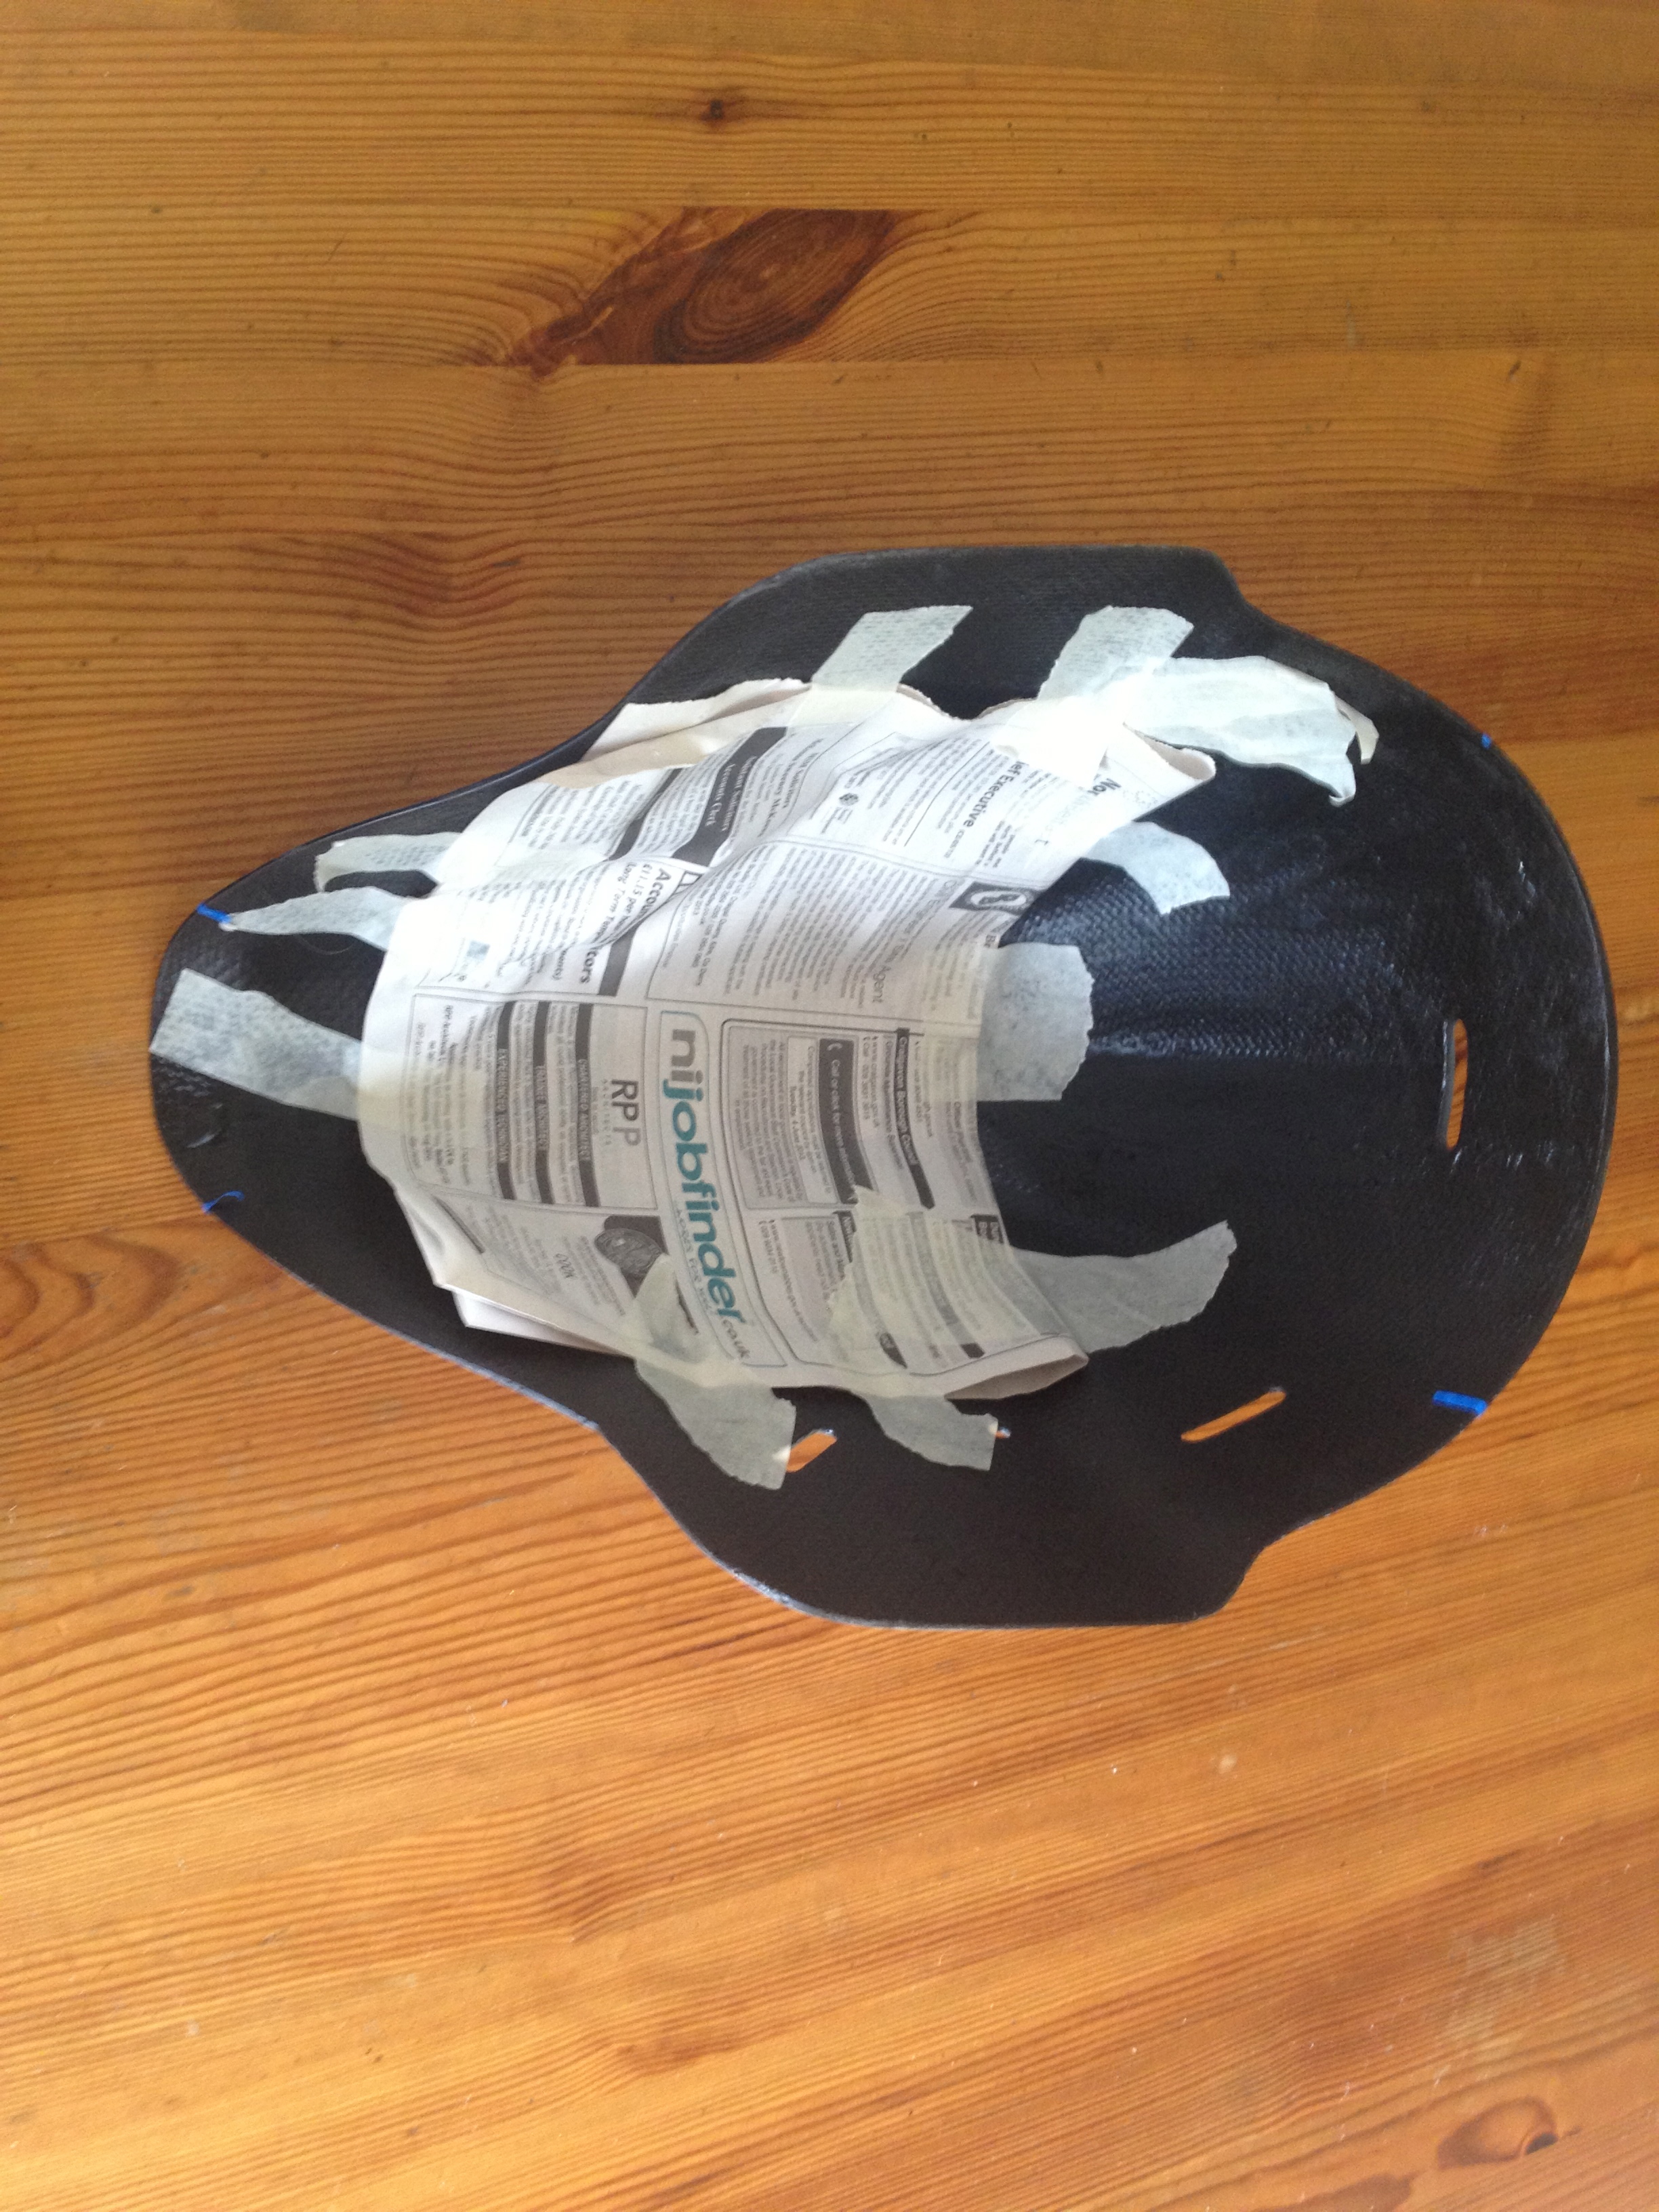
At this point you should also check the helmet carefully for any marks, imperfections, dents, cracks, or parts that will create a non-uniform surface. If you have none of these, you can move on to the next step which is applying the undercoat.
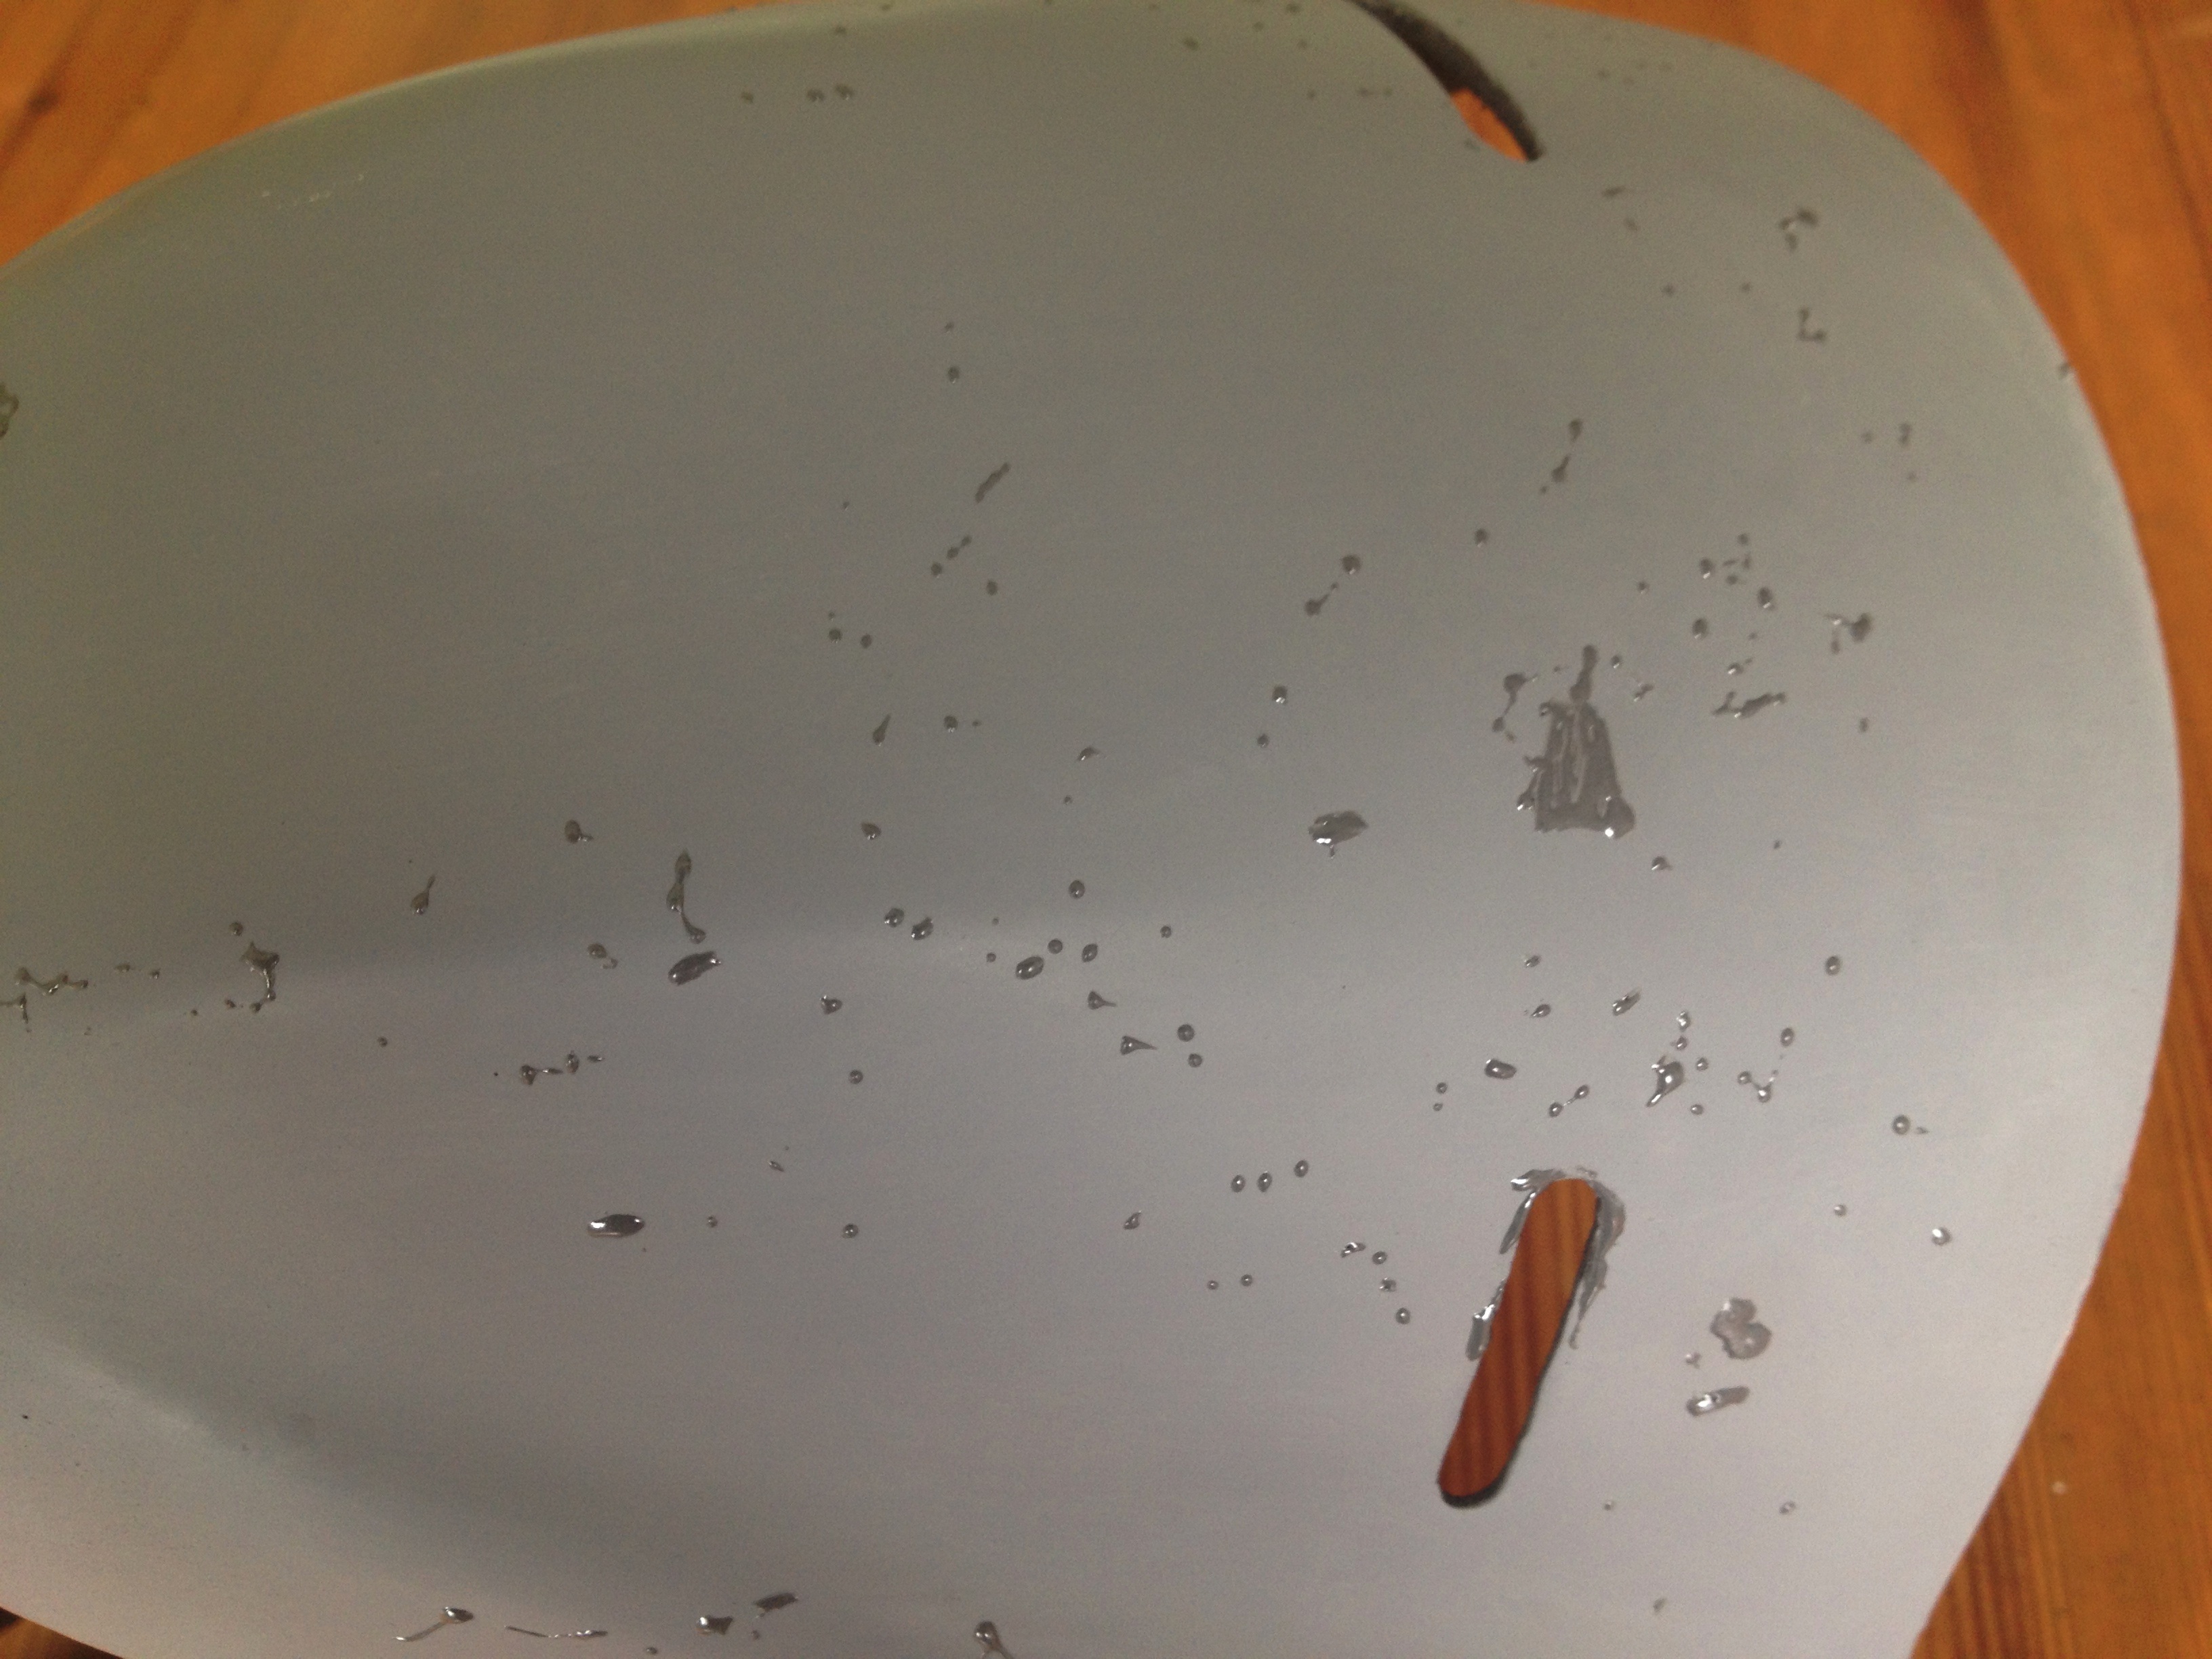
To address the imperfections, I sprayed a thin coat of spare white paint to help highlight the imperfections, before filling the holes in with JB Weld. I then left it to cure, before sanding the JB Weld down with the wetted 600 grade wet and dry. The thin white coat was to create a large differentiation between the filler material and the helmet, as well as to give some extra protection when sanding the filler material off the helmet with the wet and dry.
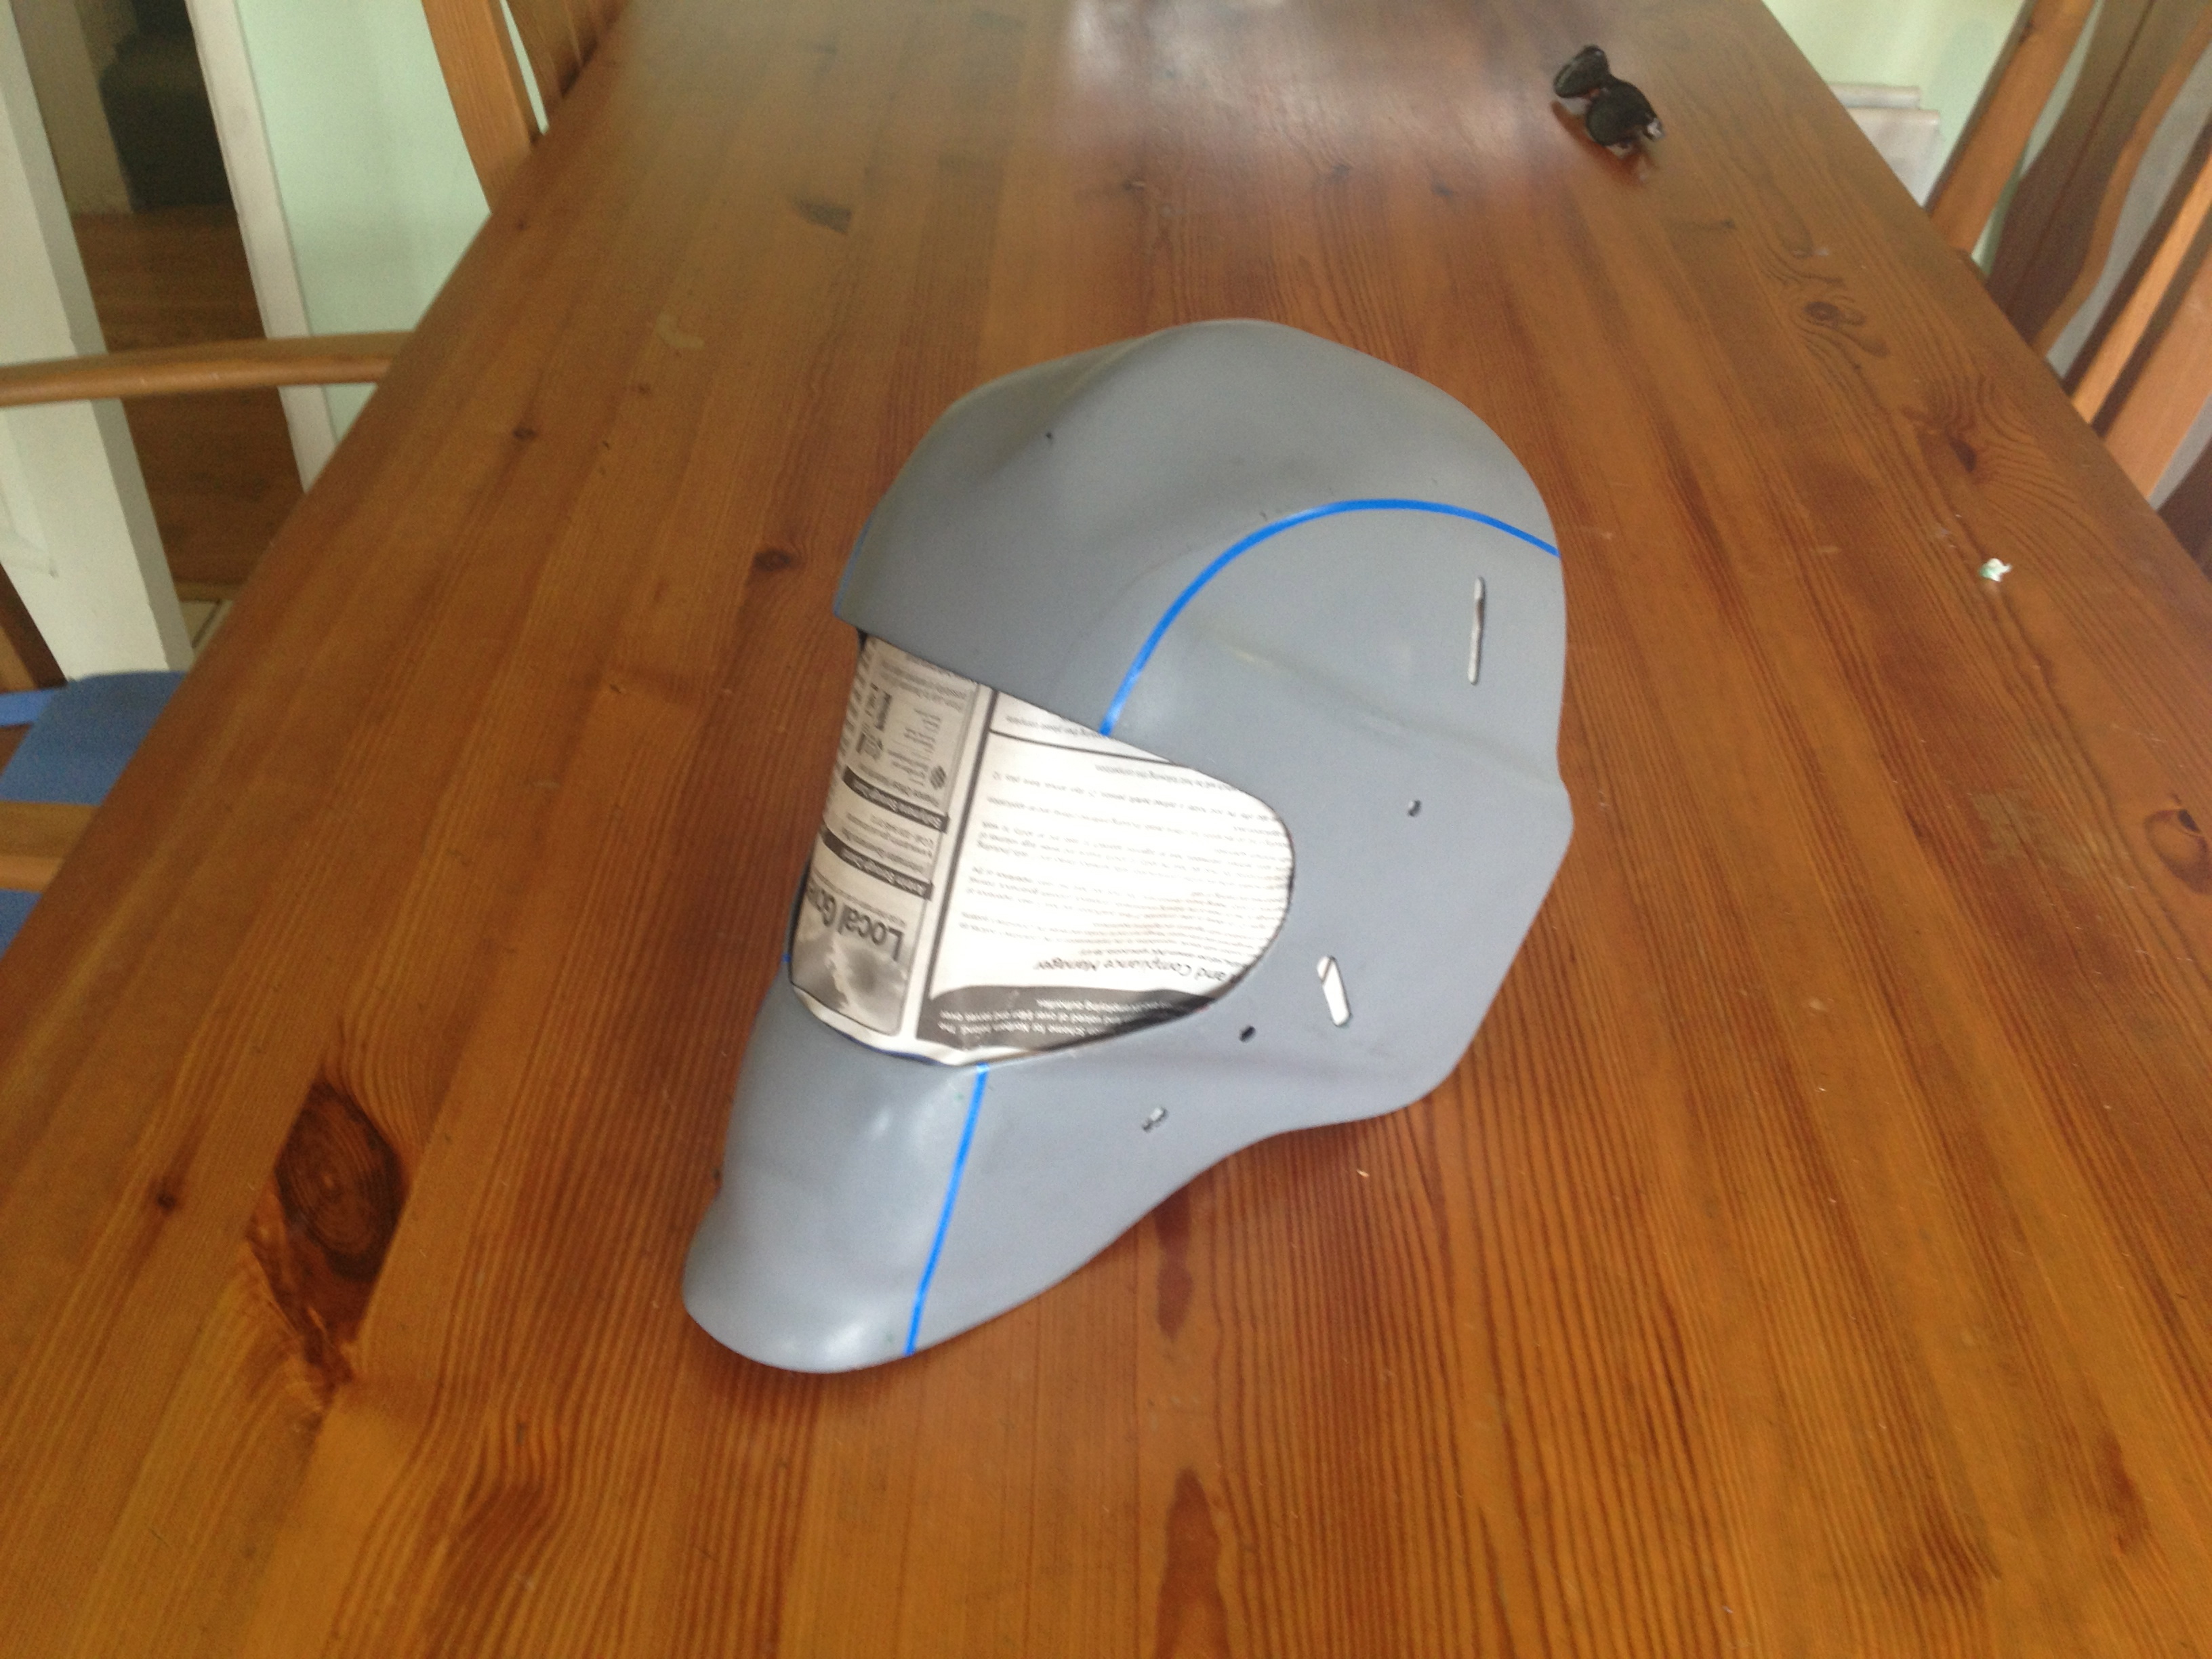
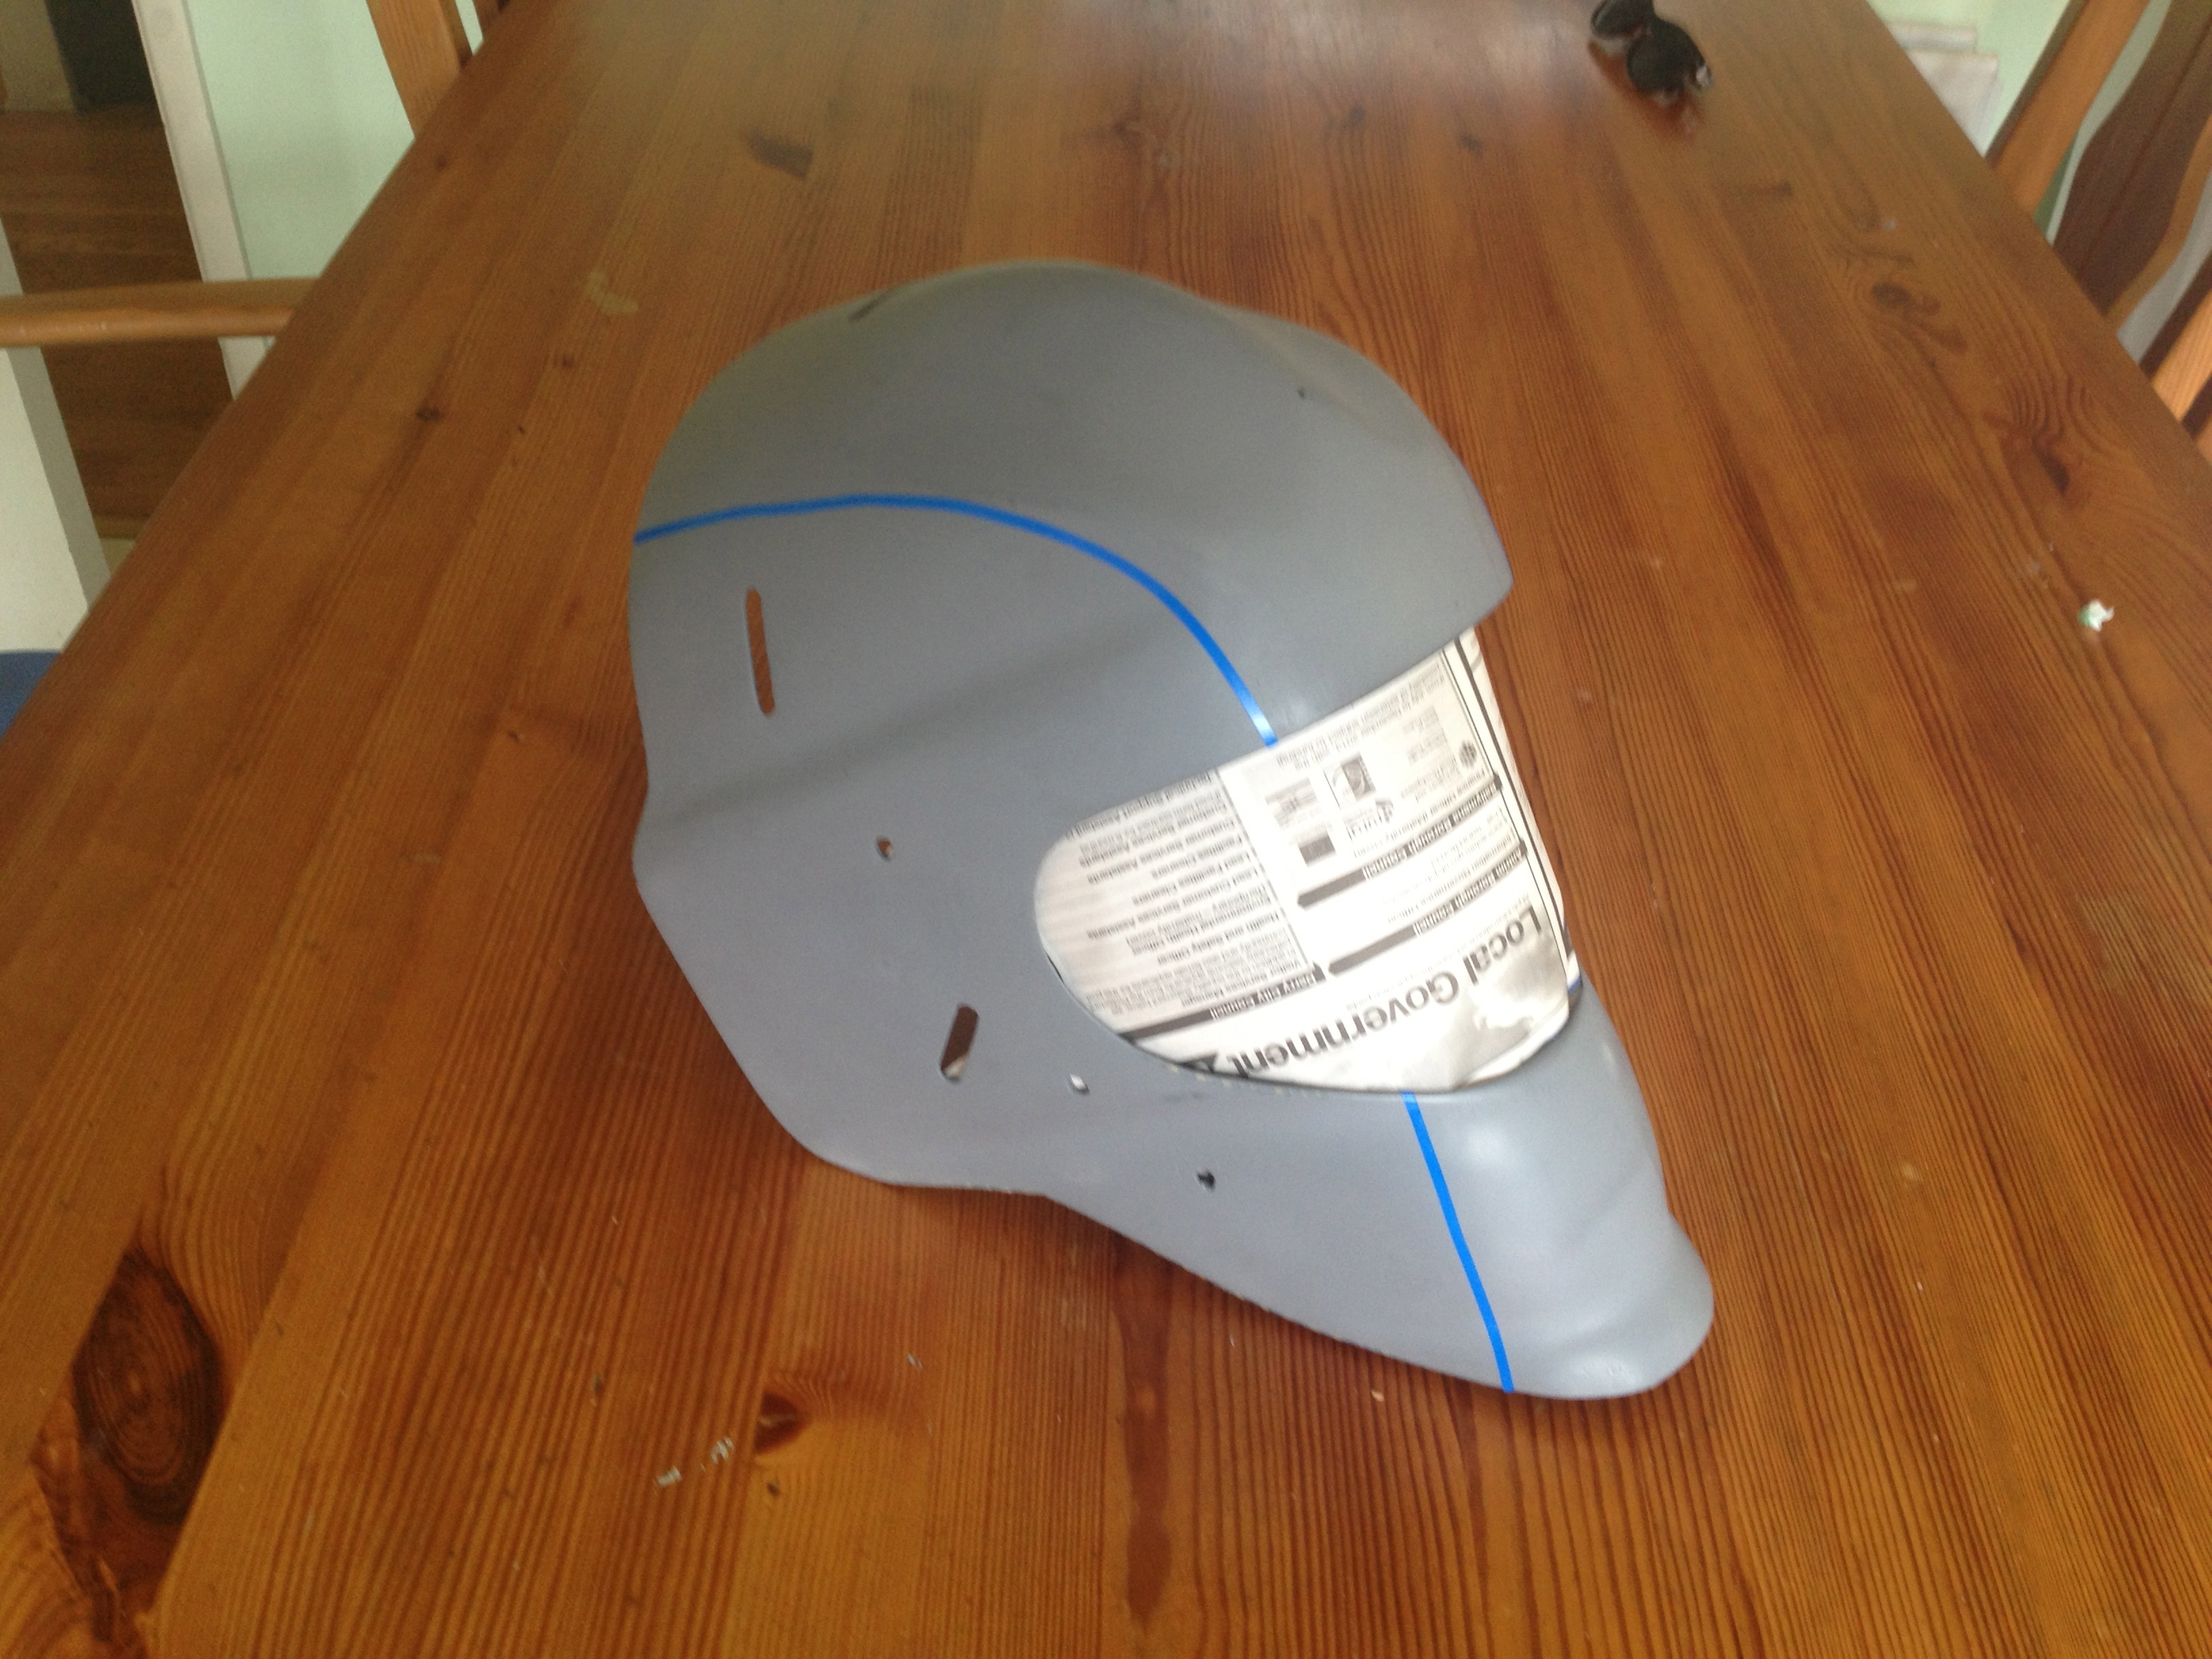
Repeat this step as much as necessary. I had to do it twice as I missed some small chips after the first pass with the filler. I ran out of the white paint, so I used a spare can of grey for the second run, which is shown below.
Below are both steps, after applying two separate passes of the filler material


Step 6 – Undercoat
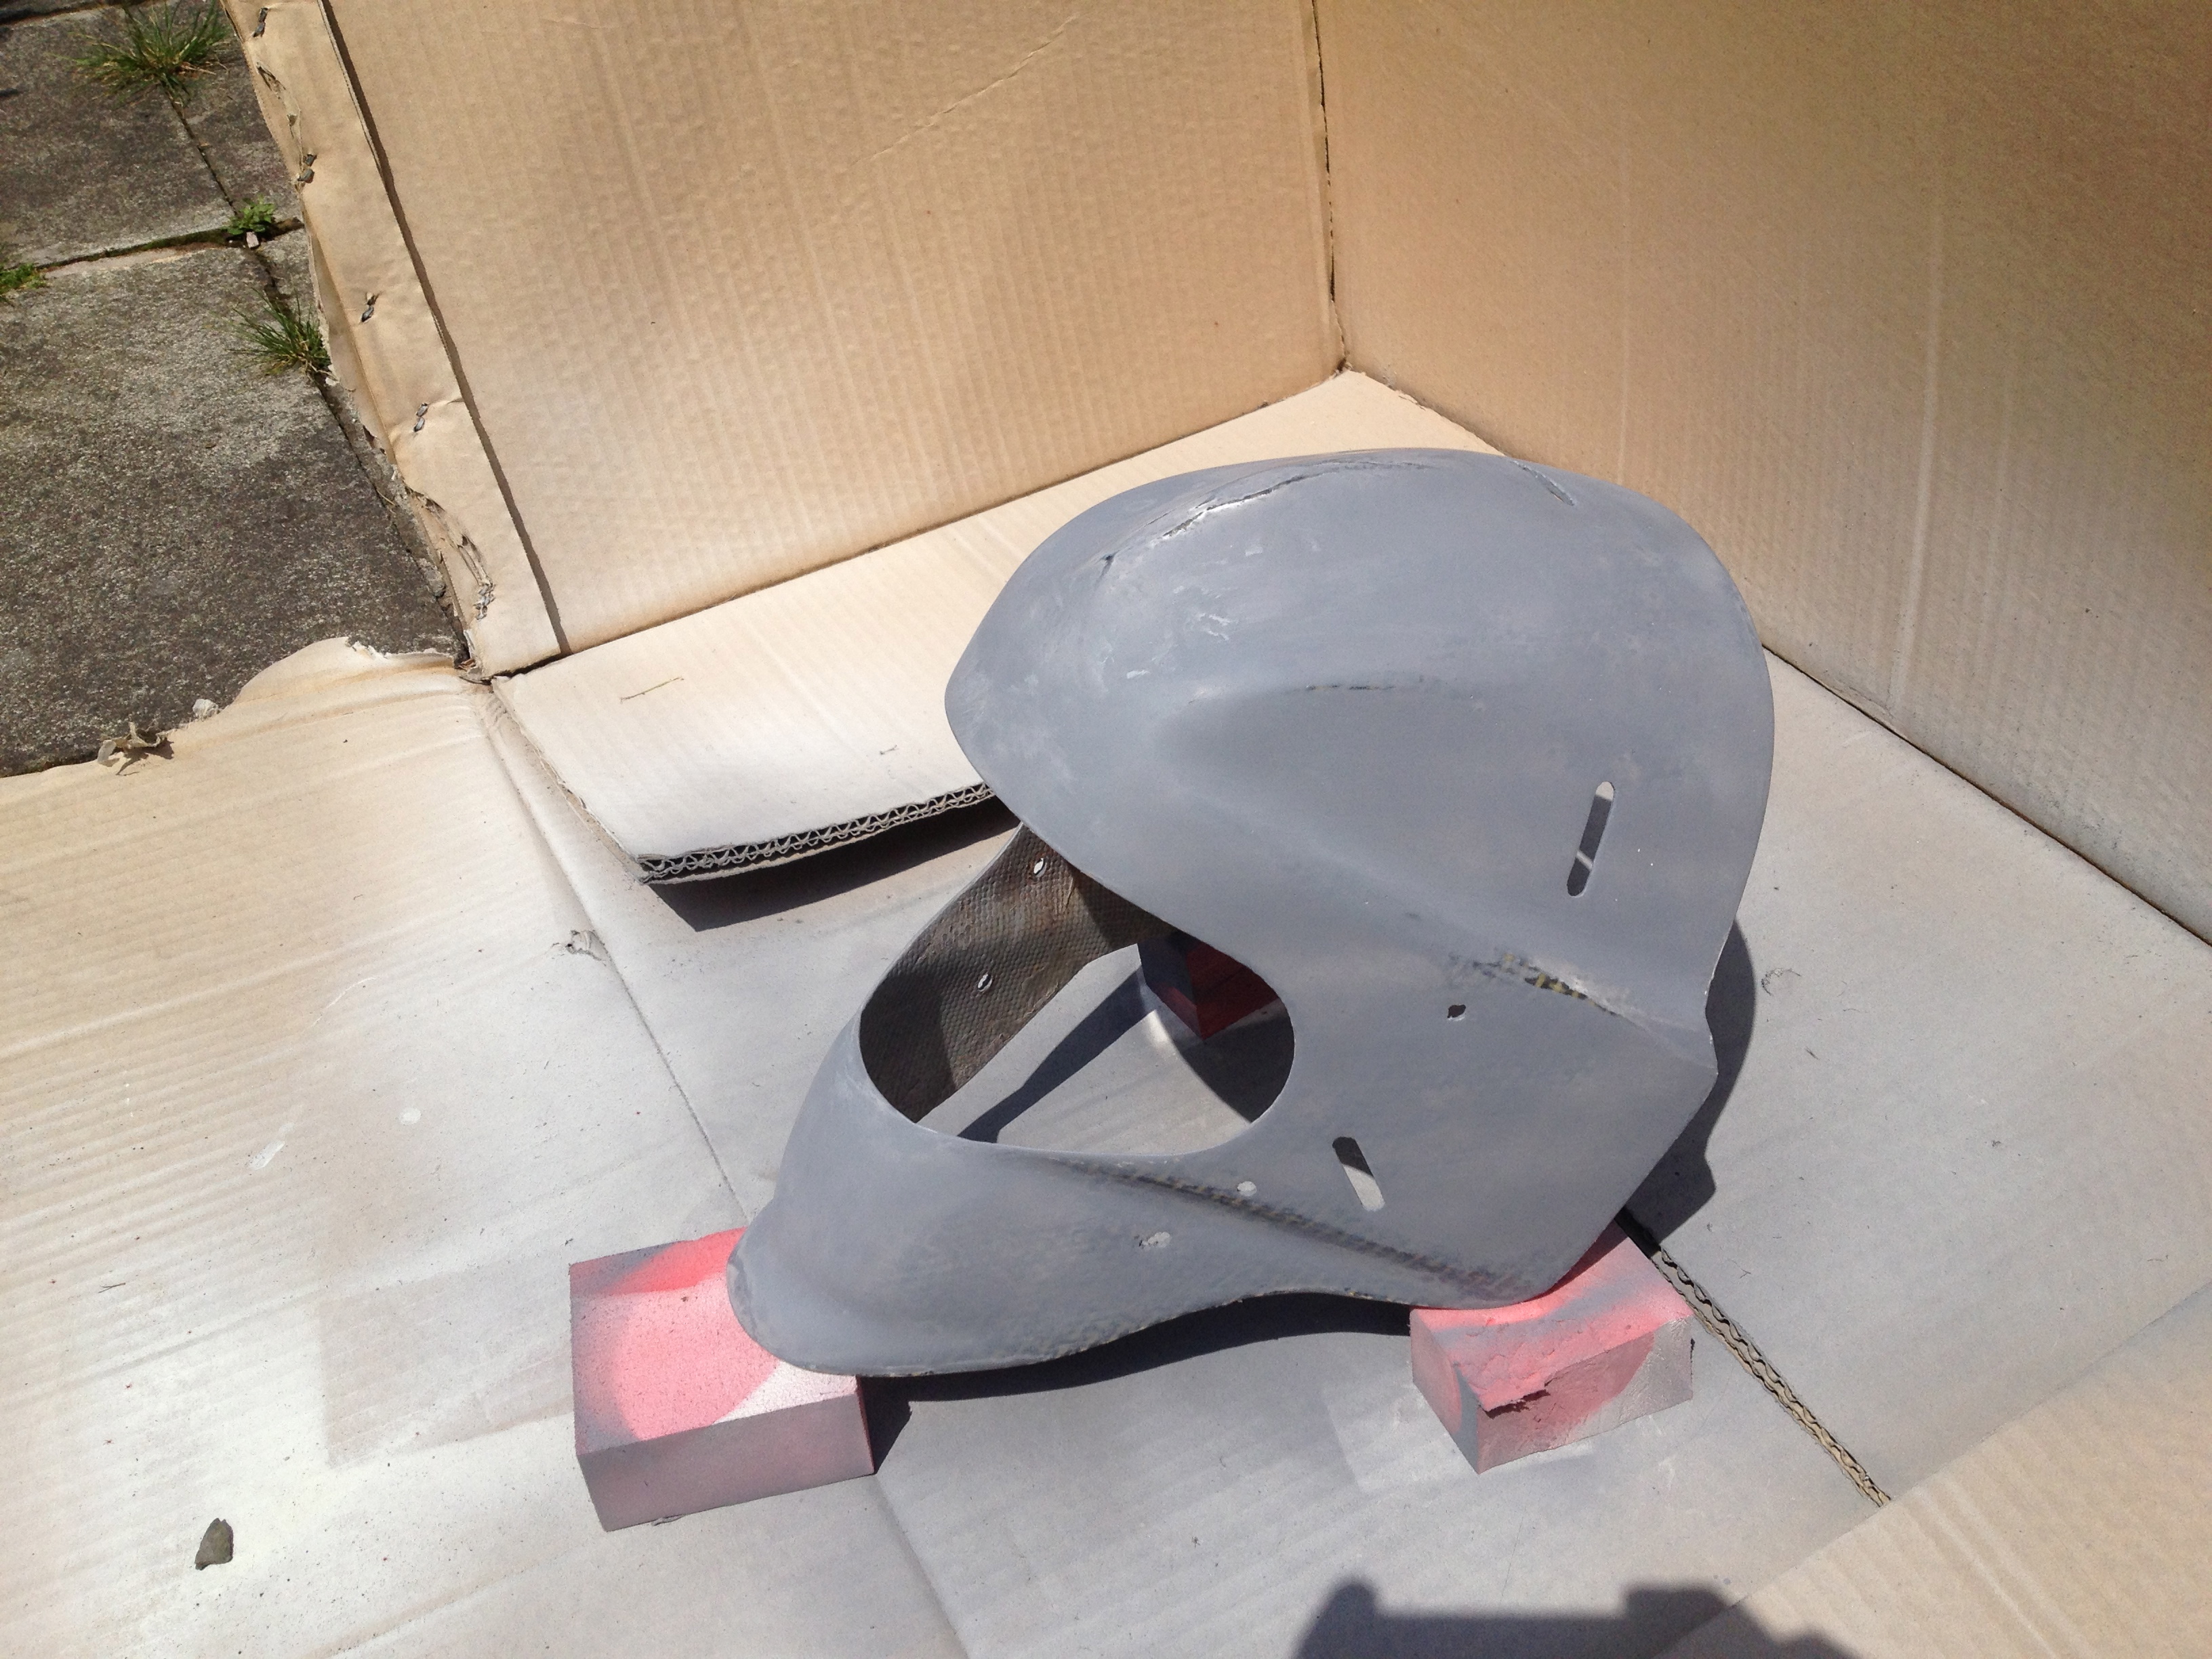
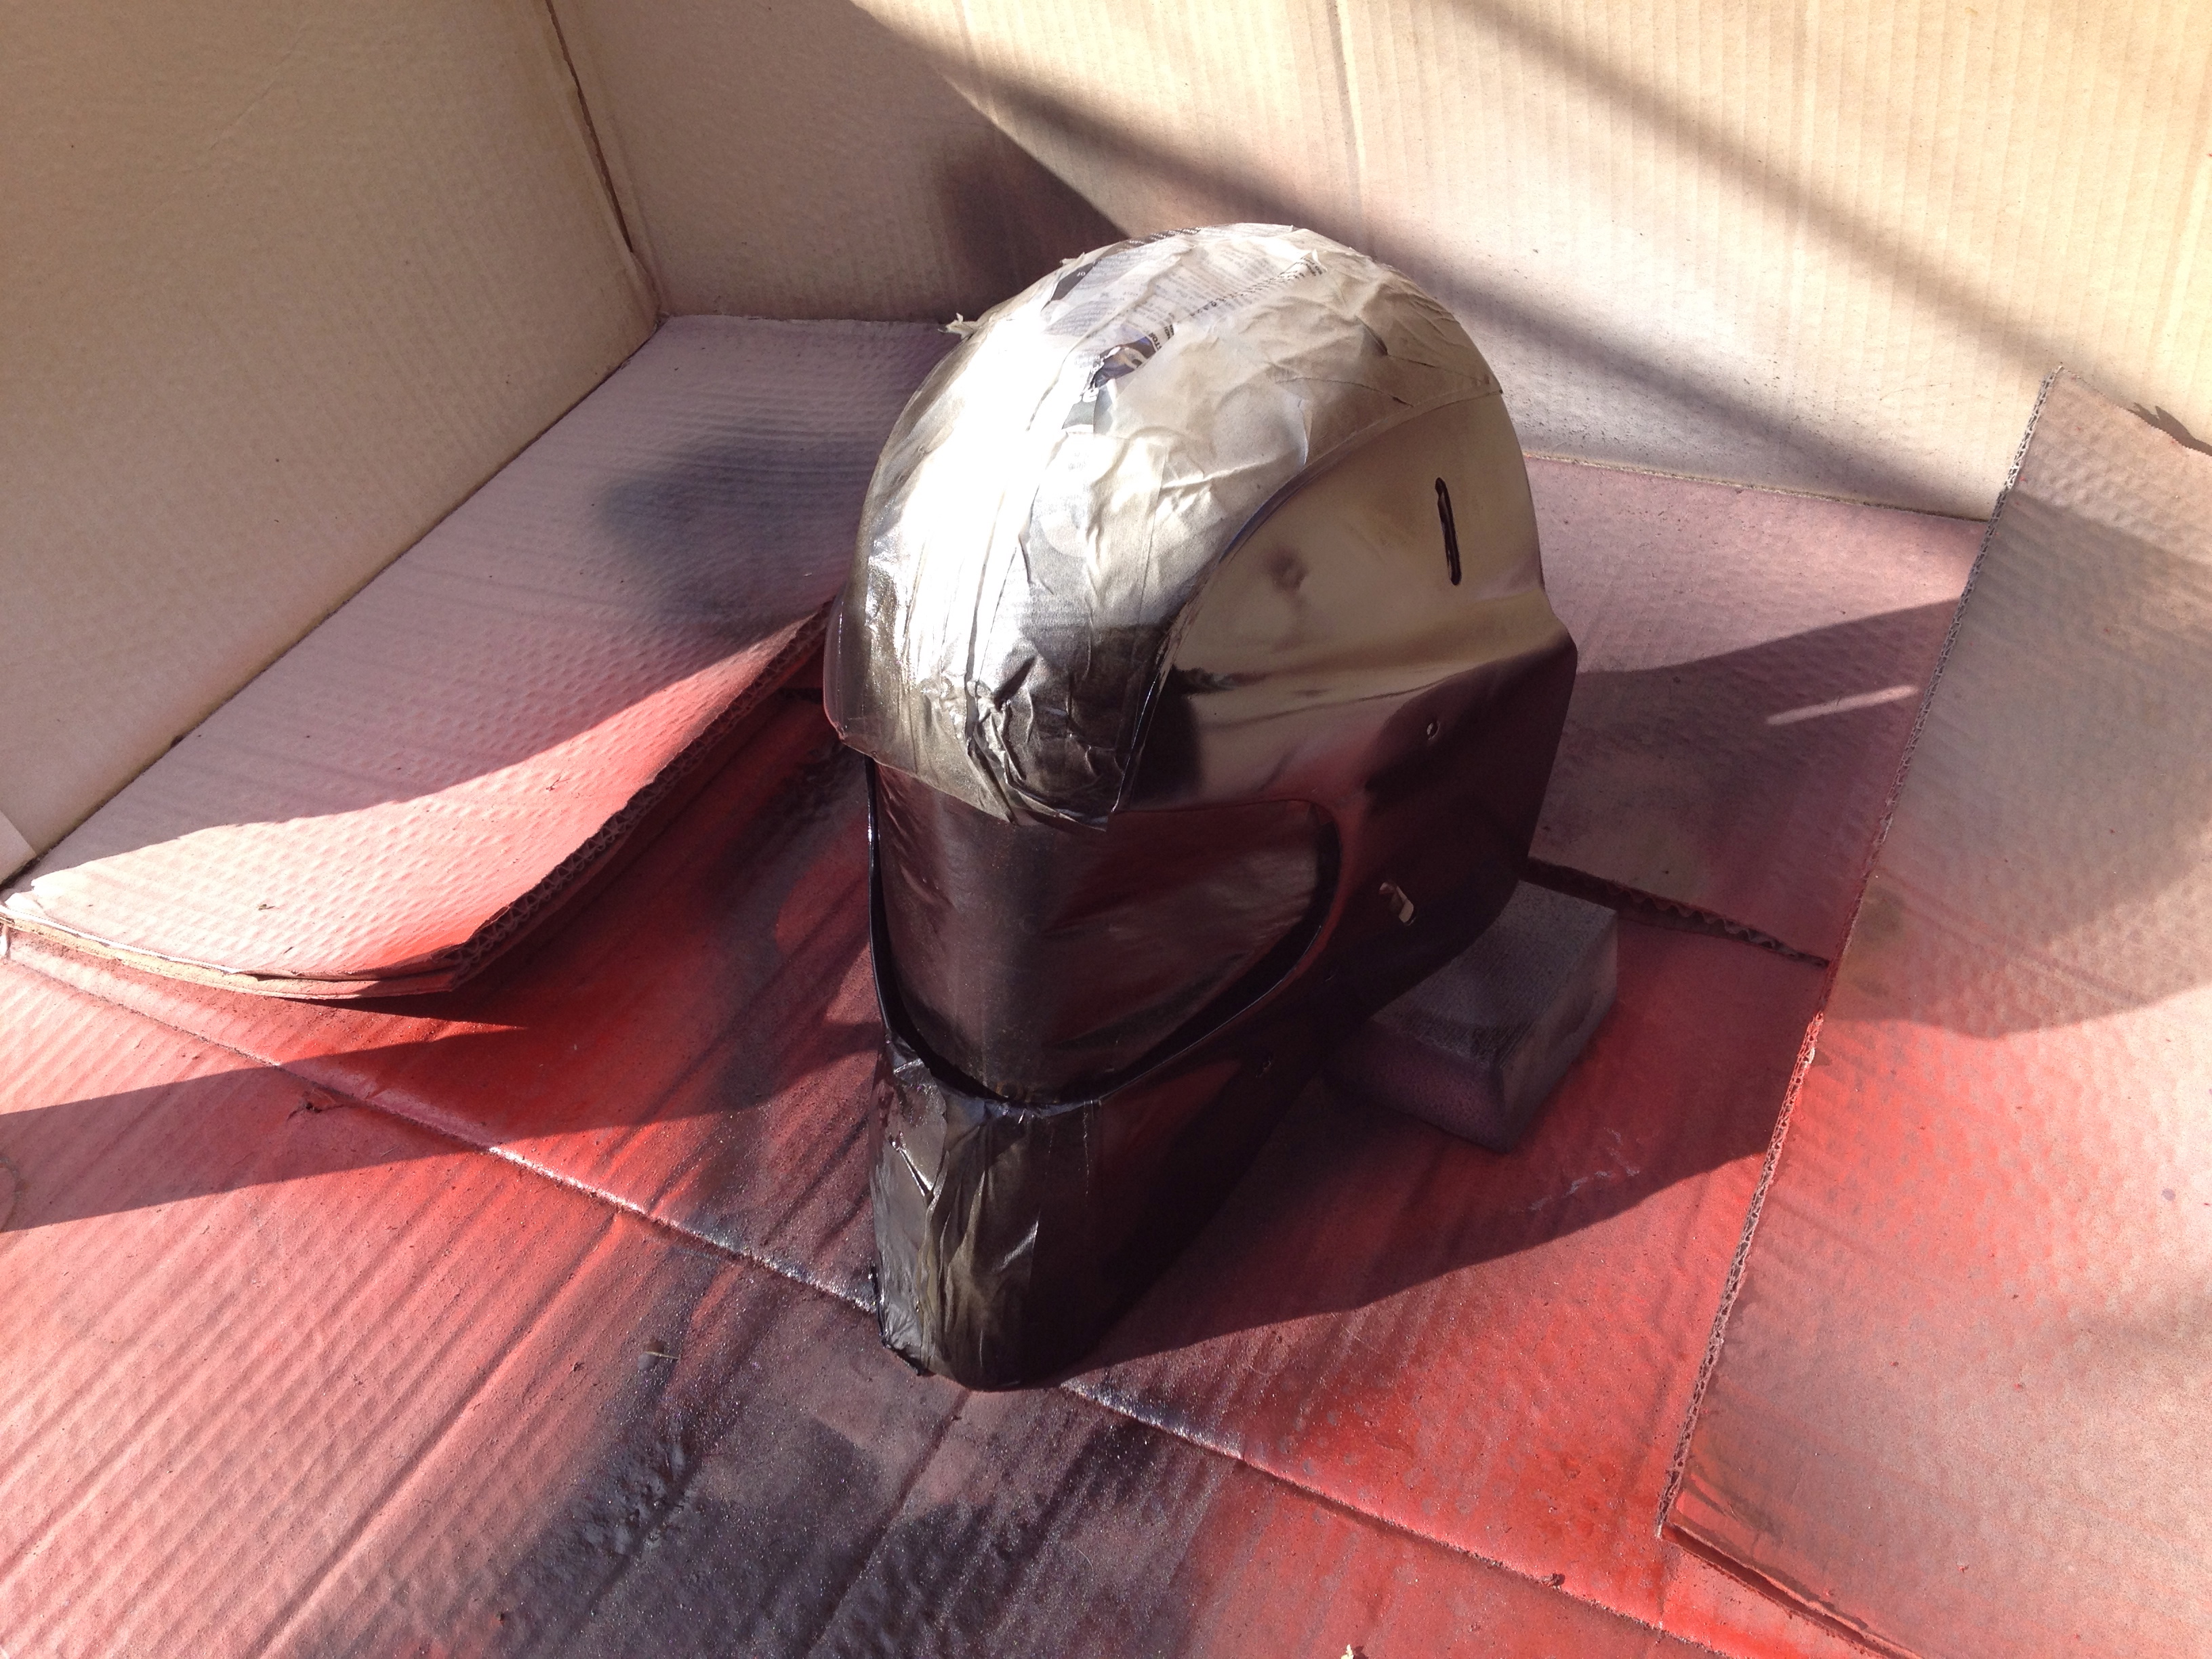
The general procedure for spray painting is to spray a large number of thin coats, using the wet and dry in between coats. This is the best procedure to follow for the best finish, i.e. to avoid drips and to provide a smooth finish. Take the meths and degrease the helmet surface. After this is dry, gently and carefully go over the surface with the 120 grade wet and dry. Then take the spray undercoat and shake for the recommended time, usually 2/3 minutes. Spray the work from the recommended distance, remembering to spray evenly by starting and finishing off the helmet.

Here is my set up. The helmet is propped on three corners by some pieces of foam. It is about an inch and a half to easily access the lower surface and to avoid the helmet becoming stuck to the cardboard.
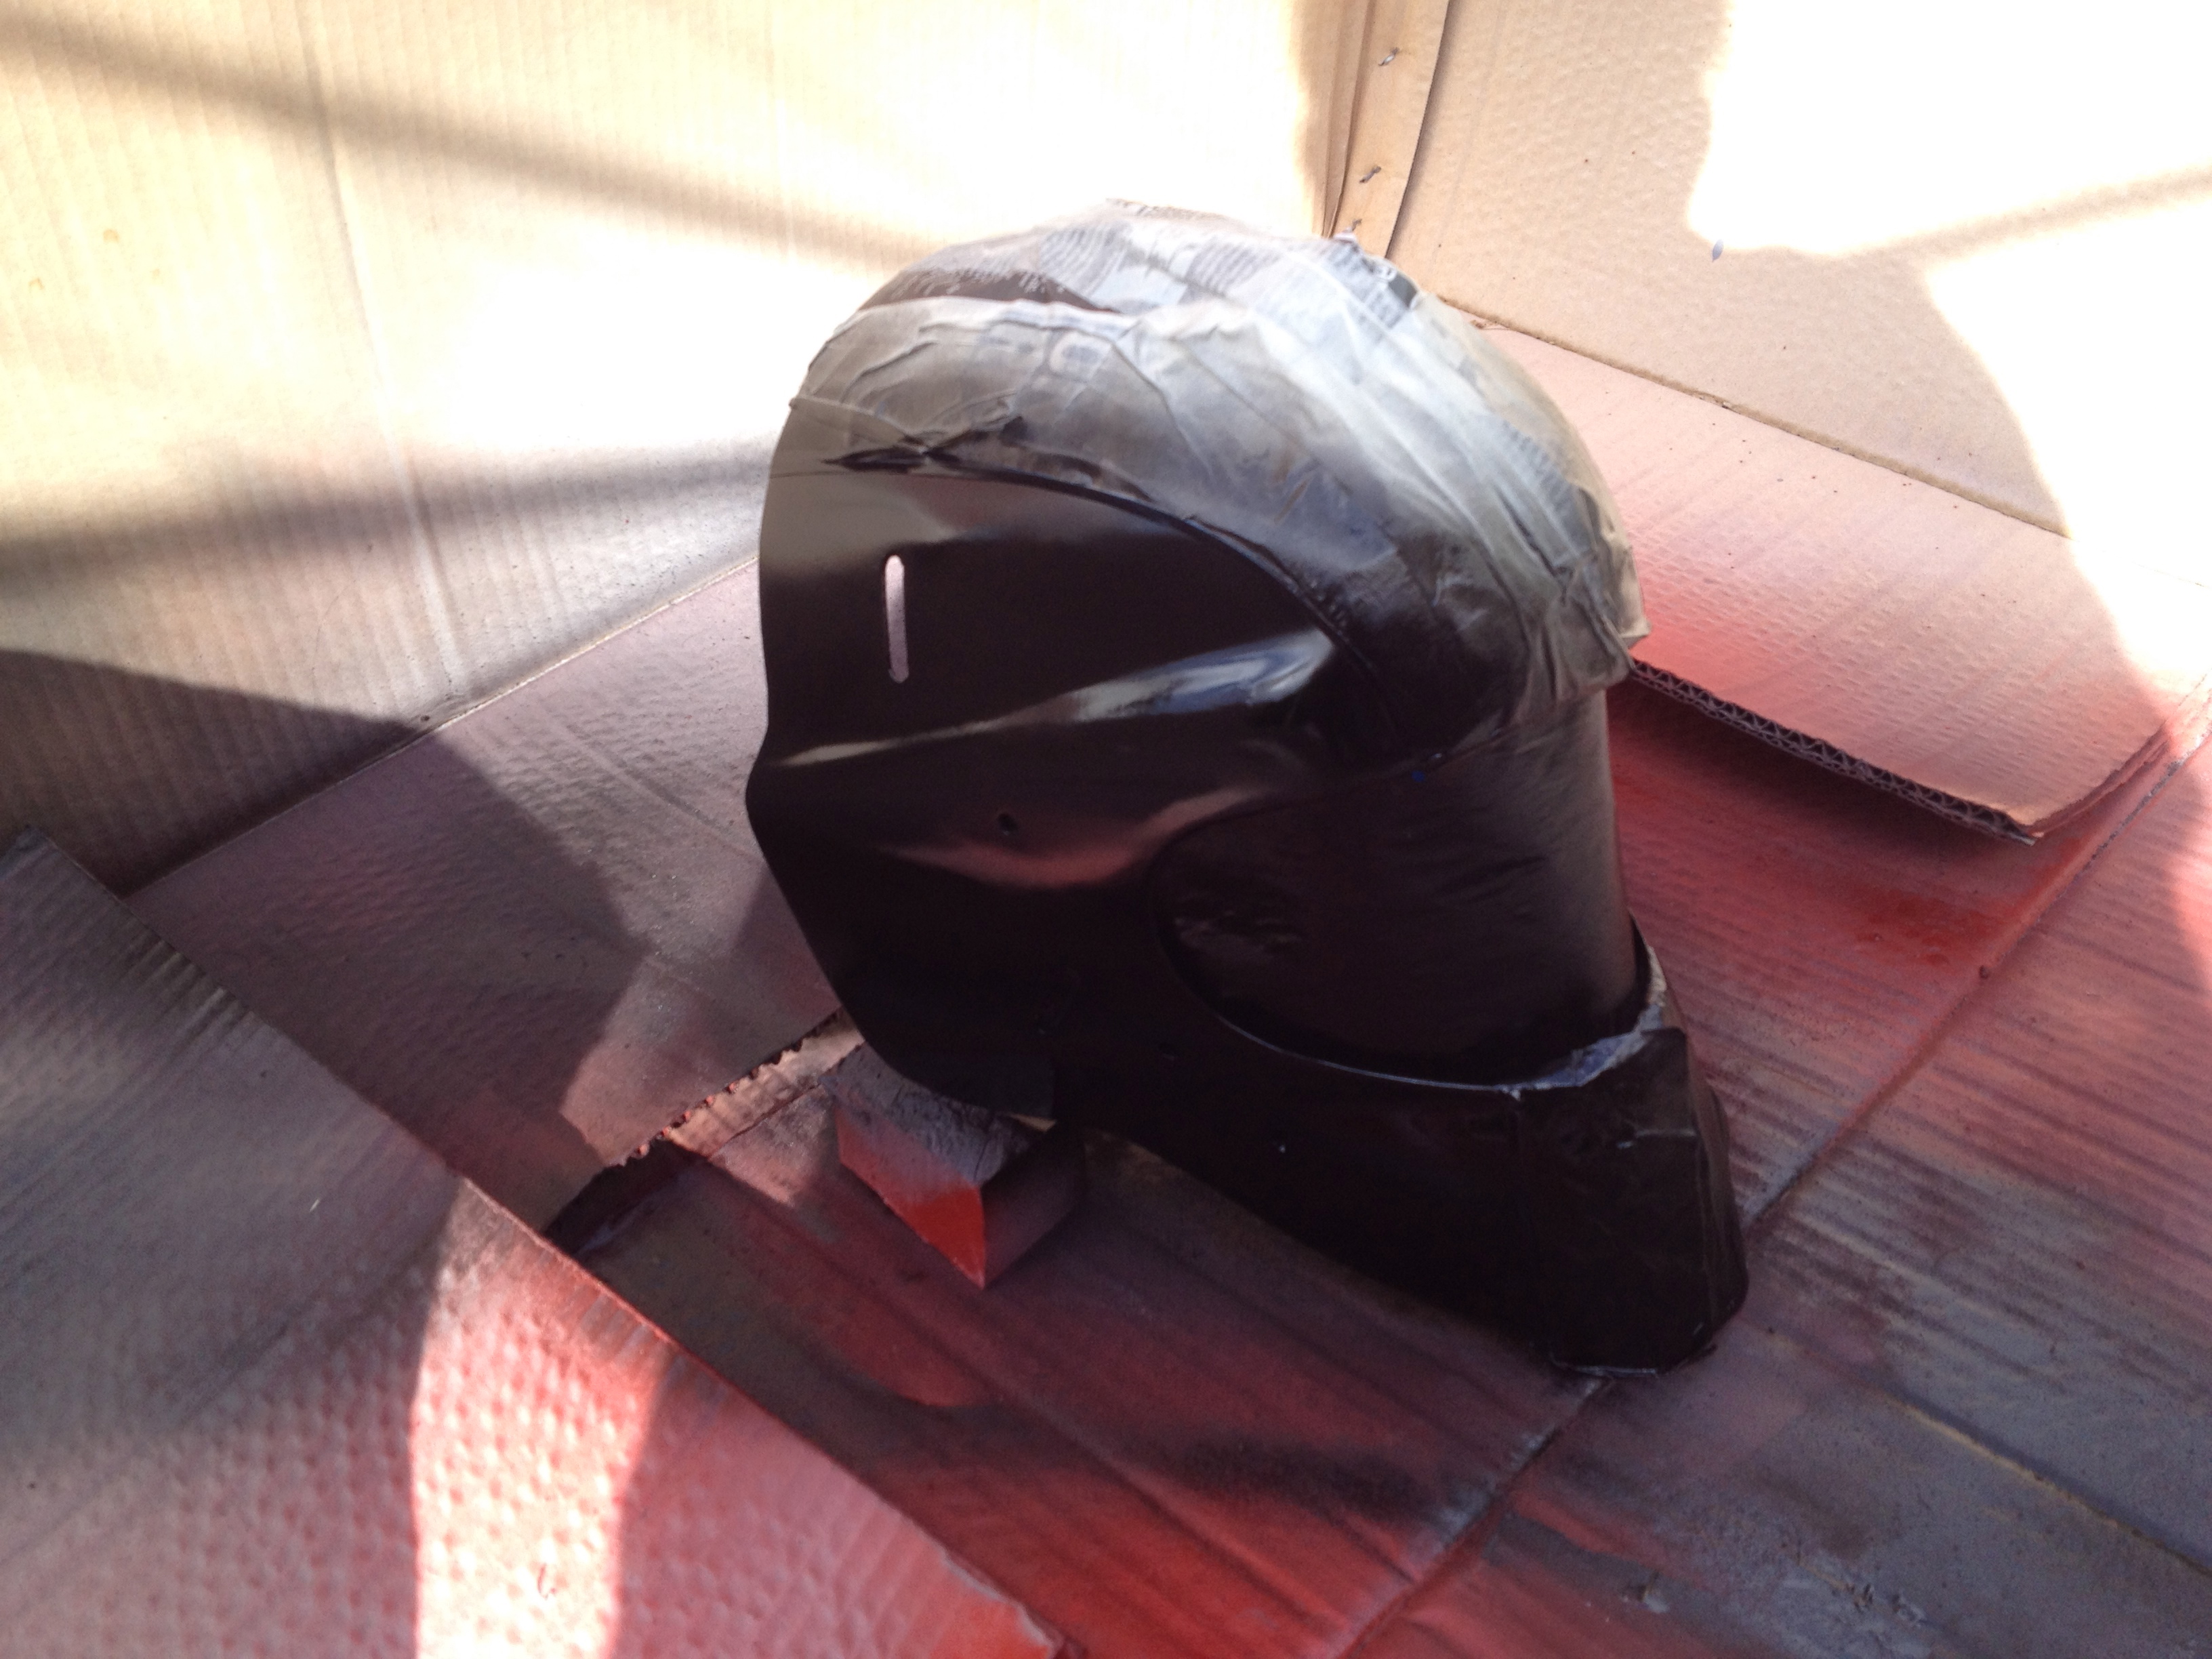
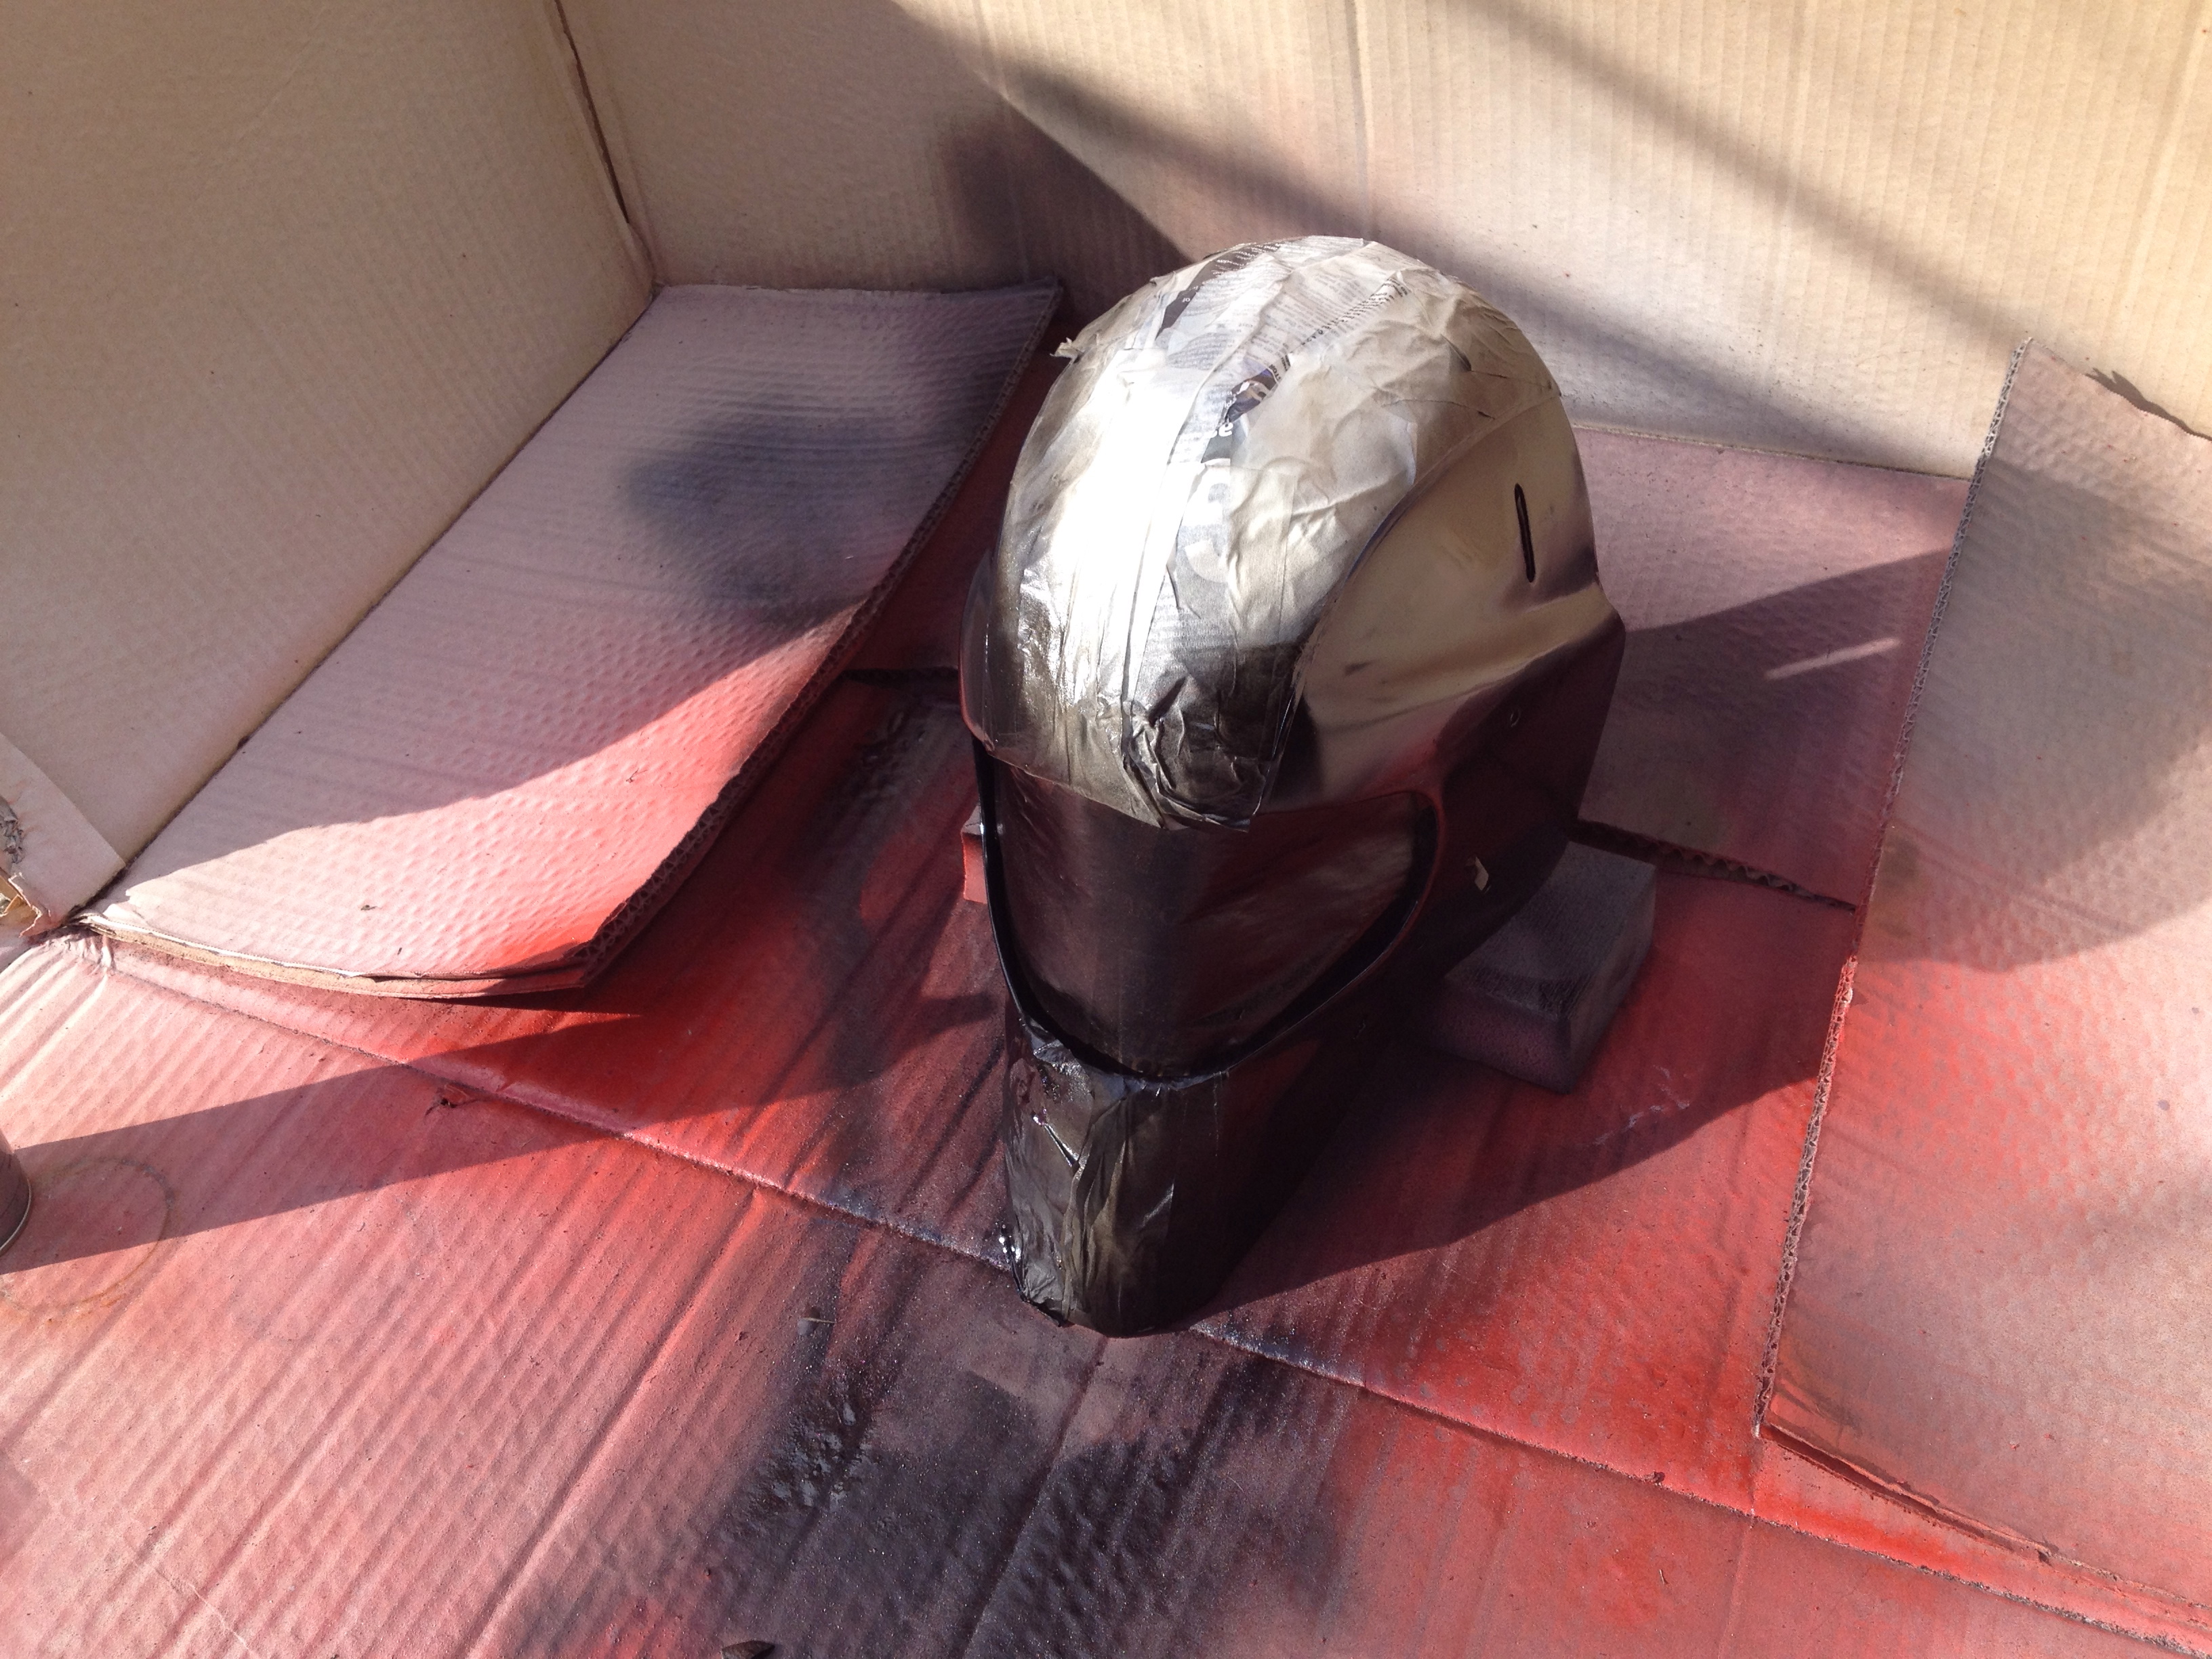
Leave the paint to dry for the recommended time. I had a lucky couple of days where it was sunny, warm and dry, so I had about an hours turn around in between coats. After each coat is dry, take the 1200 grade wet and dry, wet it and sand down the surface until smooth. Repeat as required until the undercoat is uniform and smooth and ready for painting. I did as many coats as my spray can would allow, which was about 5.
I left the large grill hole of the helmet open, as after this, I applied one coat of undercoat and a quick black coat of spare plasti-kote to the inside of the helmet as well.
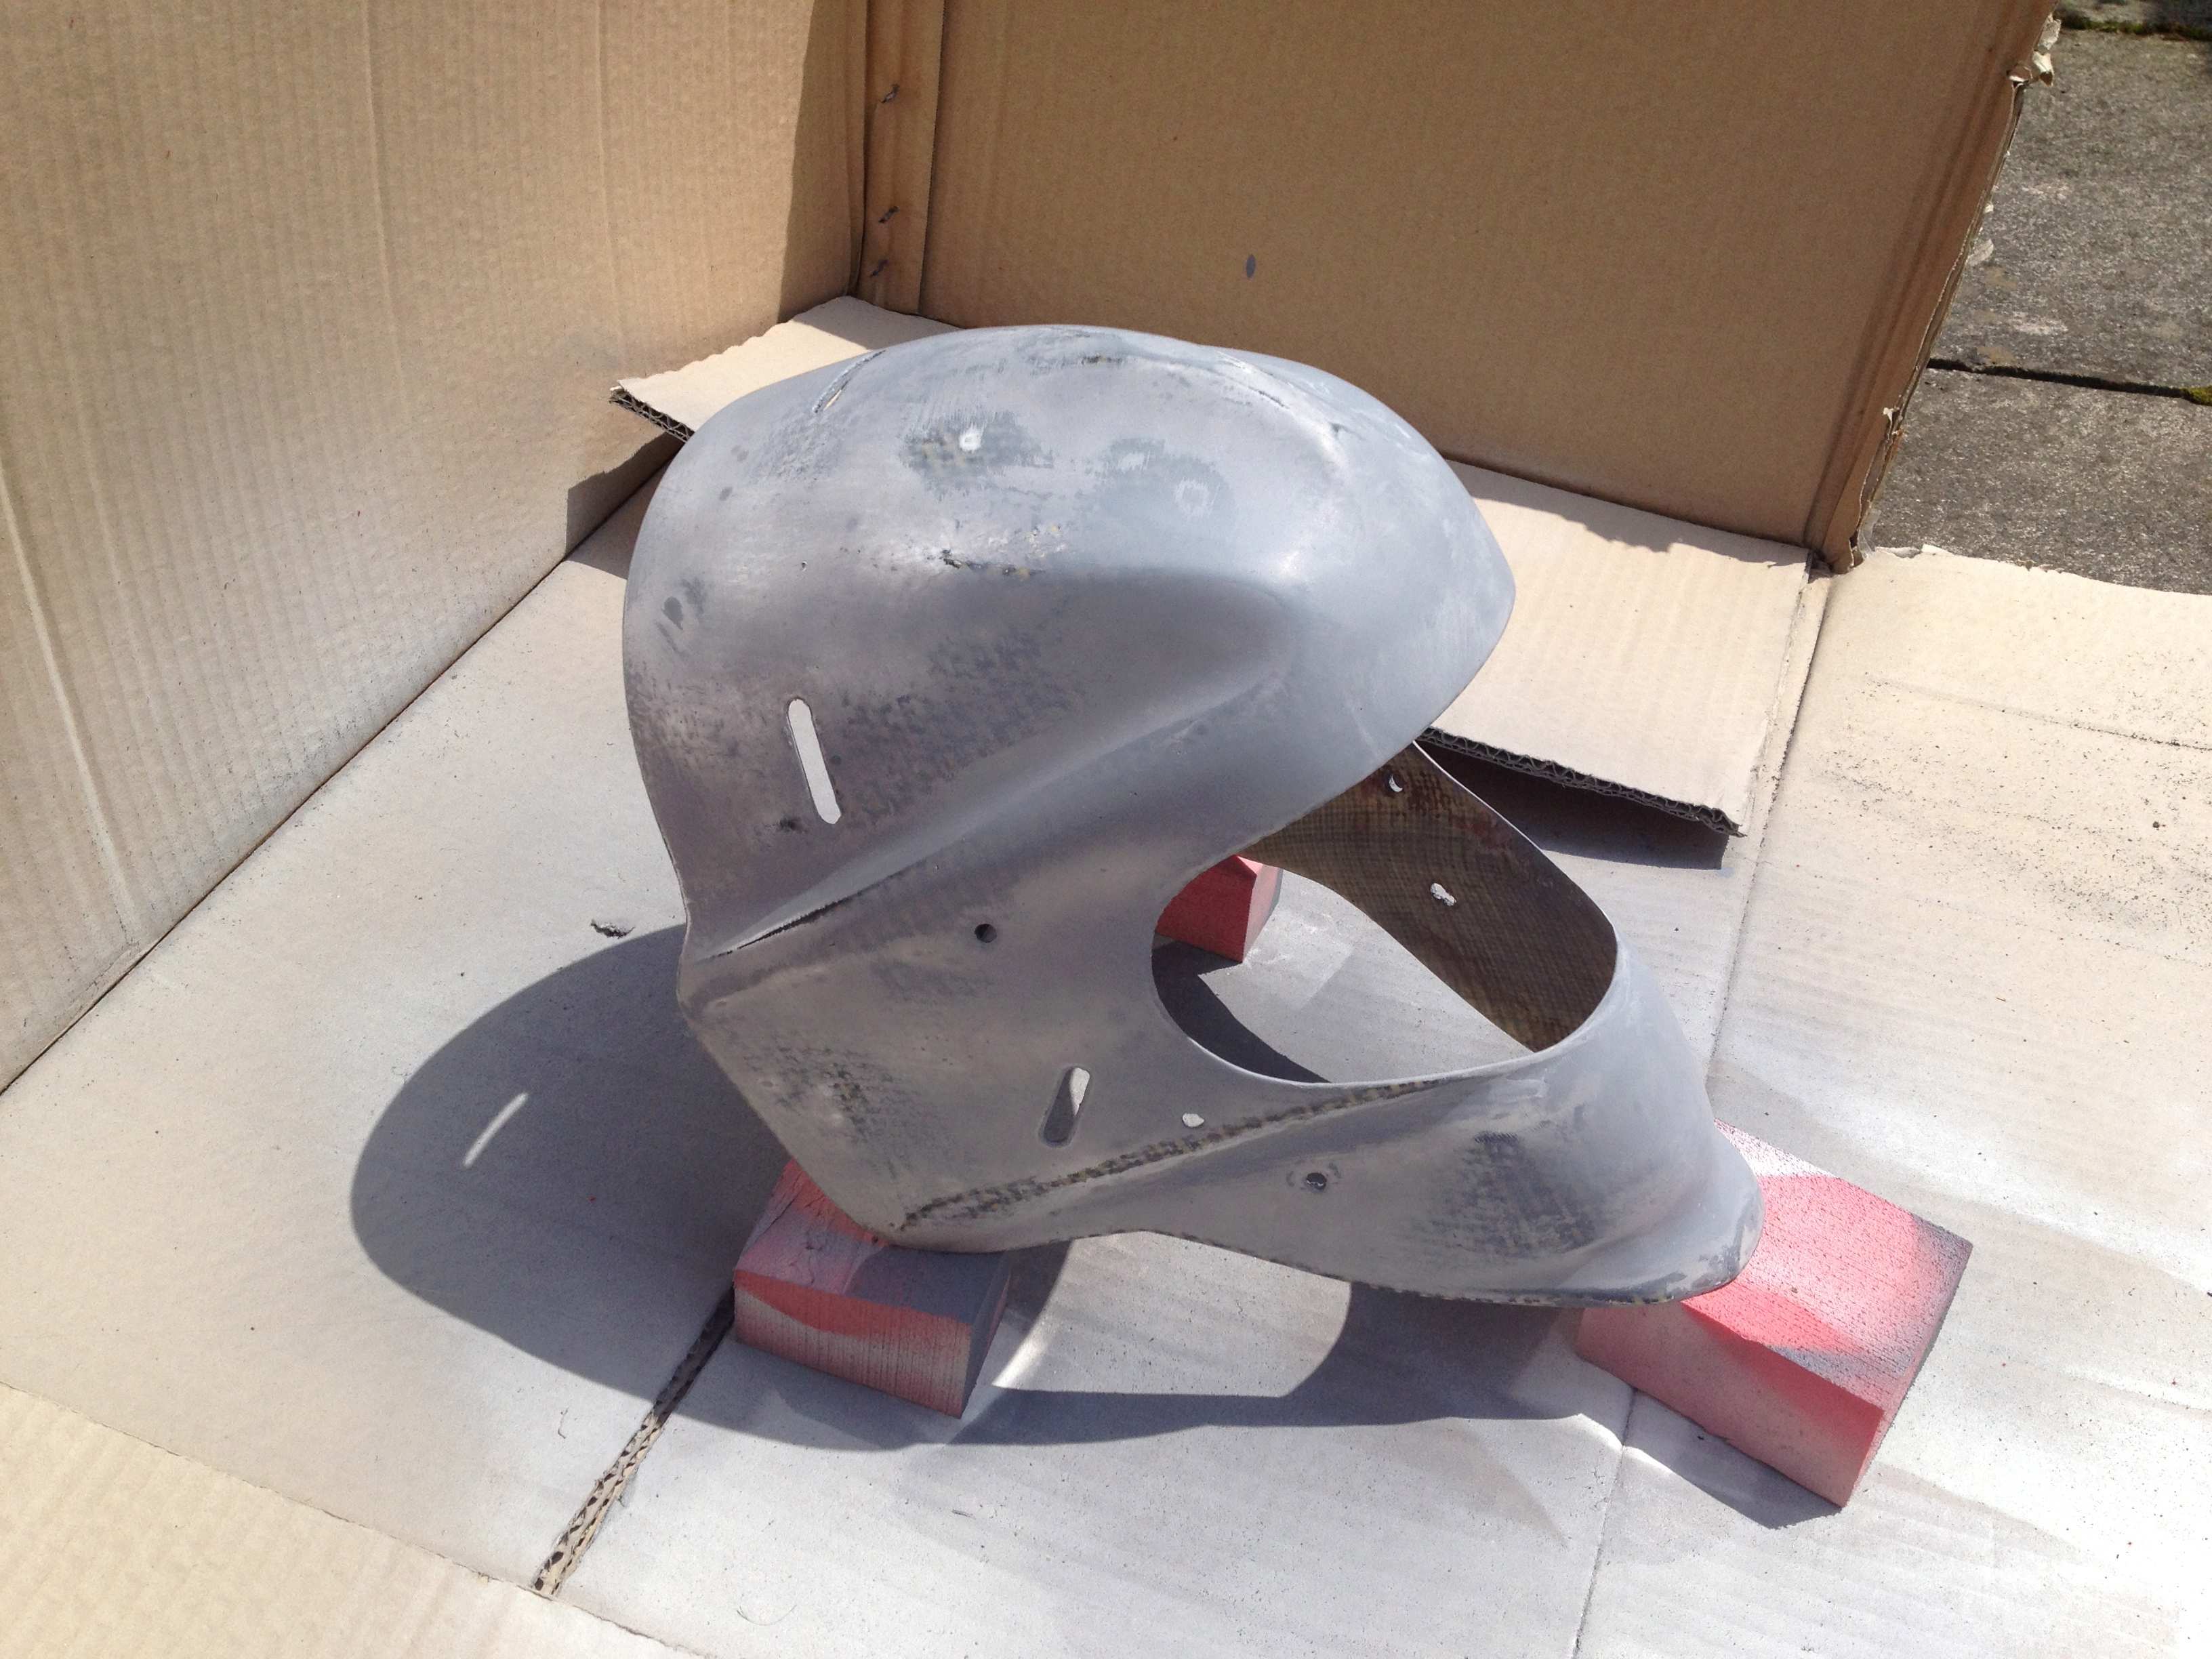
The pictures below show the helmet after the first coat. I didn’t take pictures after every coat, but needless to say the helmet was a lovely smooth solid grey at the end.
Step 7 – Masking and Preparation
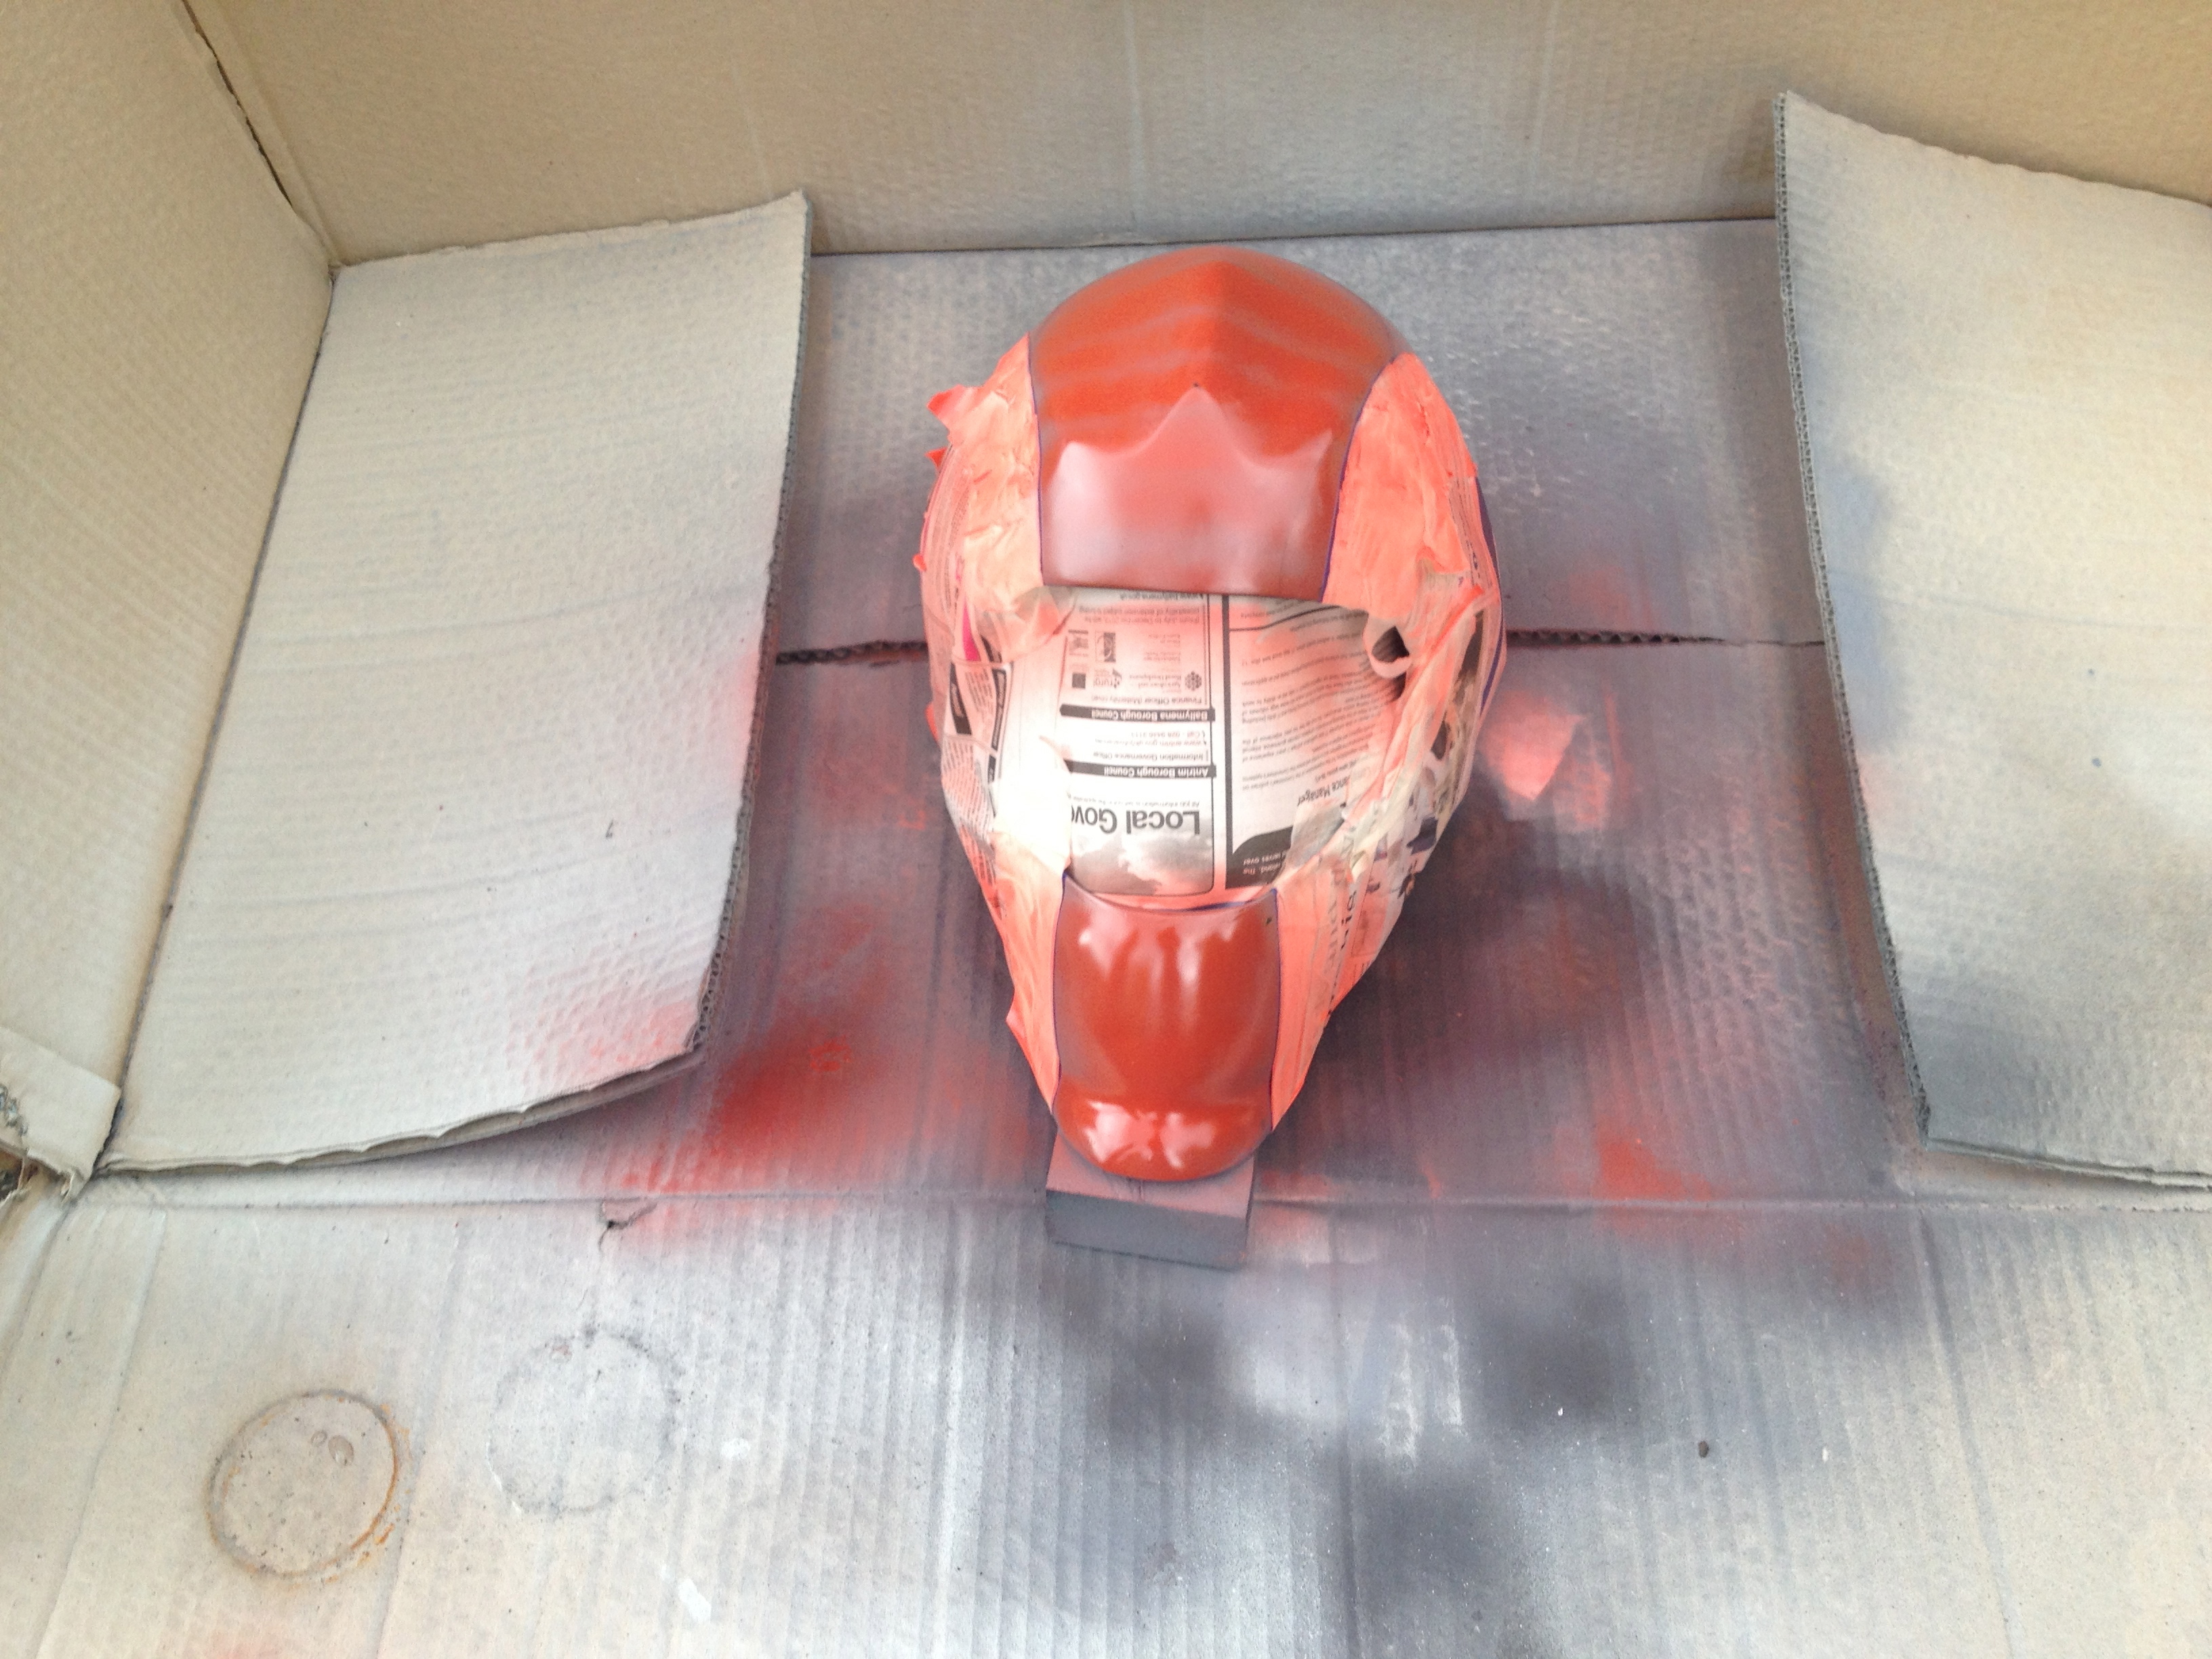
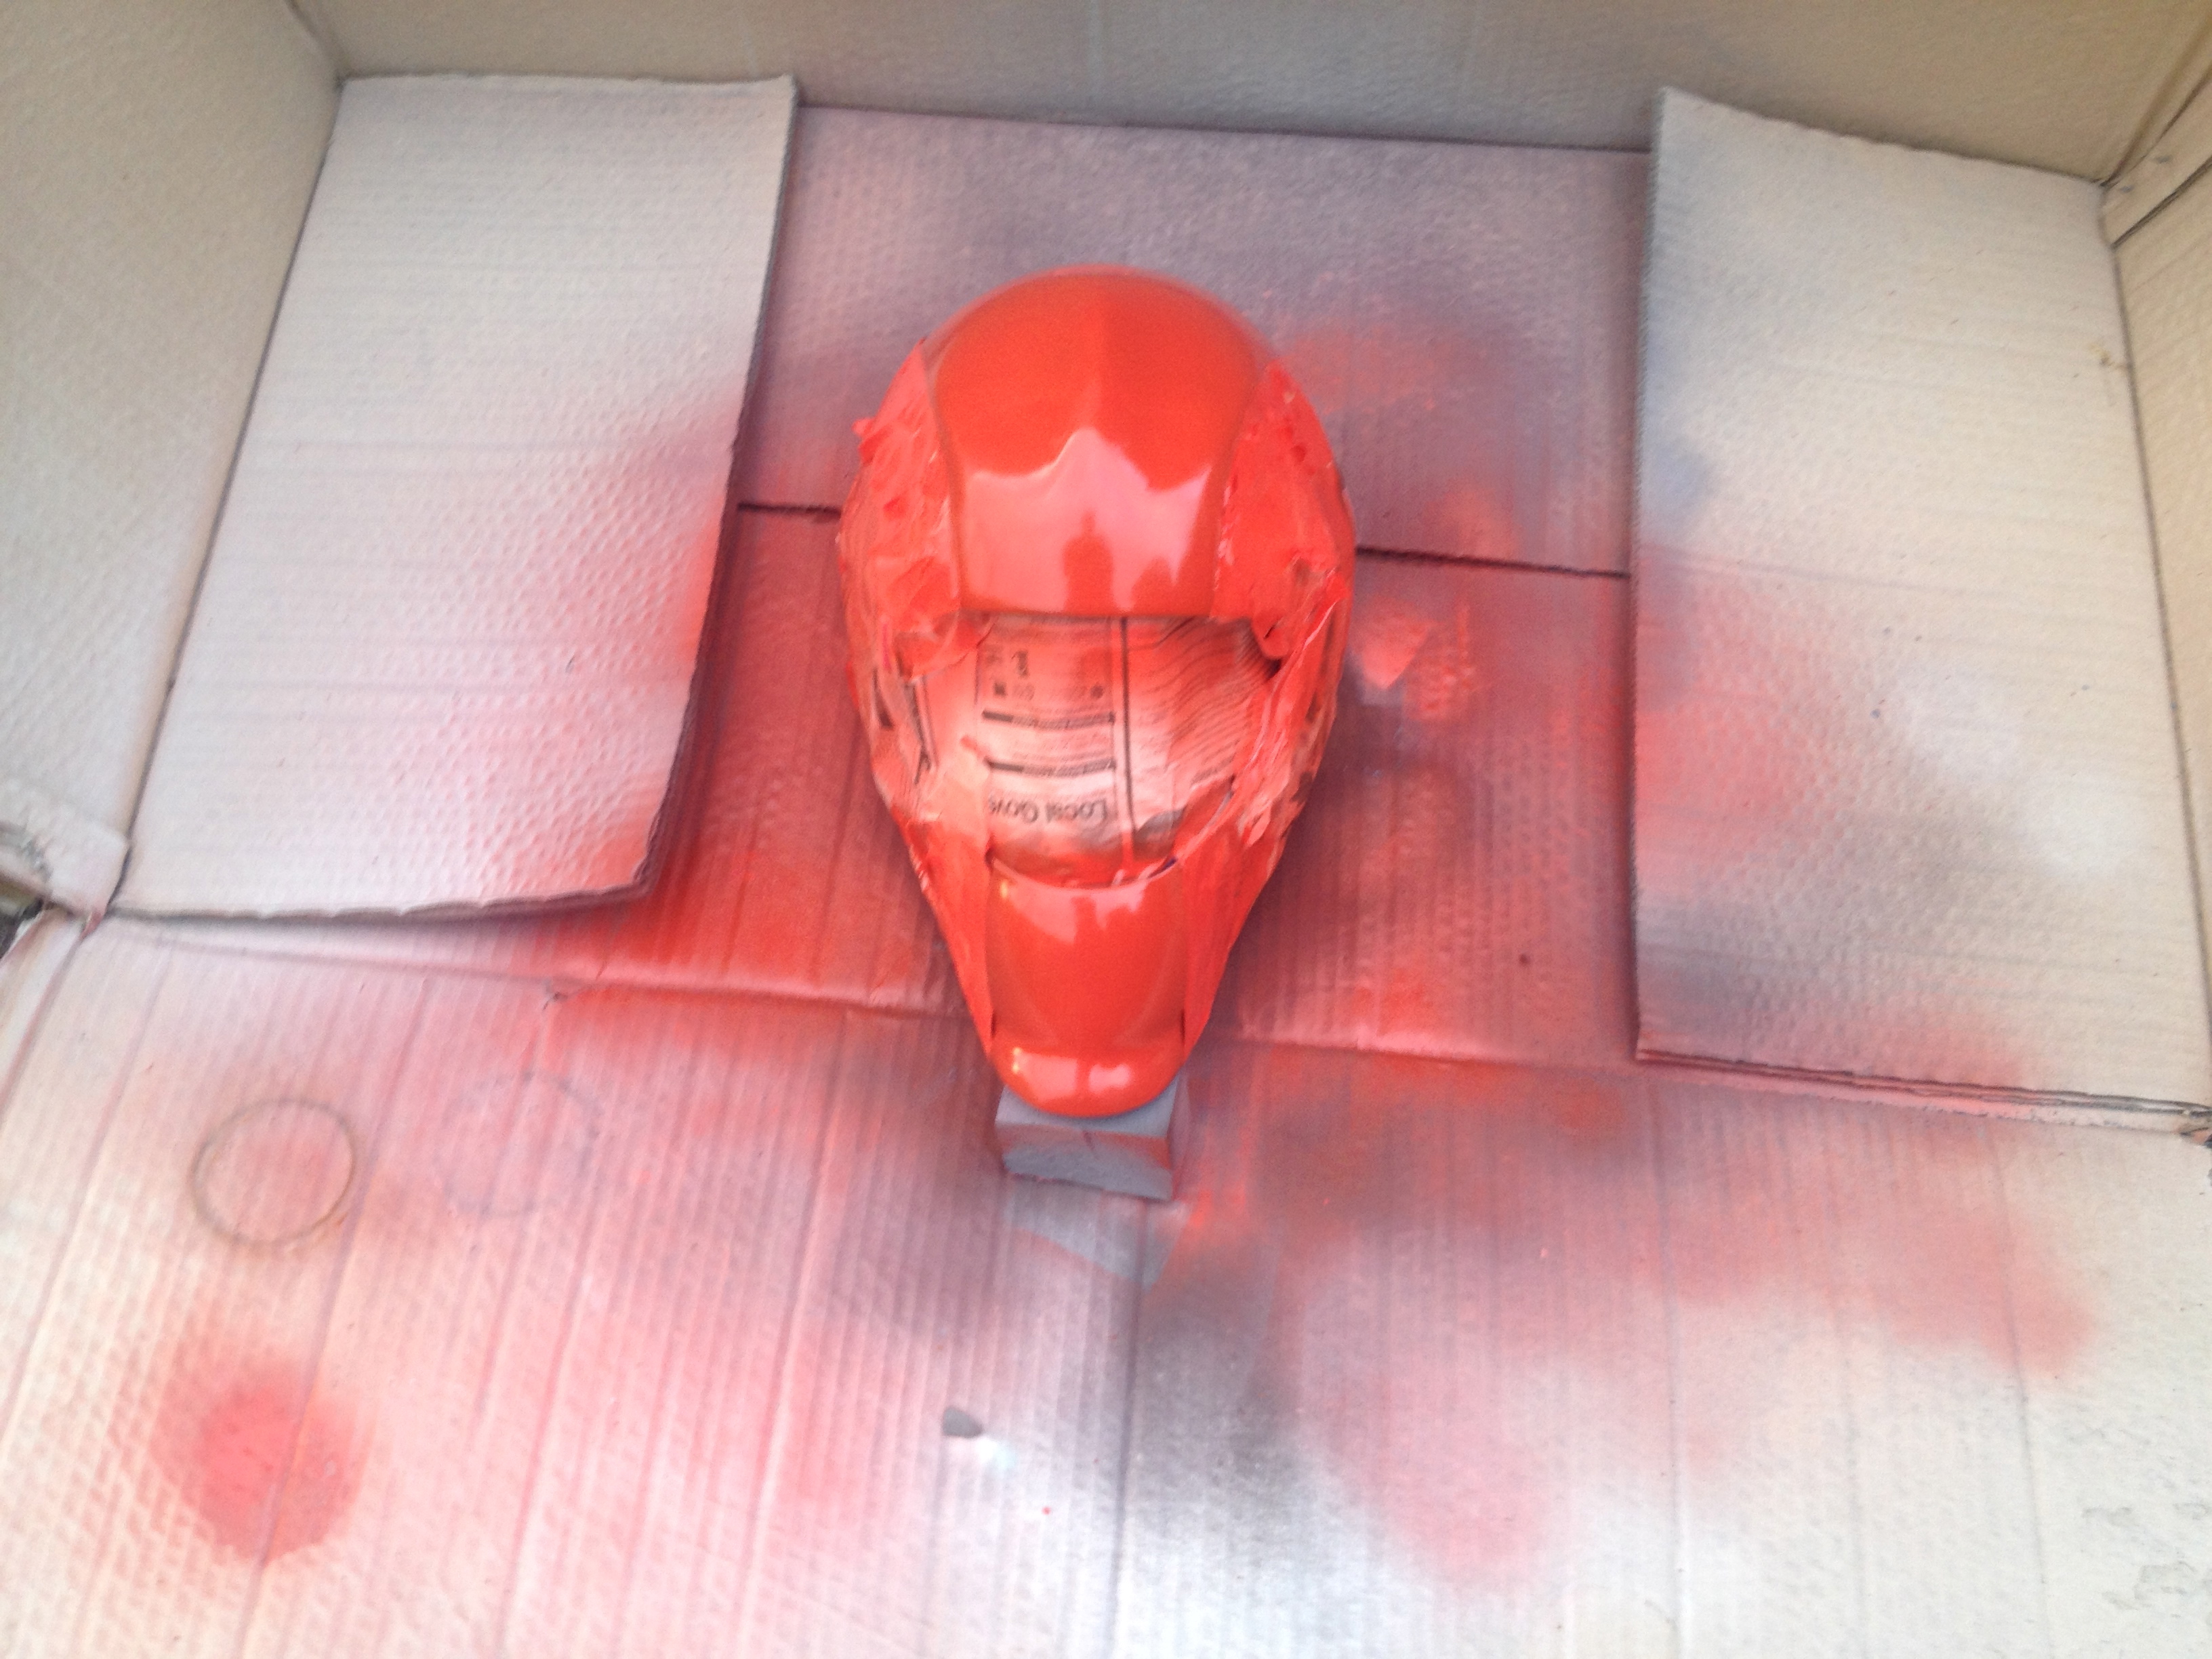
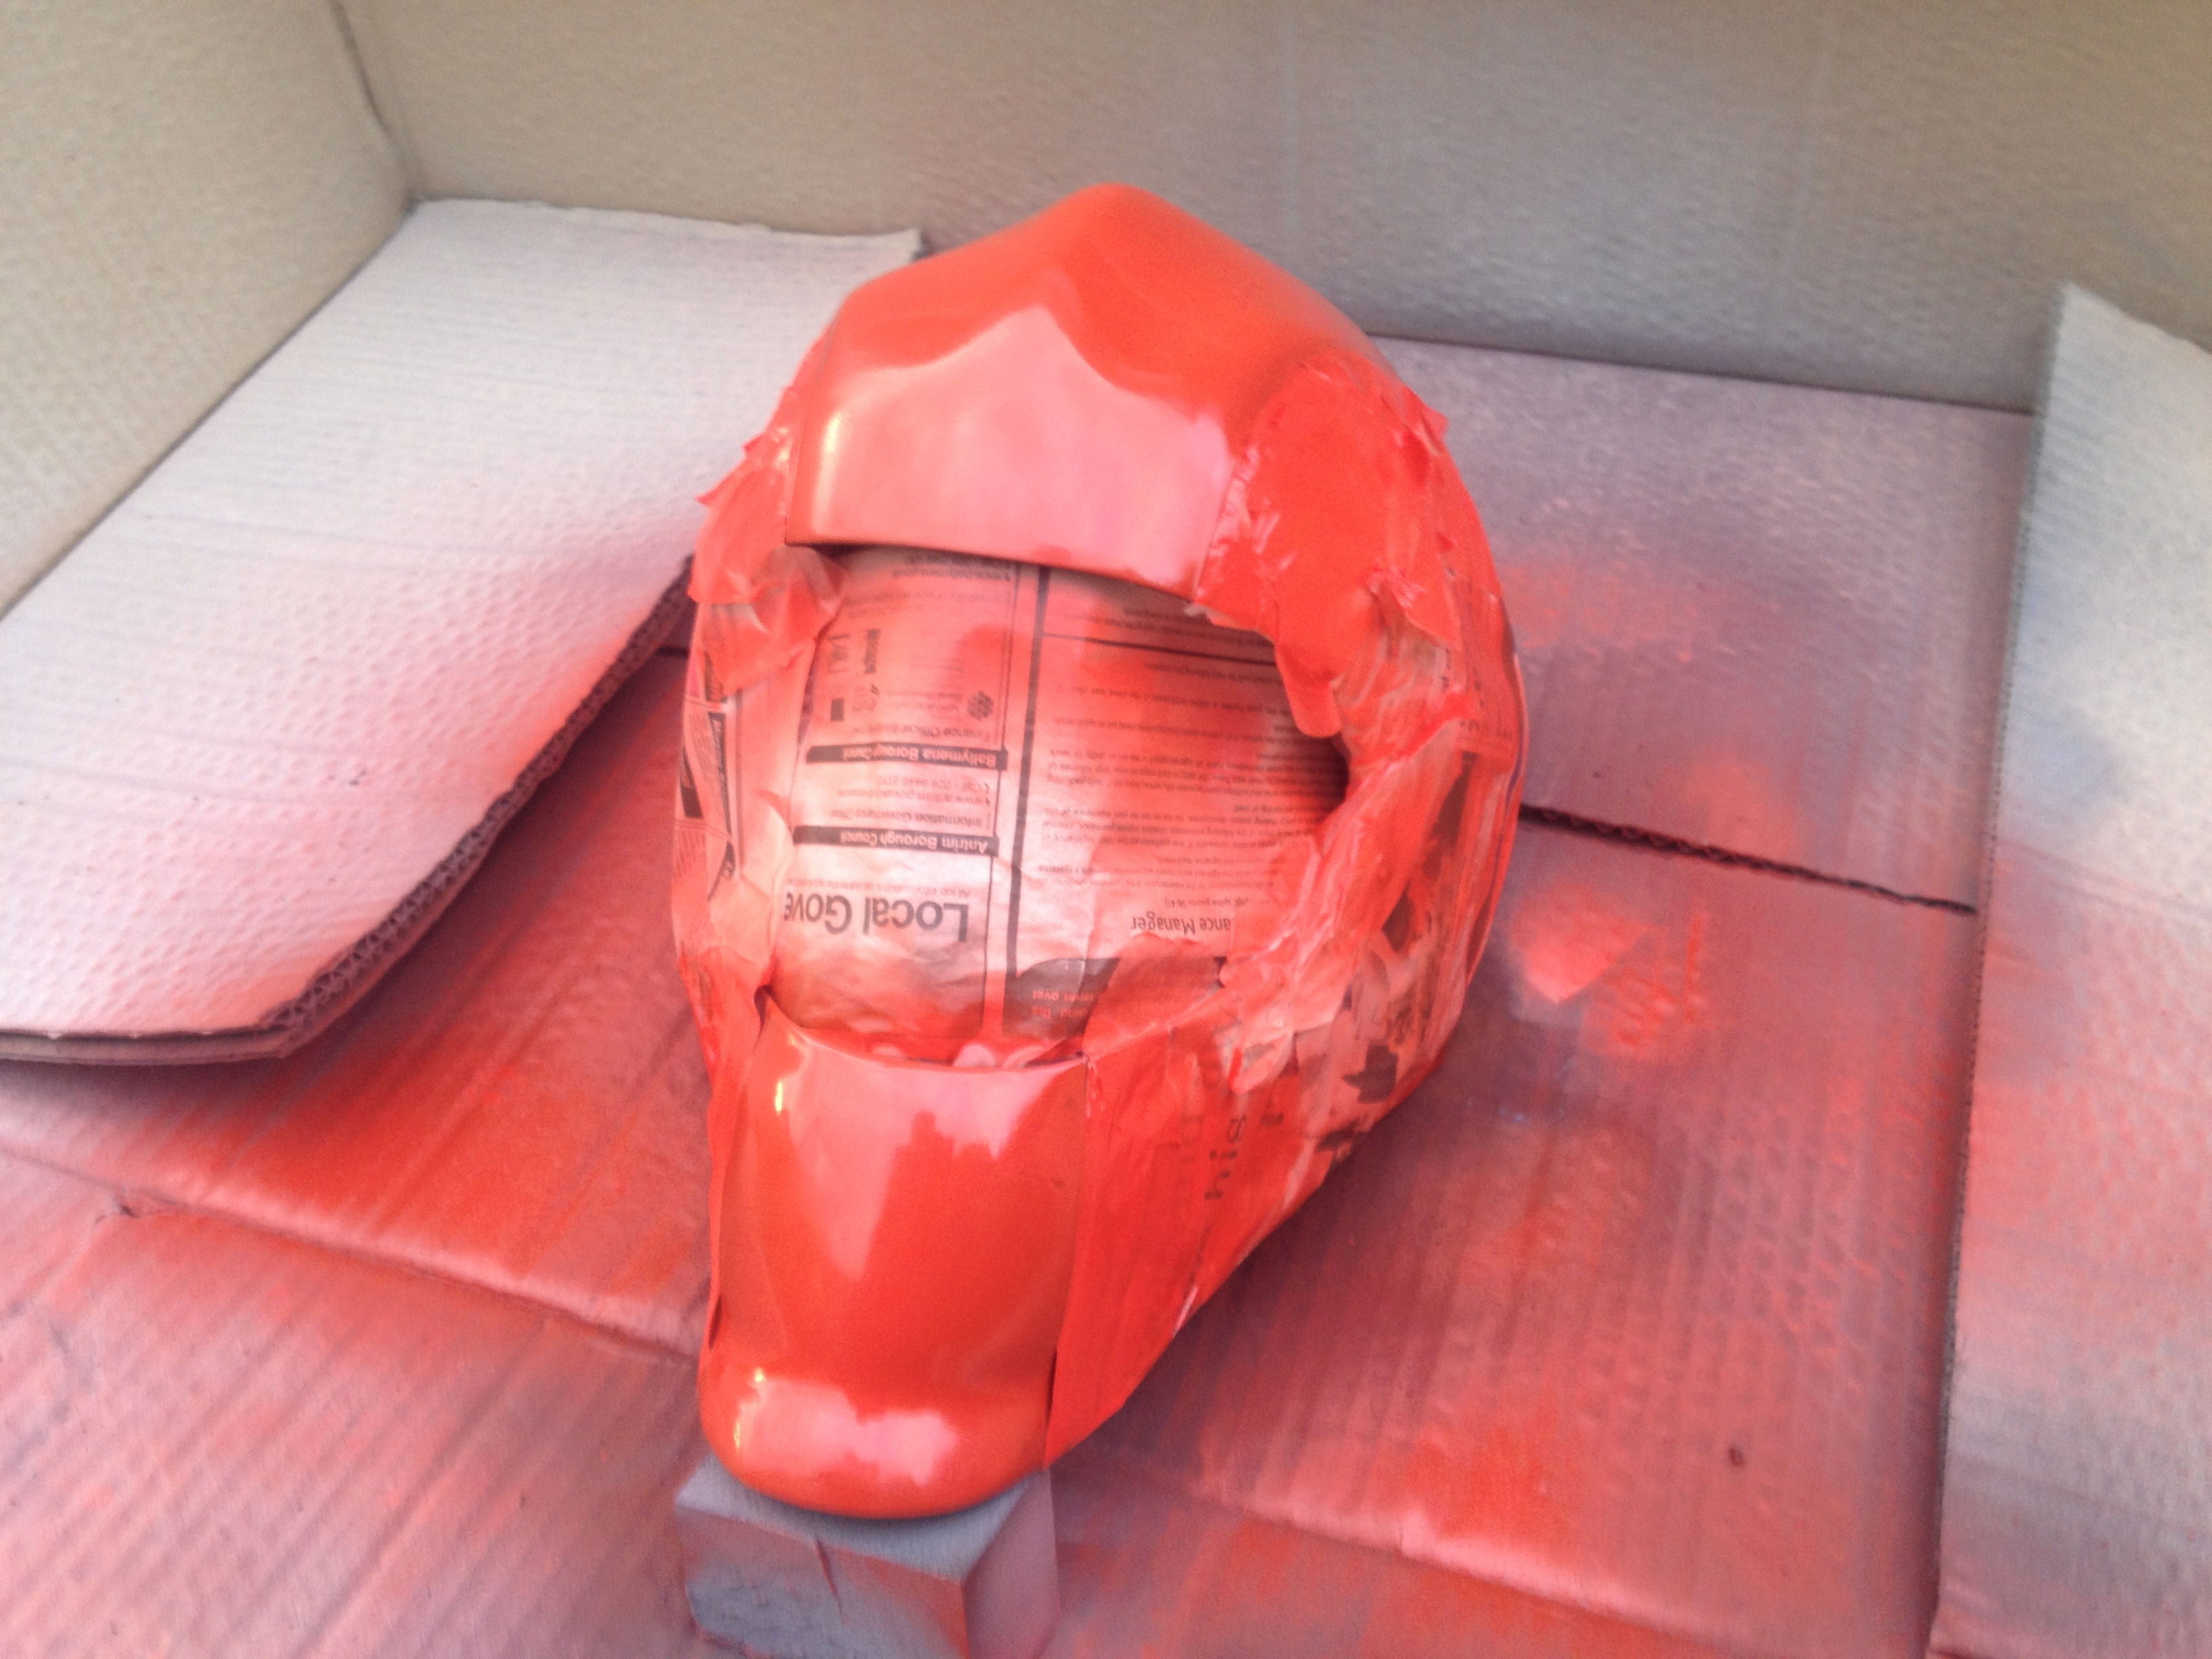
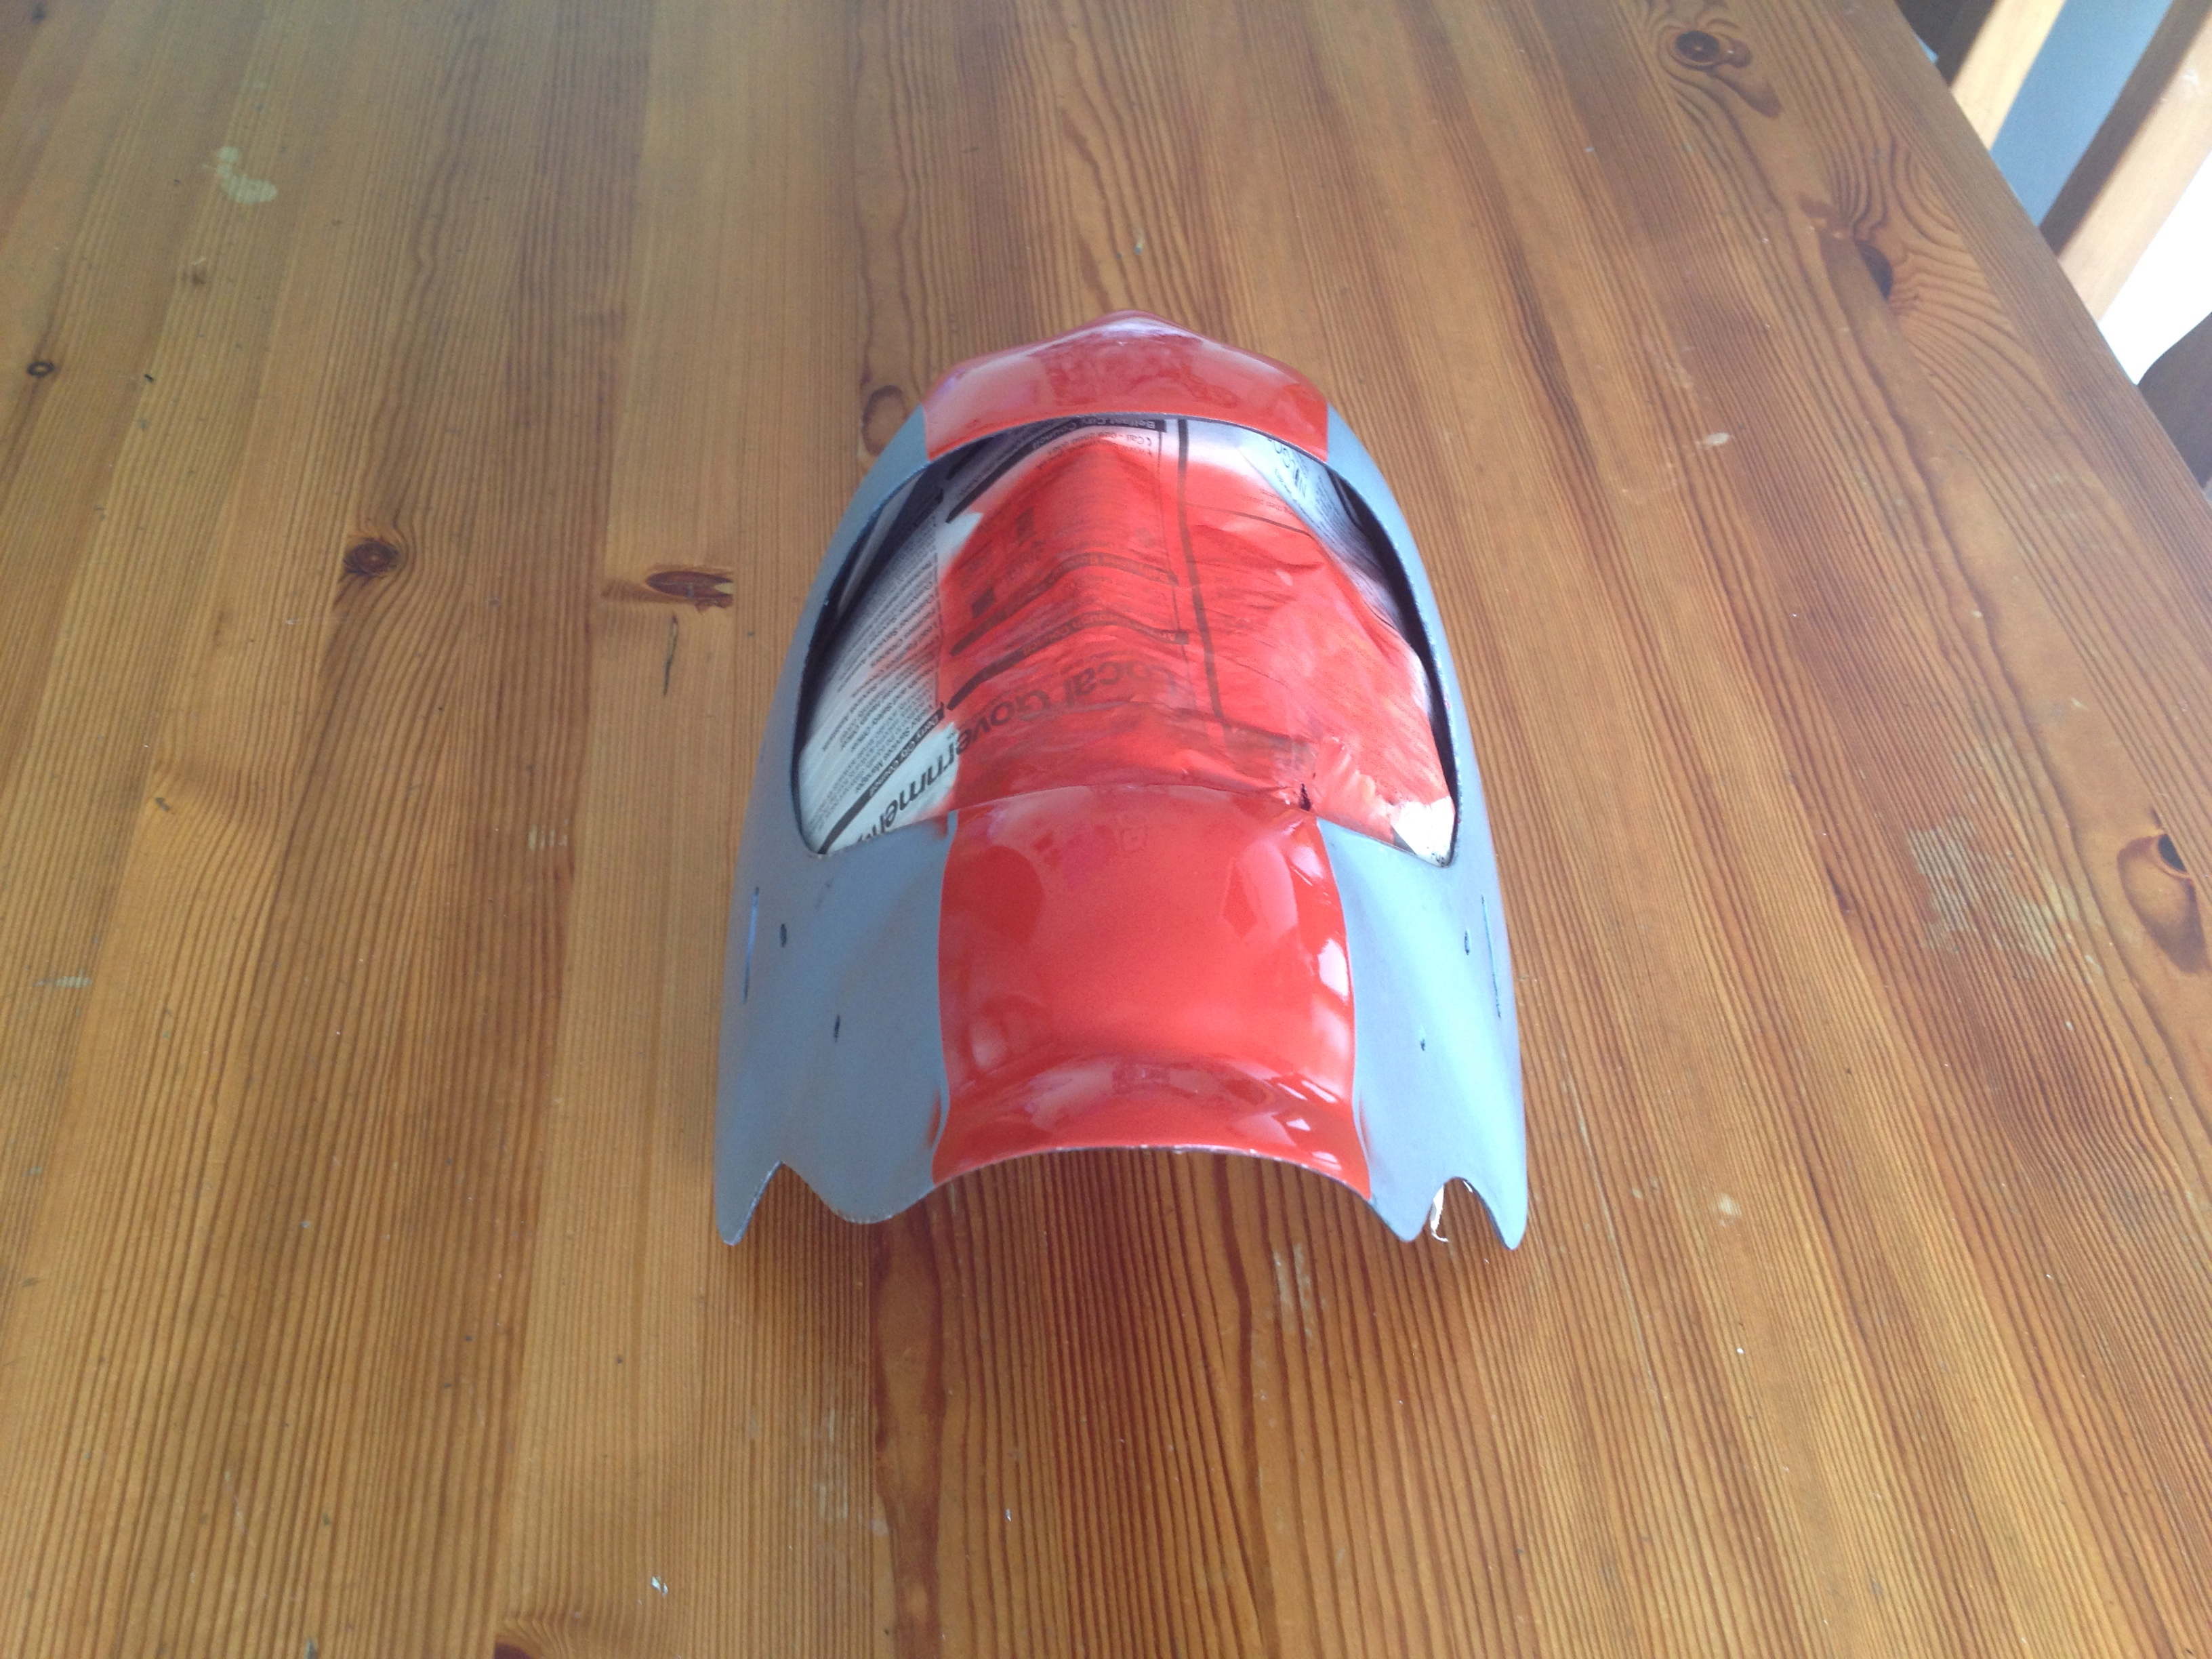
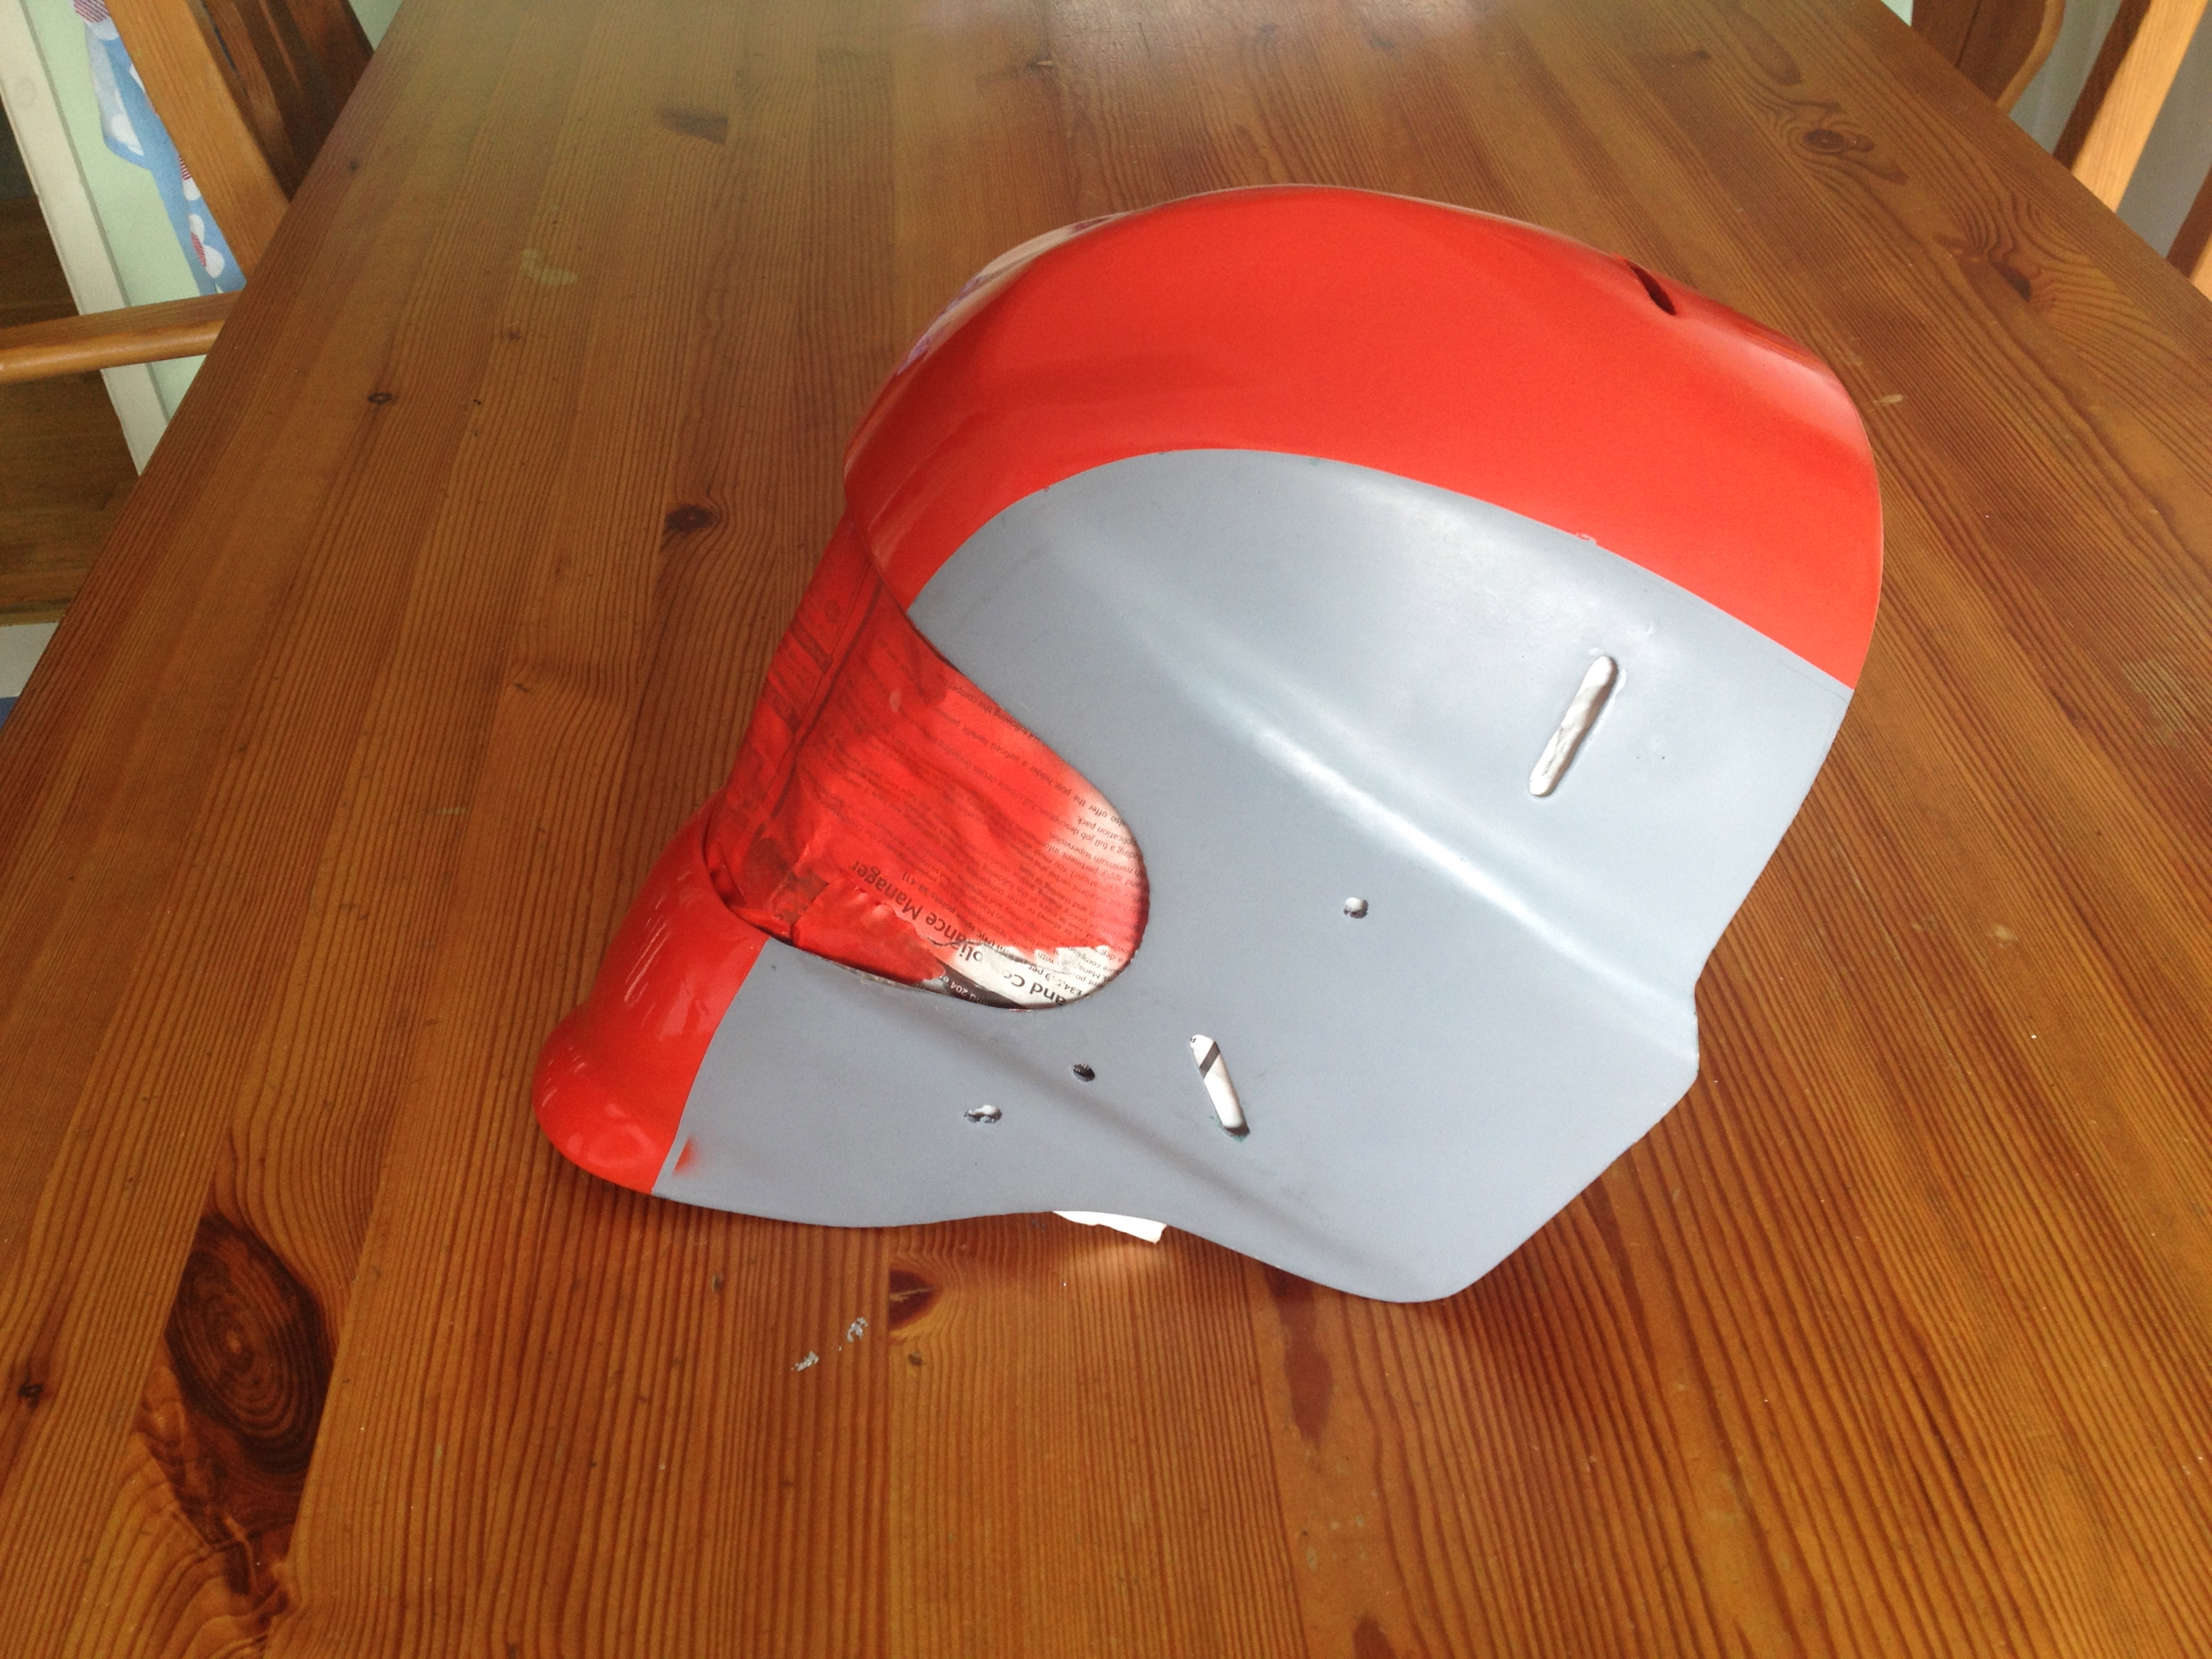
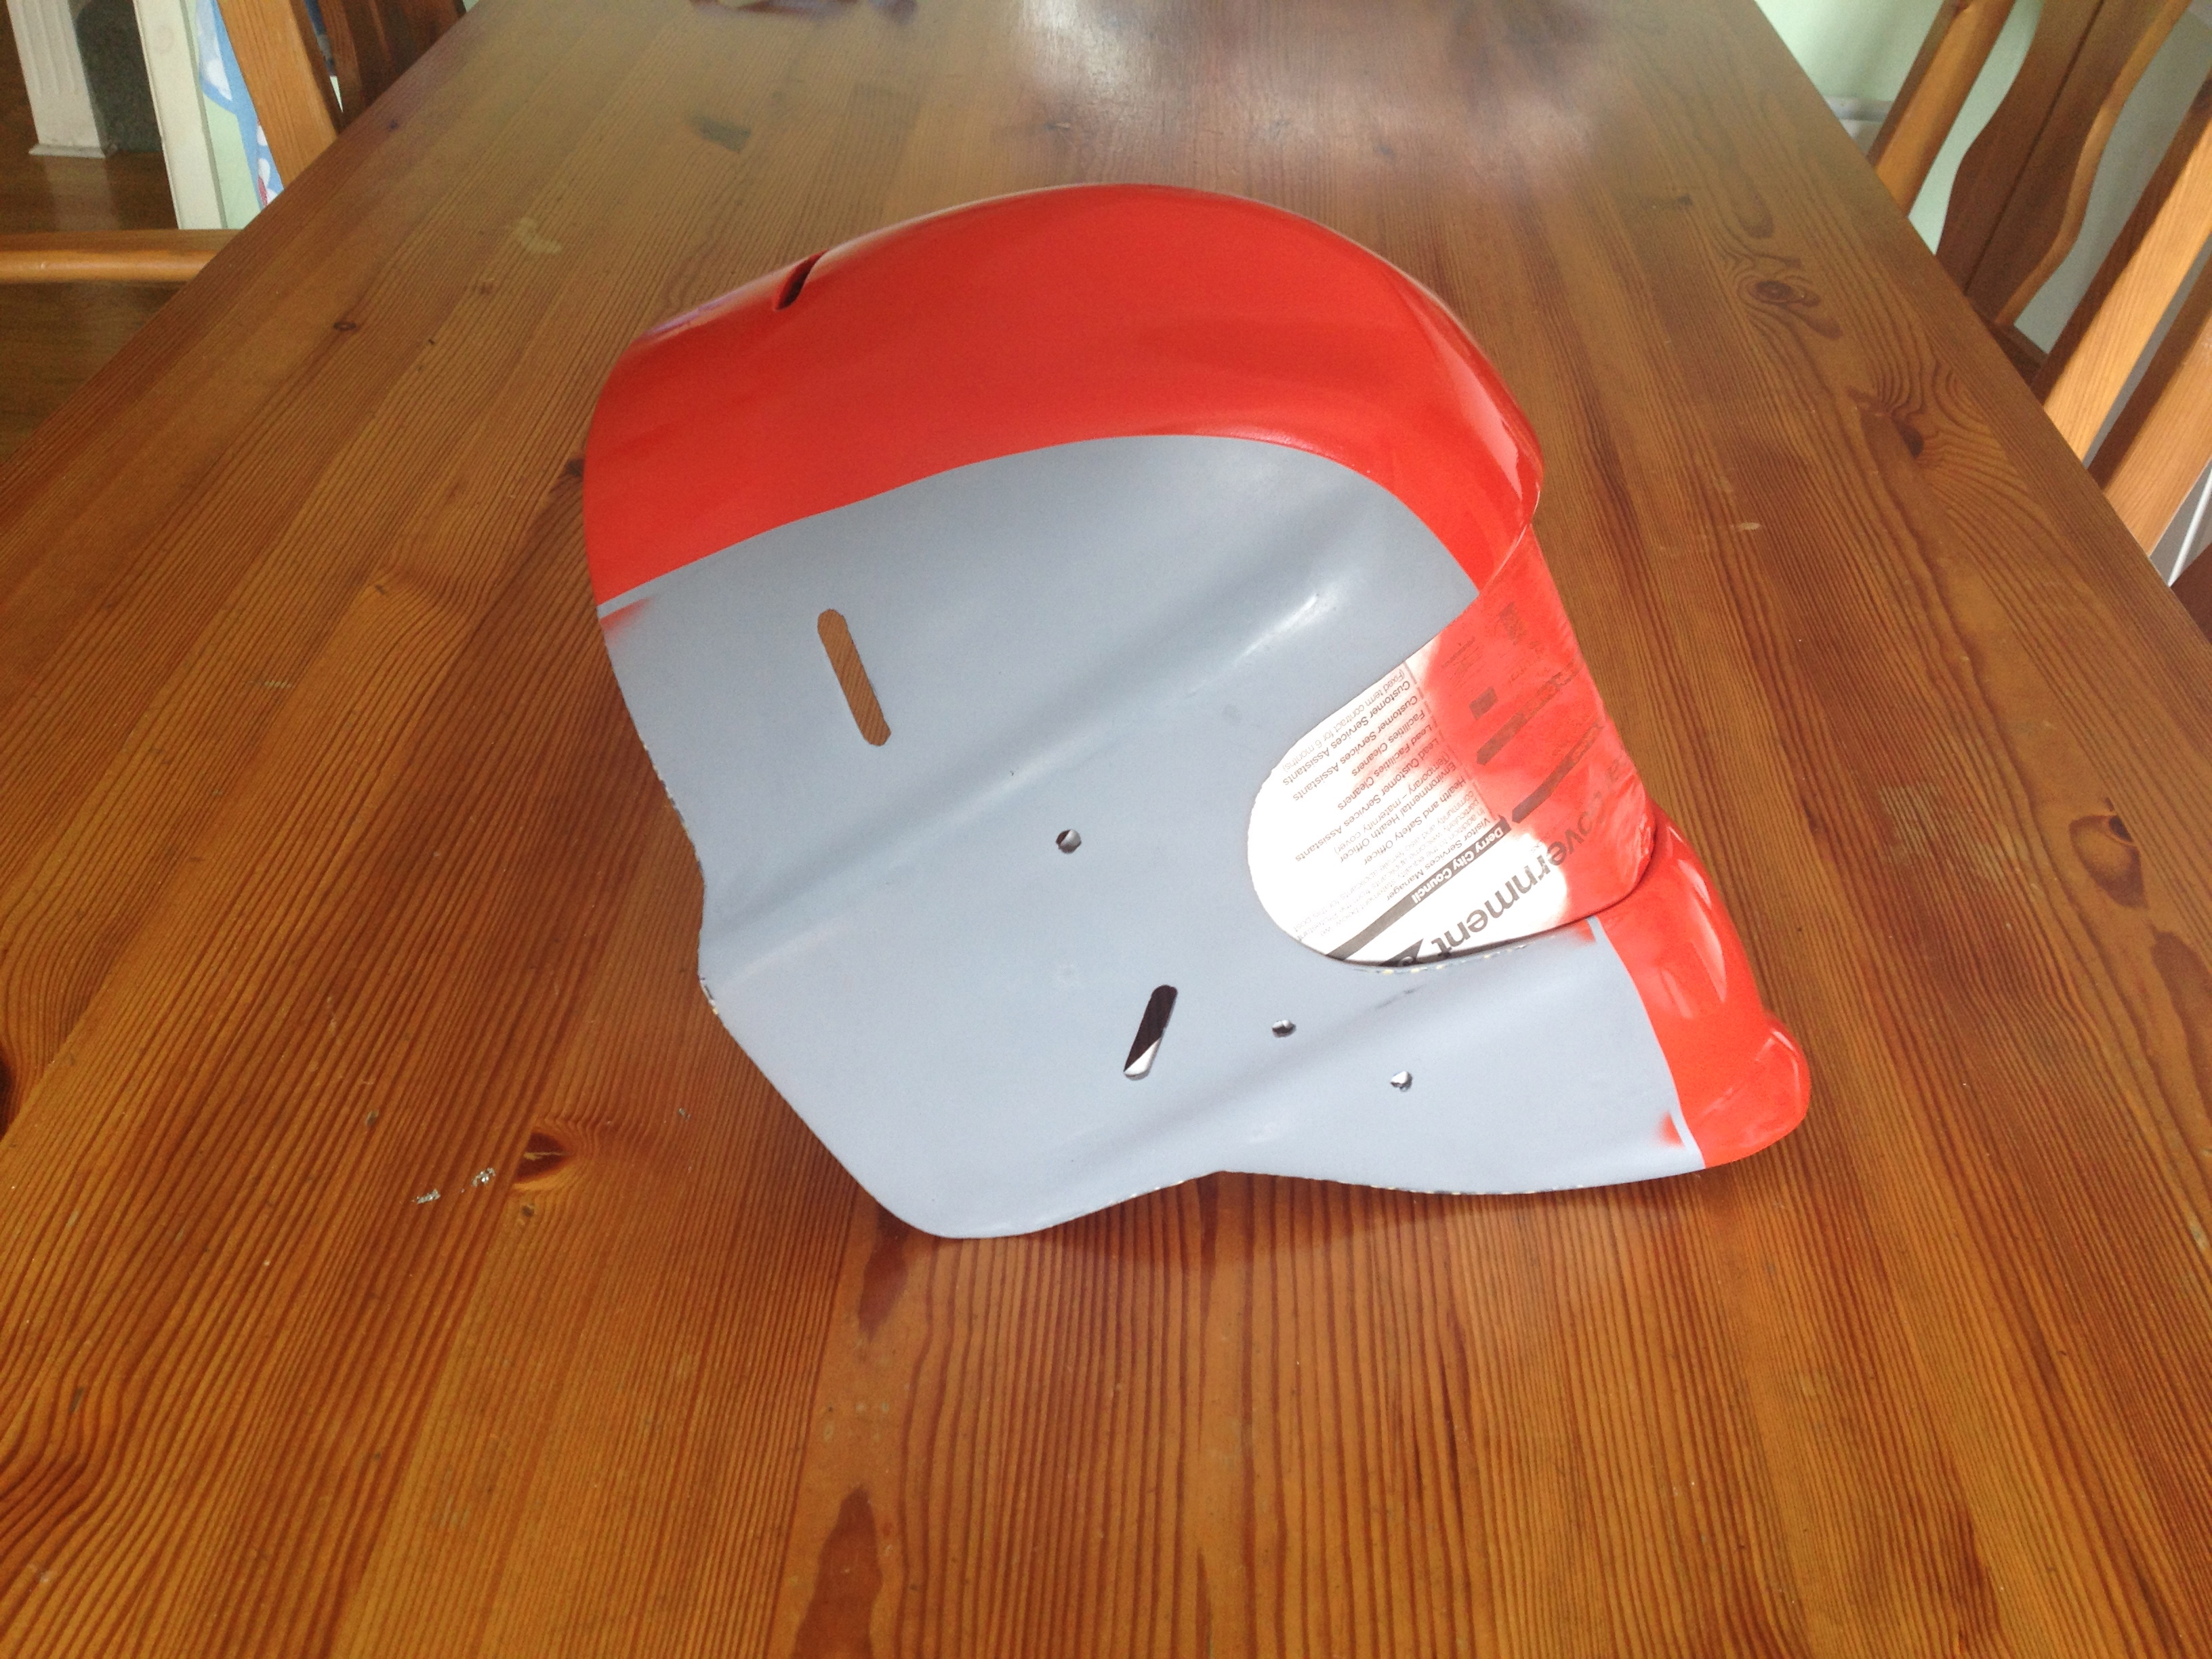
At this point you should start to prepare and protect the helmet for painting. Use newspaper and masking tape to form a barrier along the inside of the helmets grill opening. Ensure that the newspaper is taut to the inside surface of the helmet, so no paint can get in. My helmet was pretty horrendously taped, but it did the job.
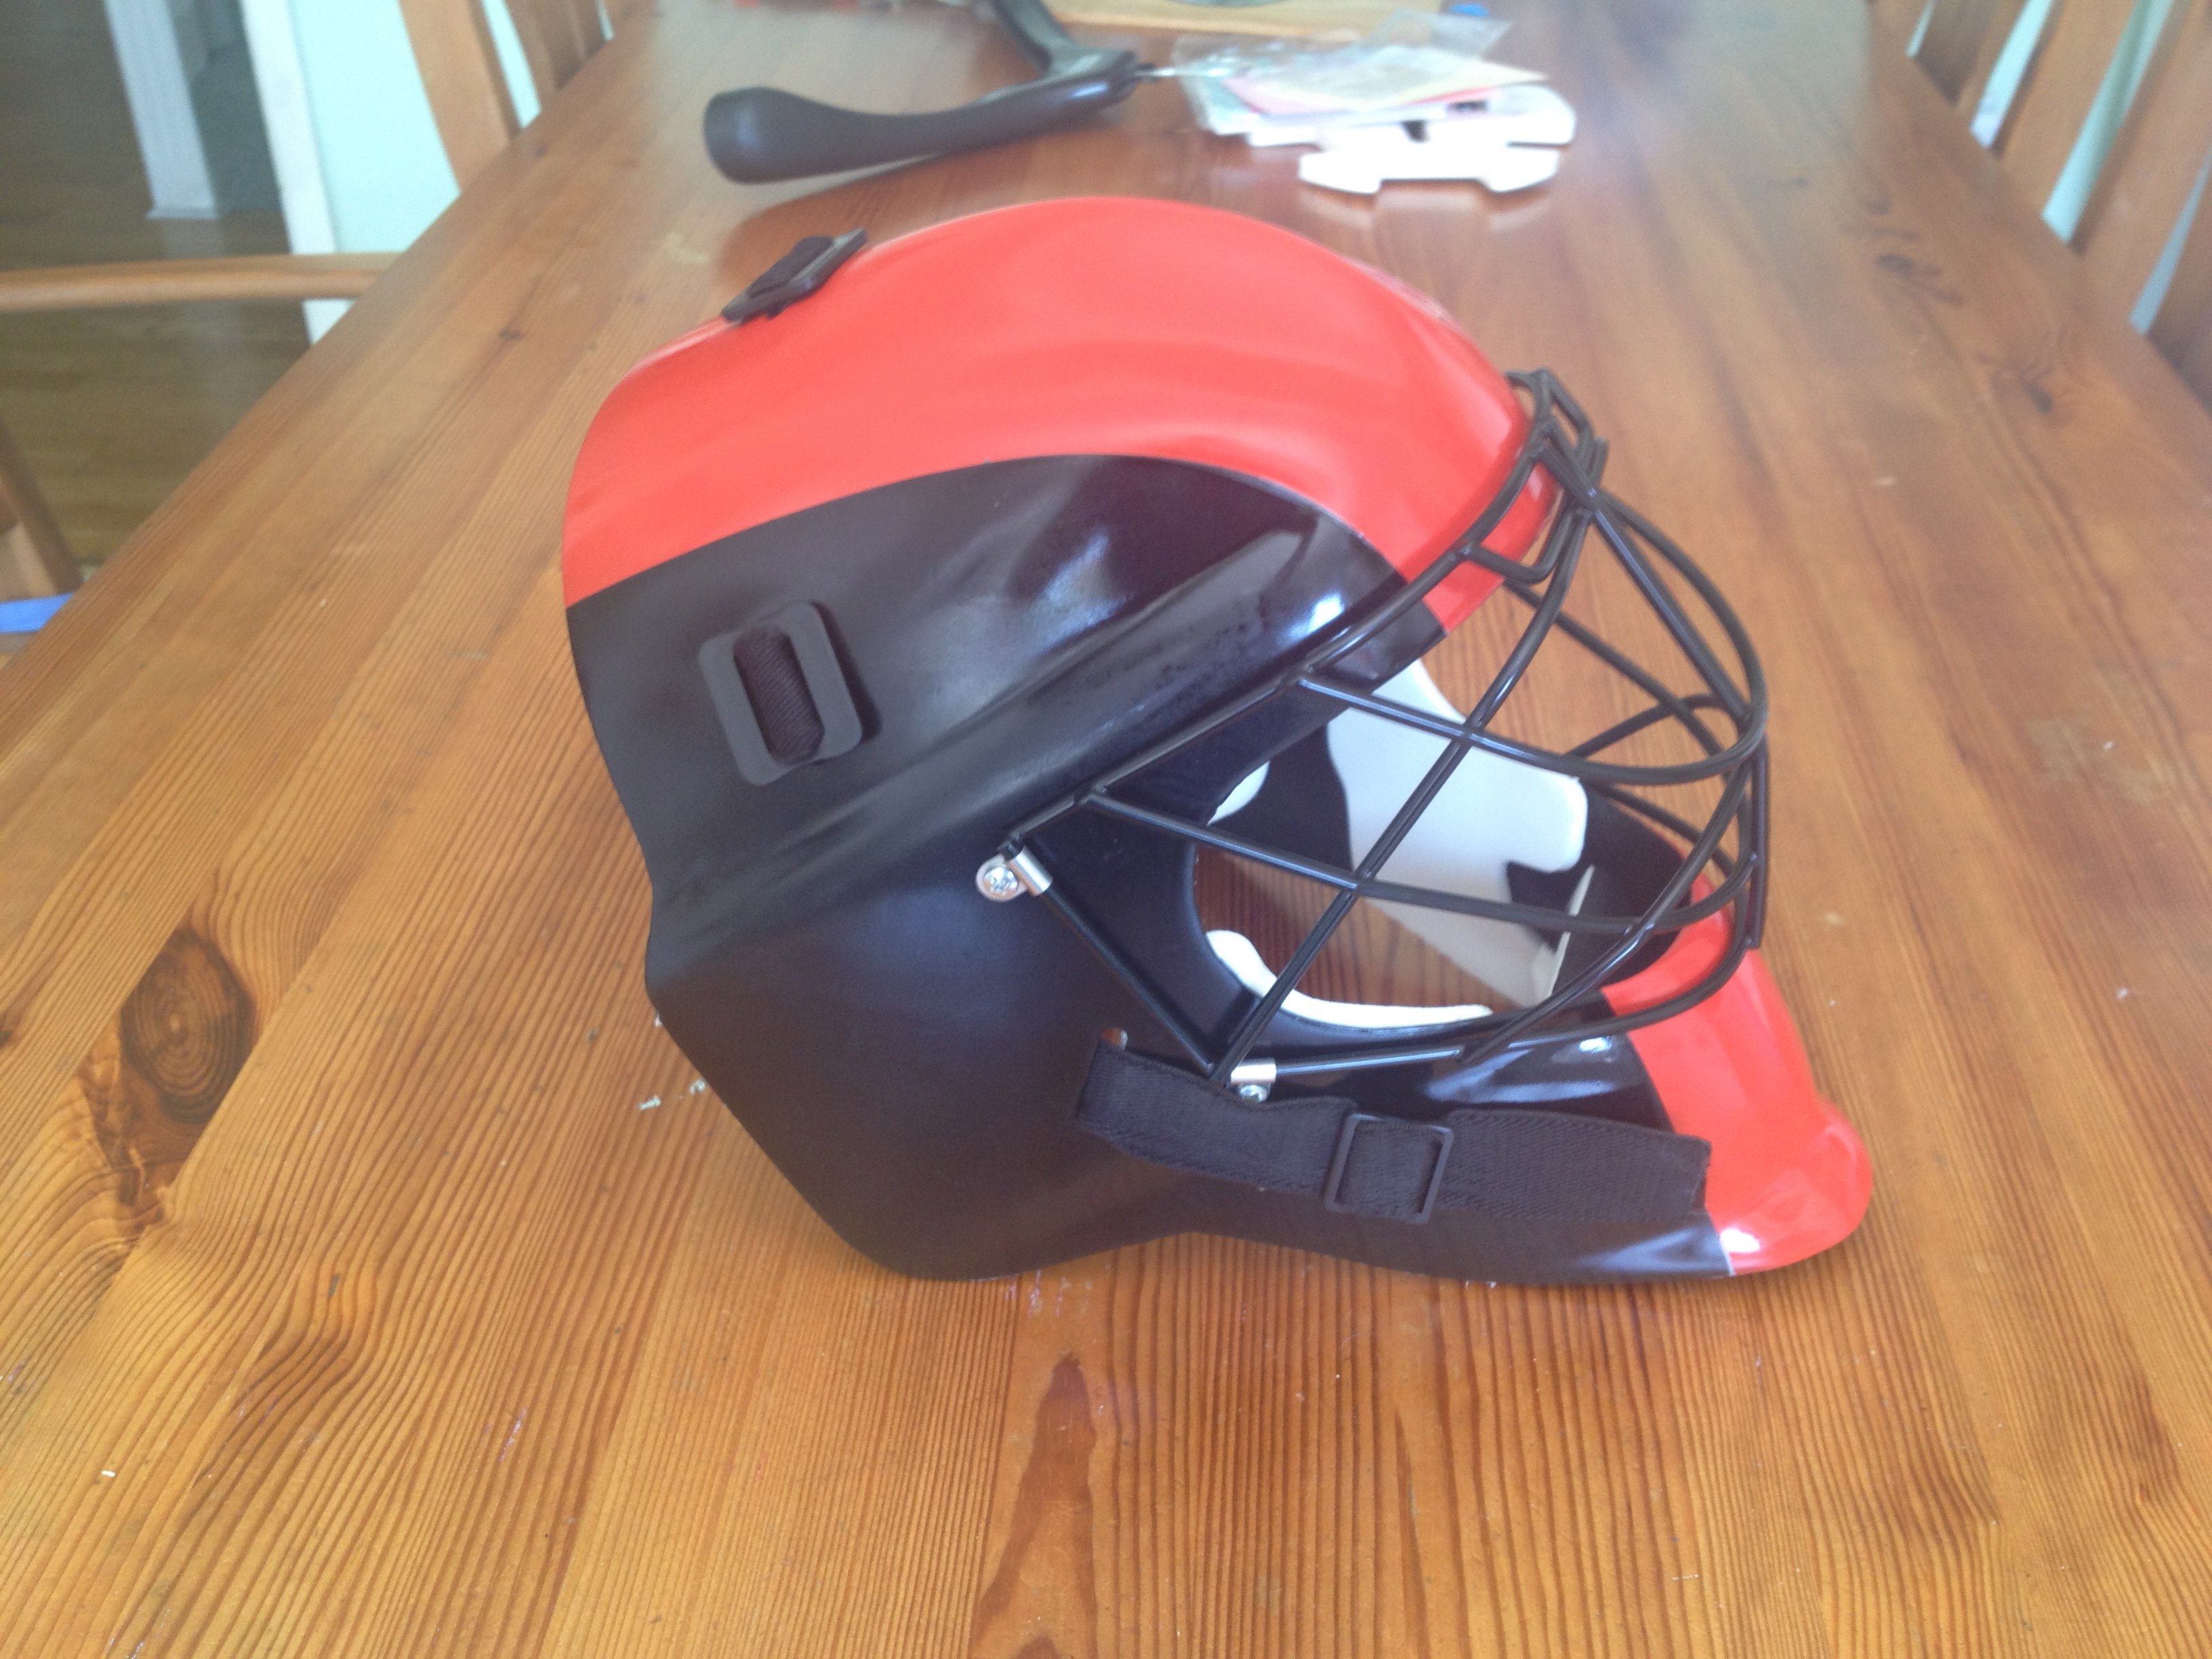
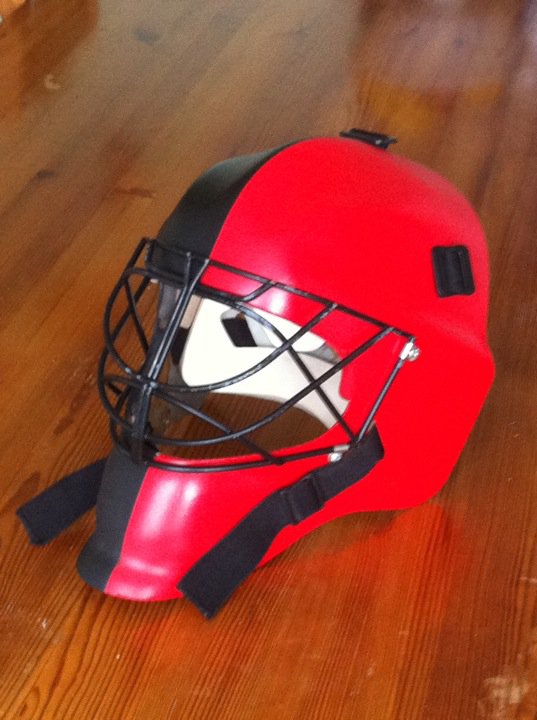
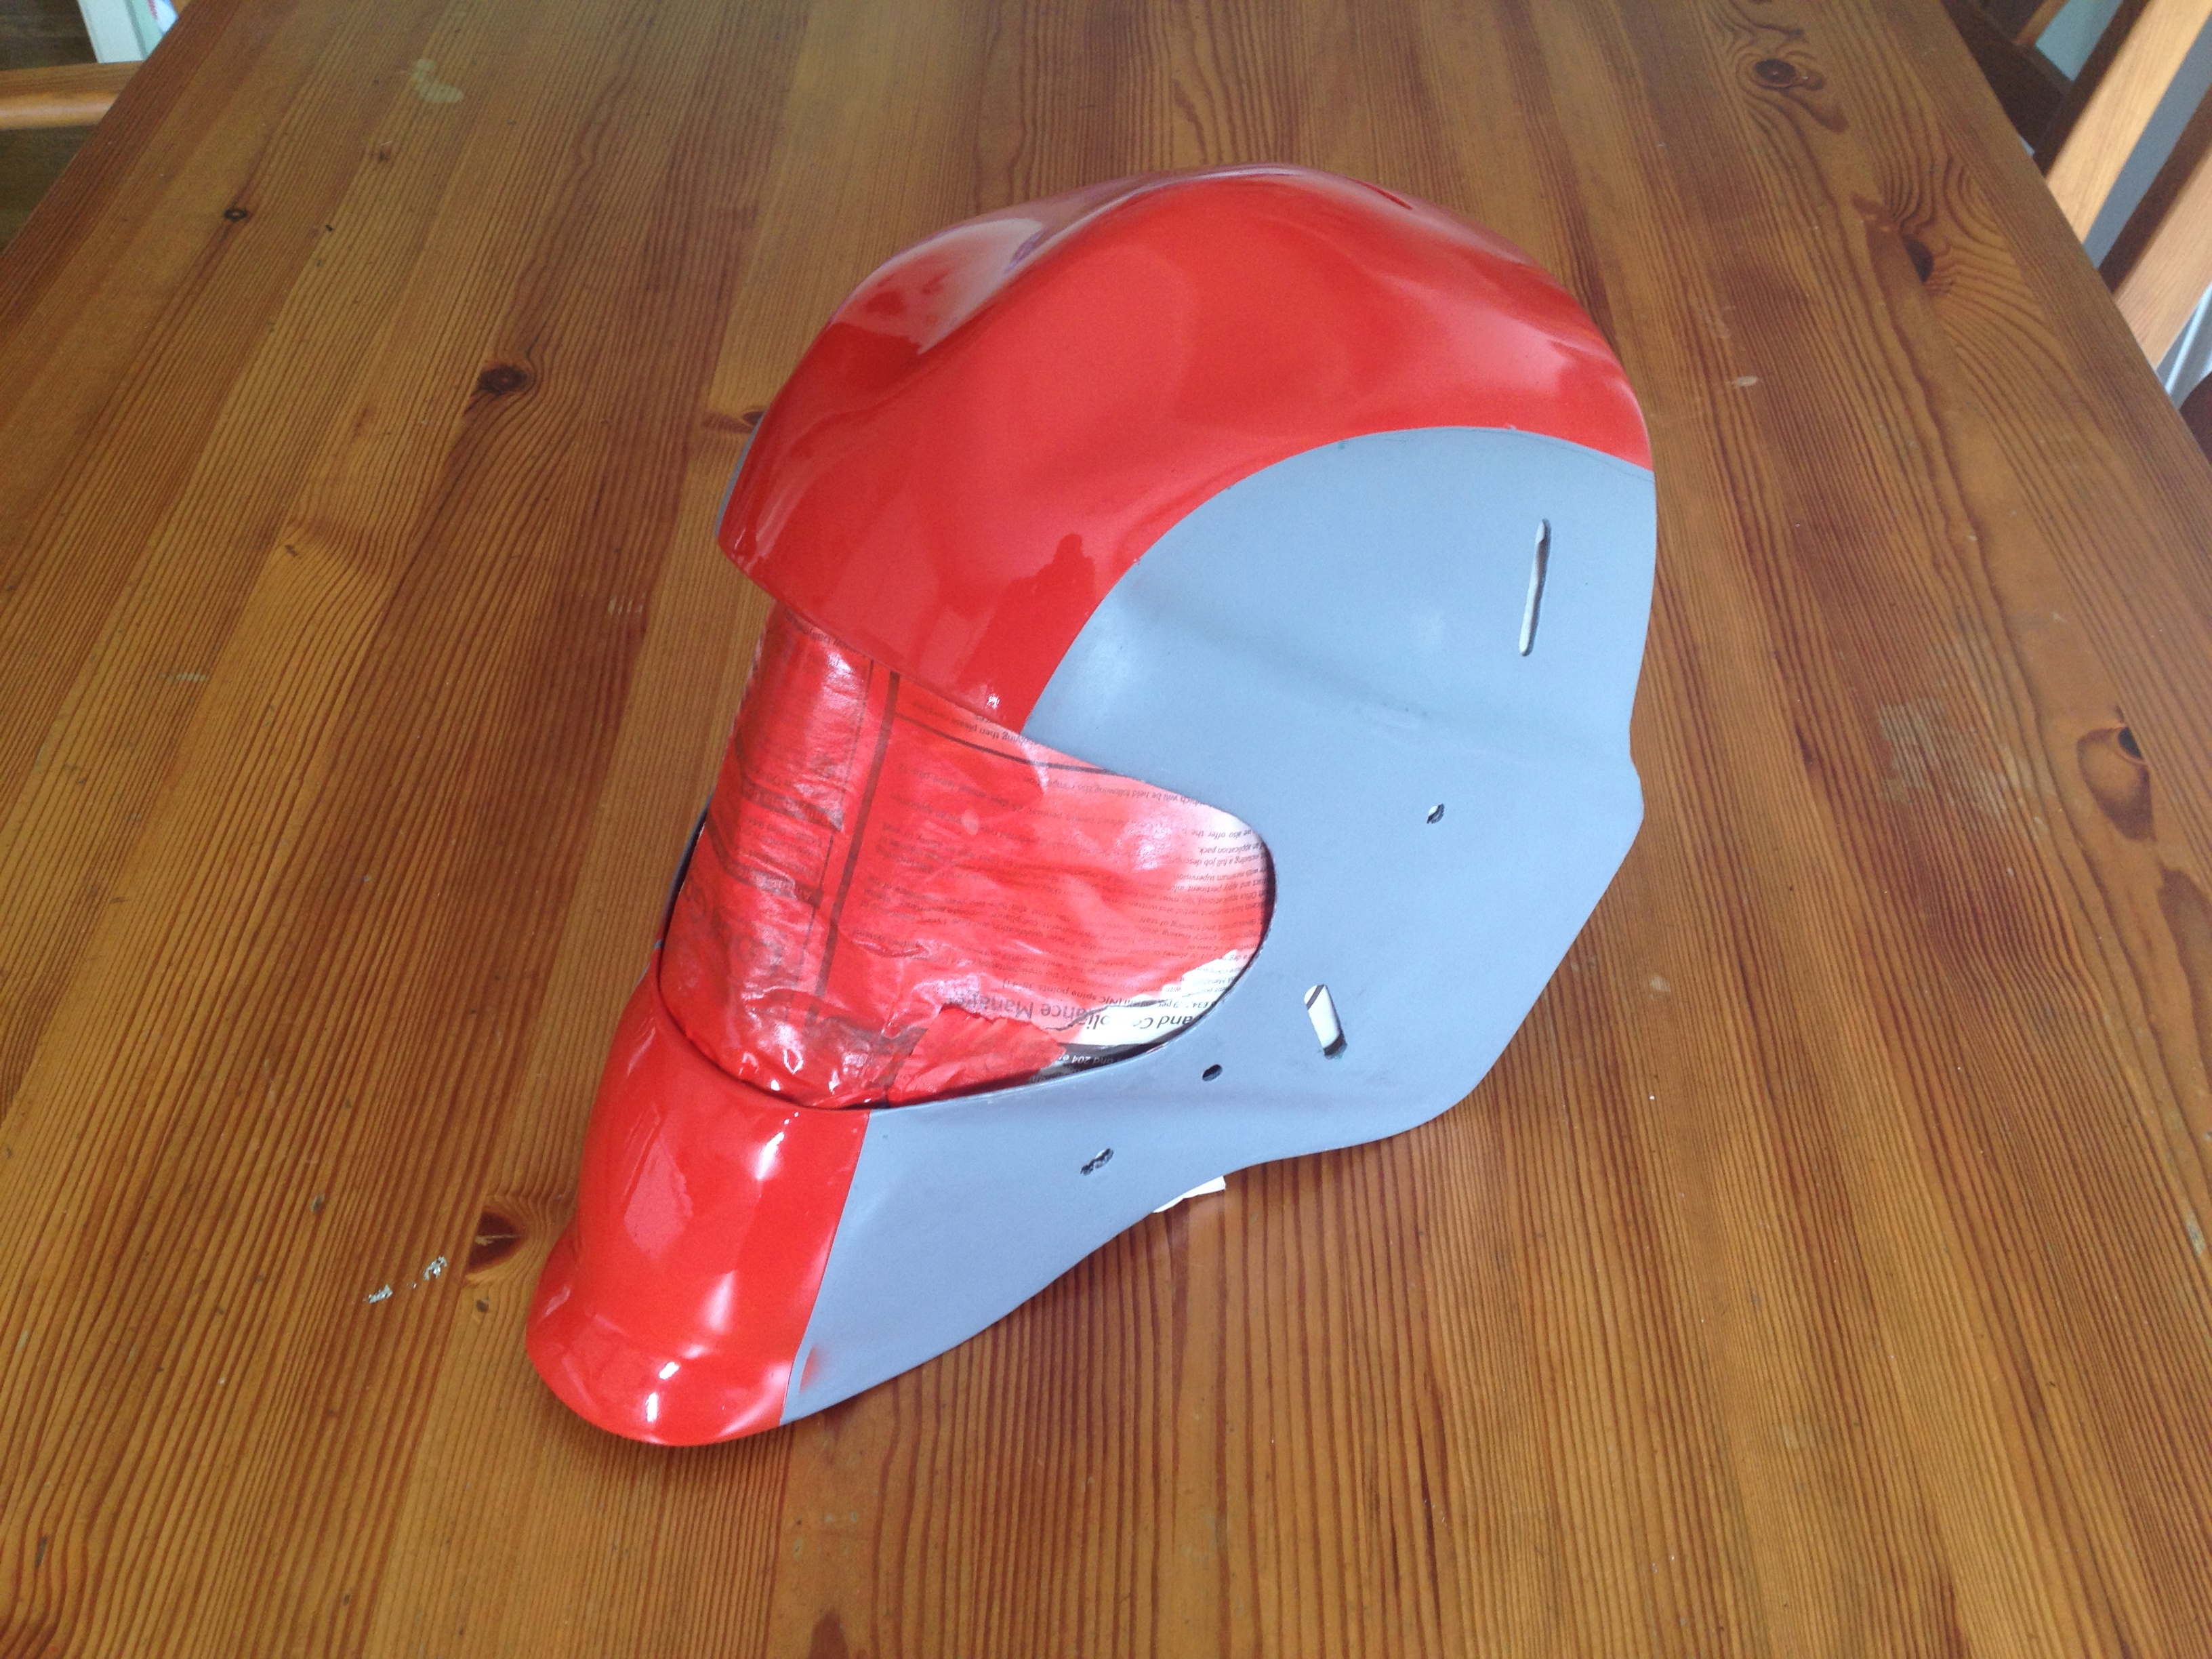
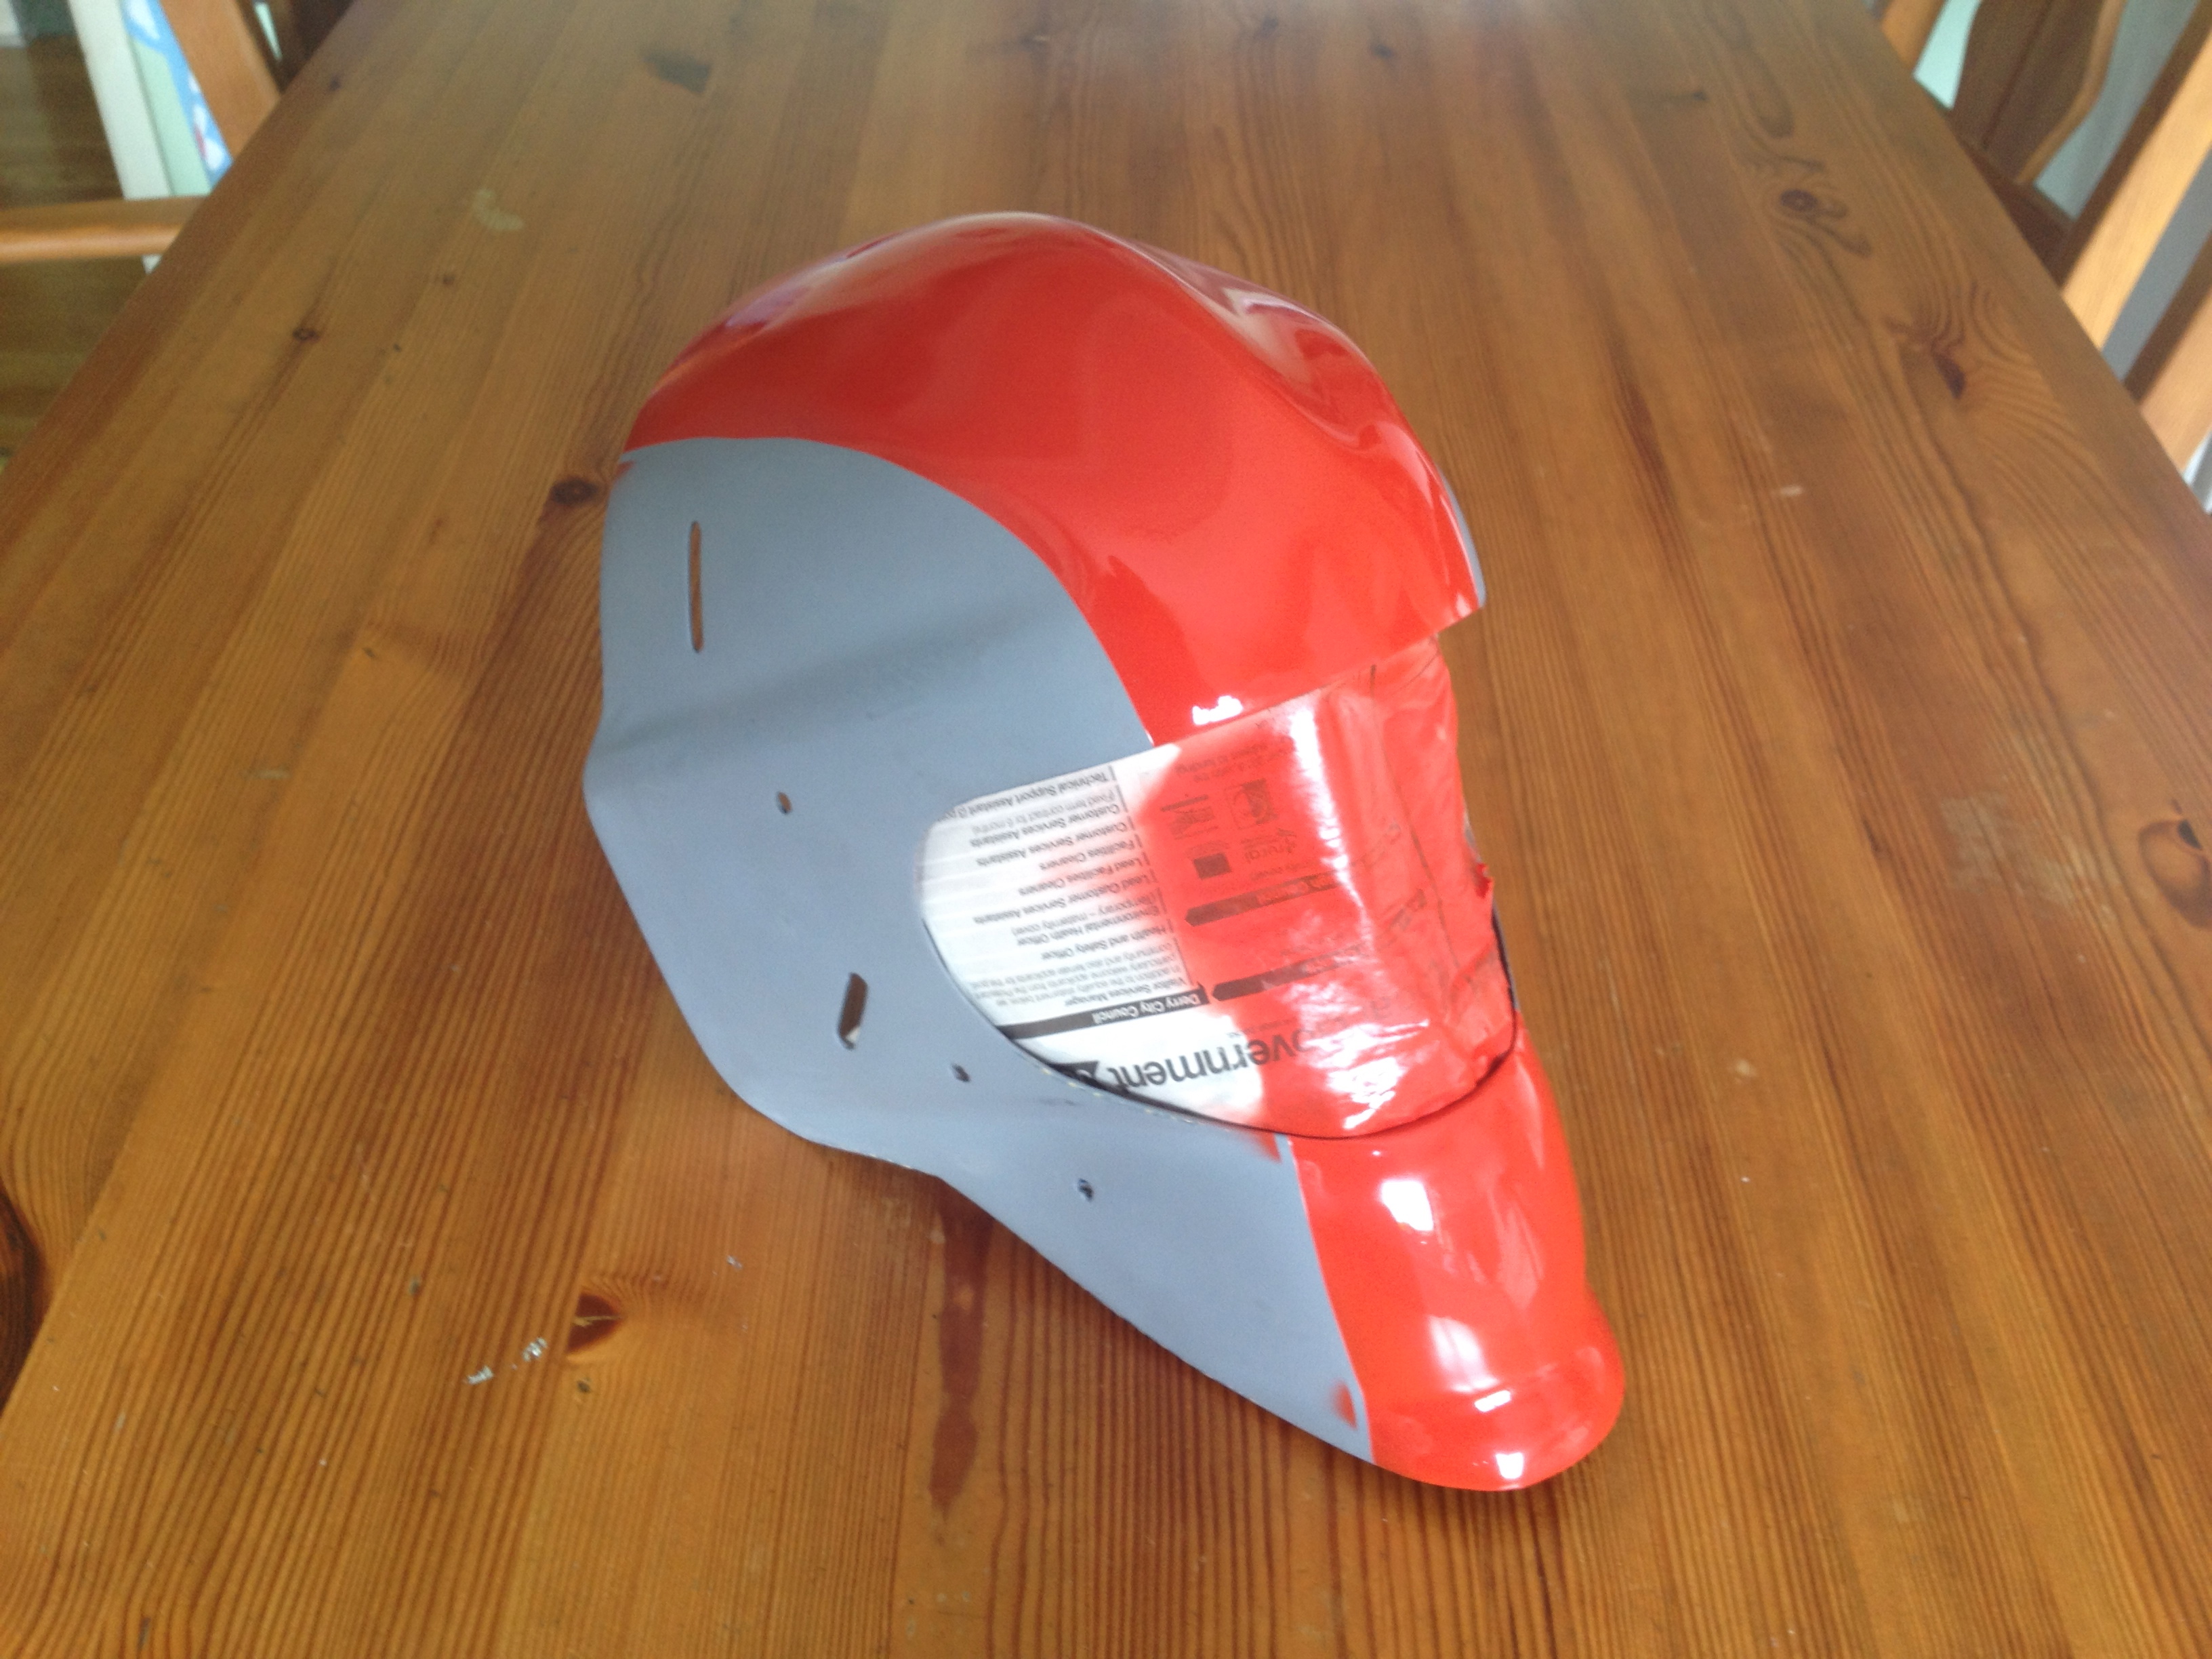
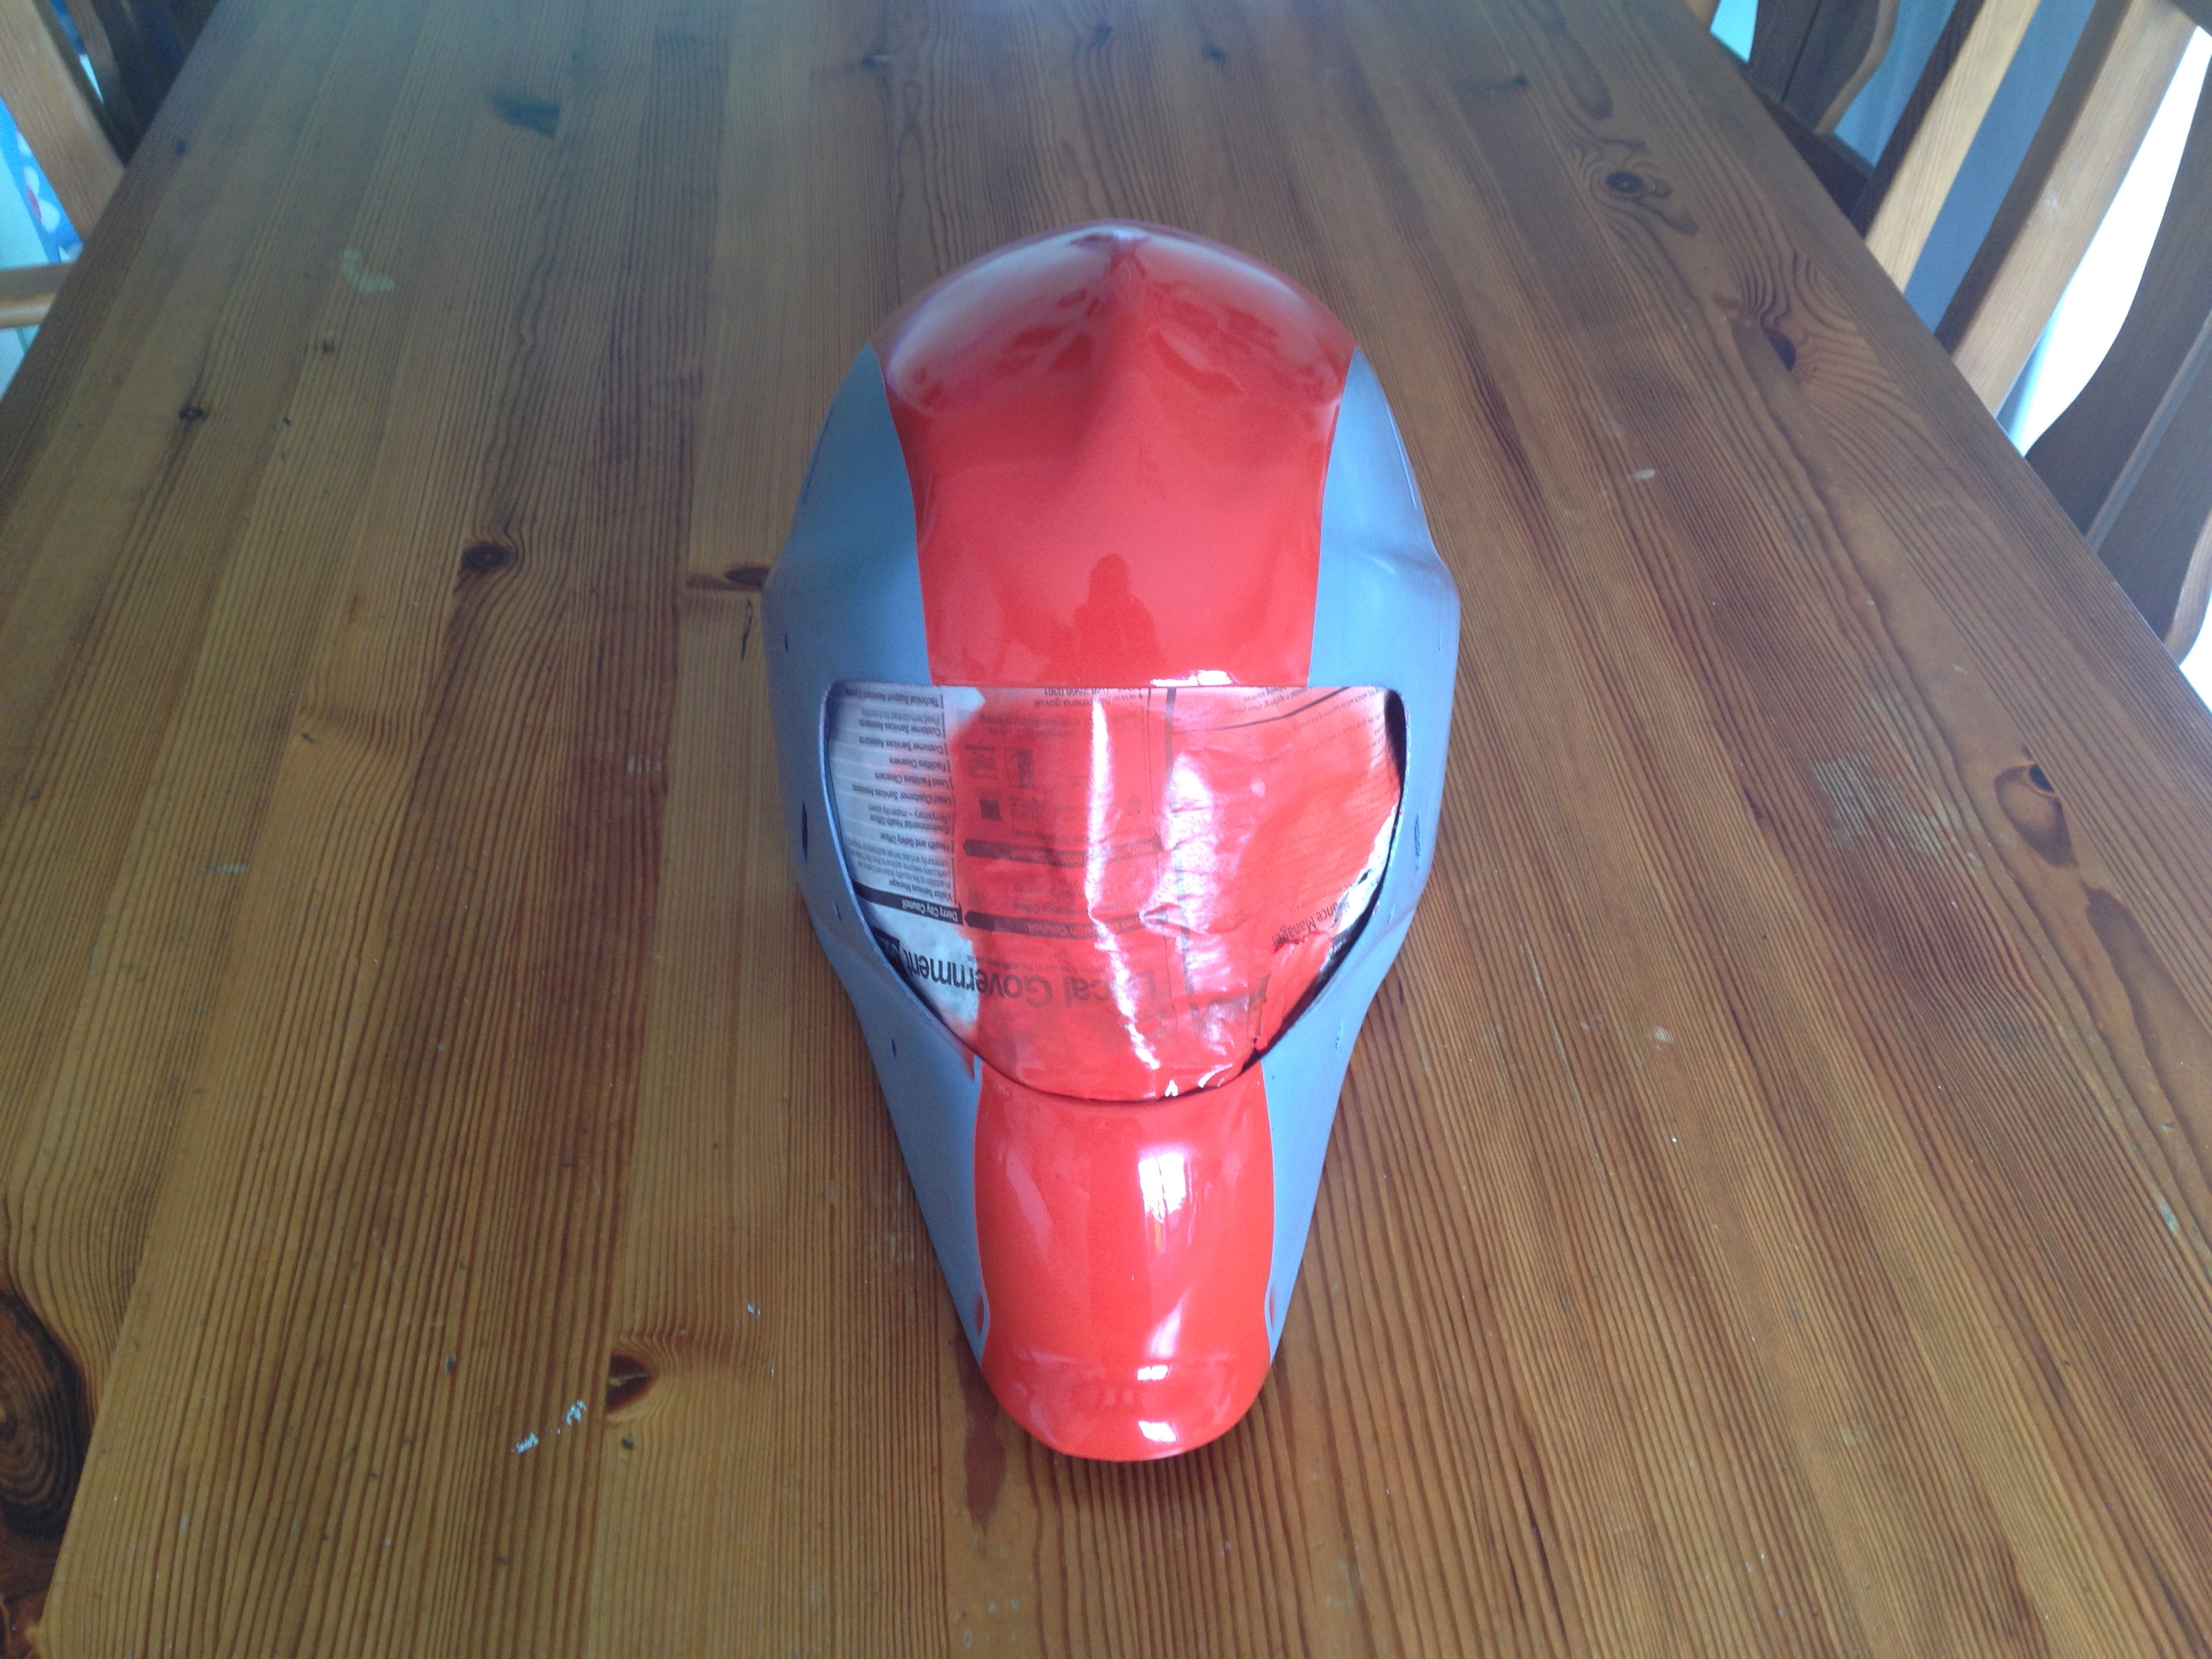
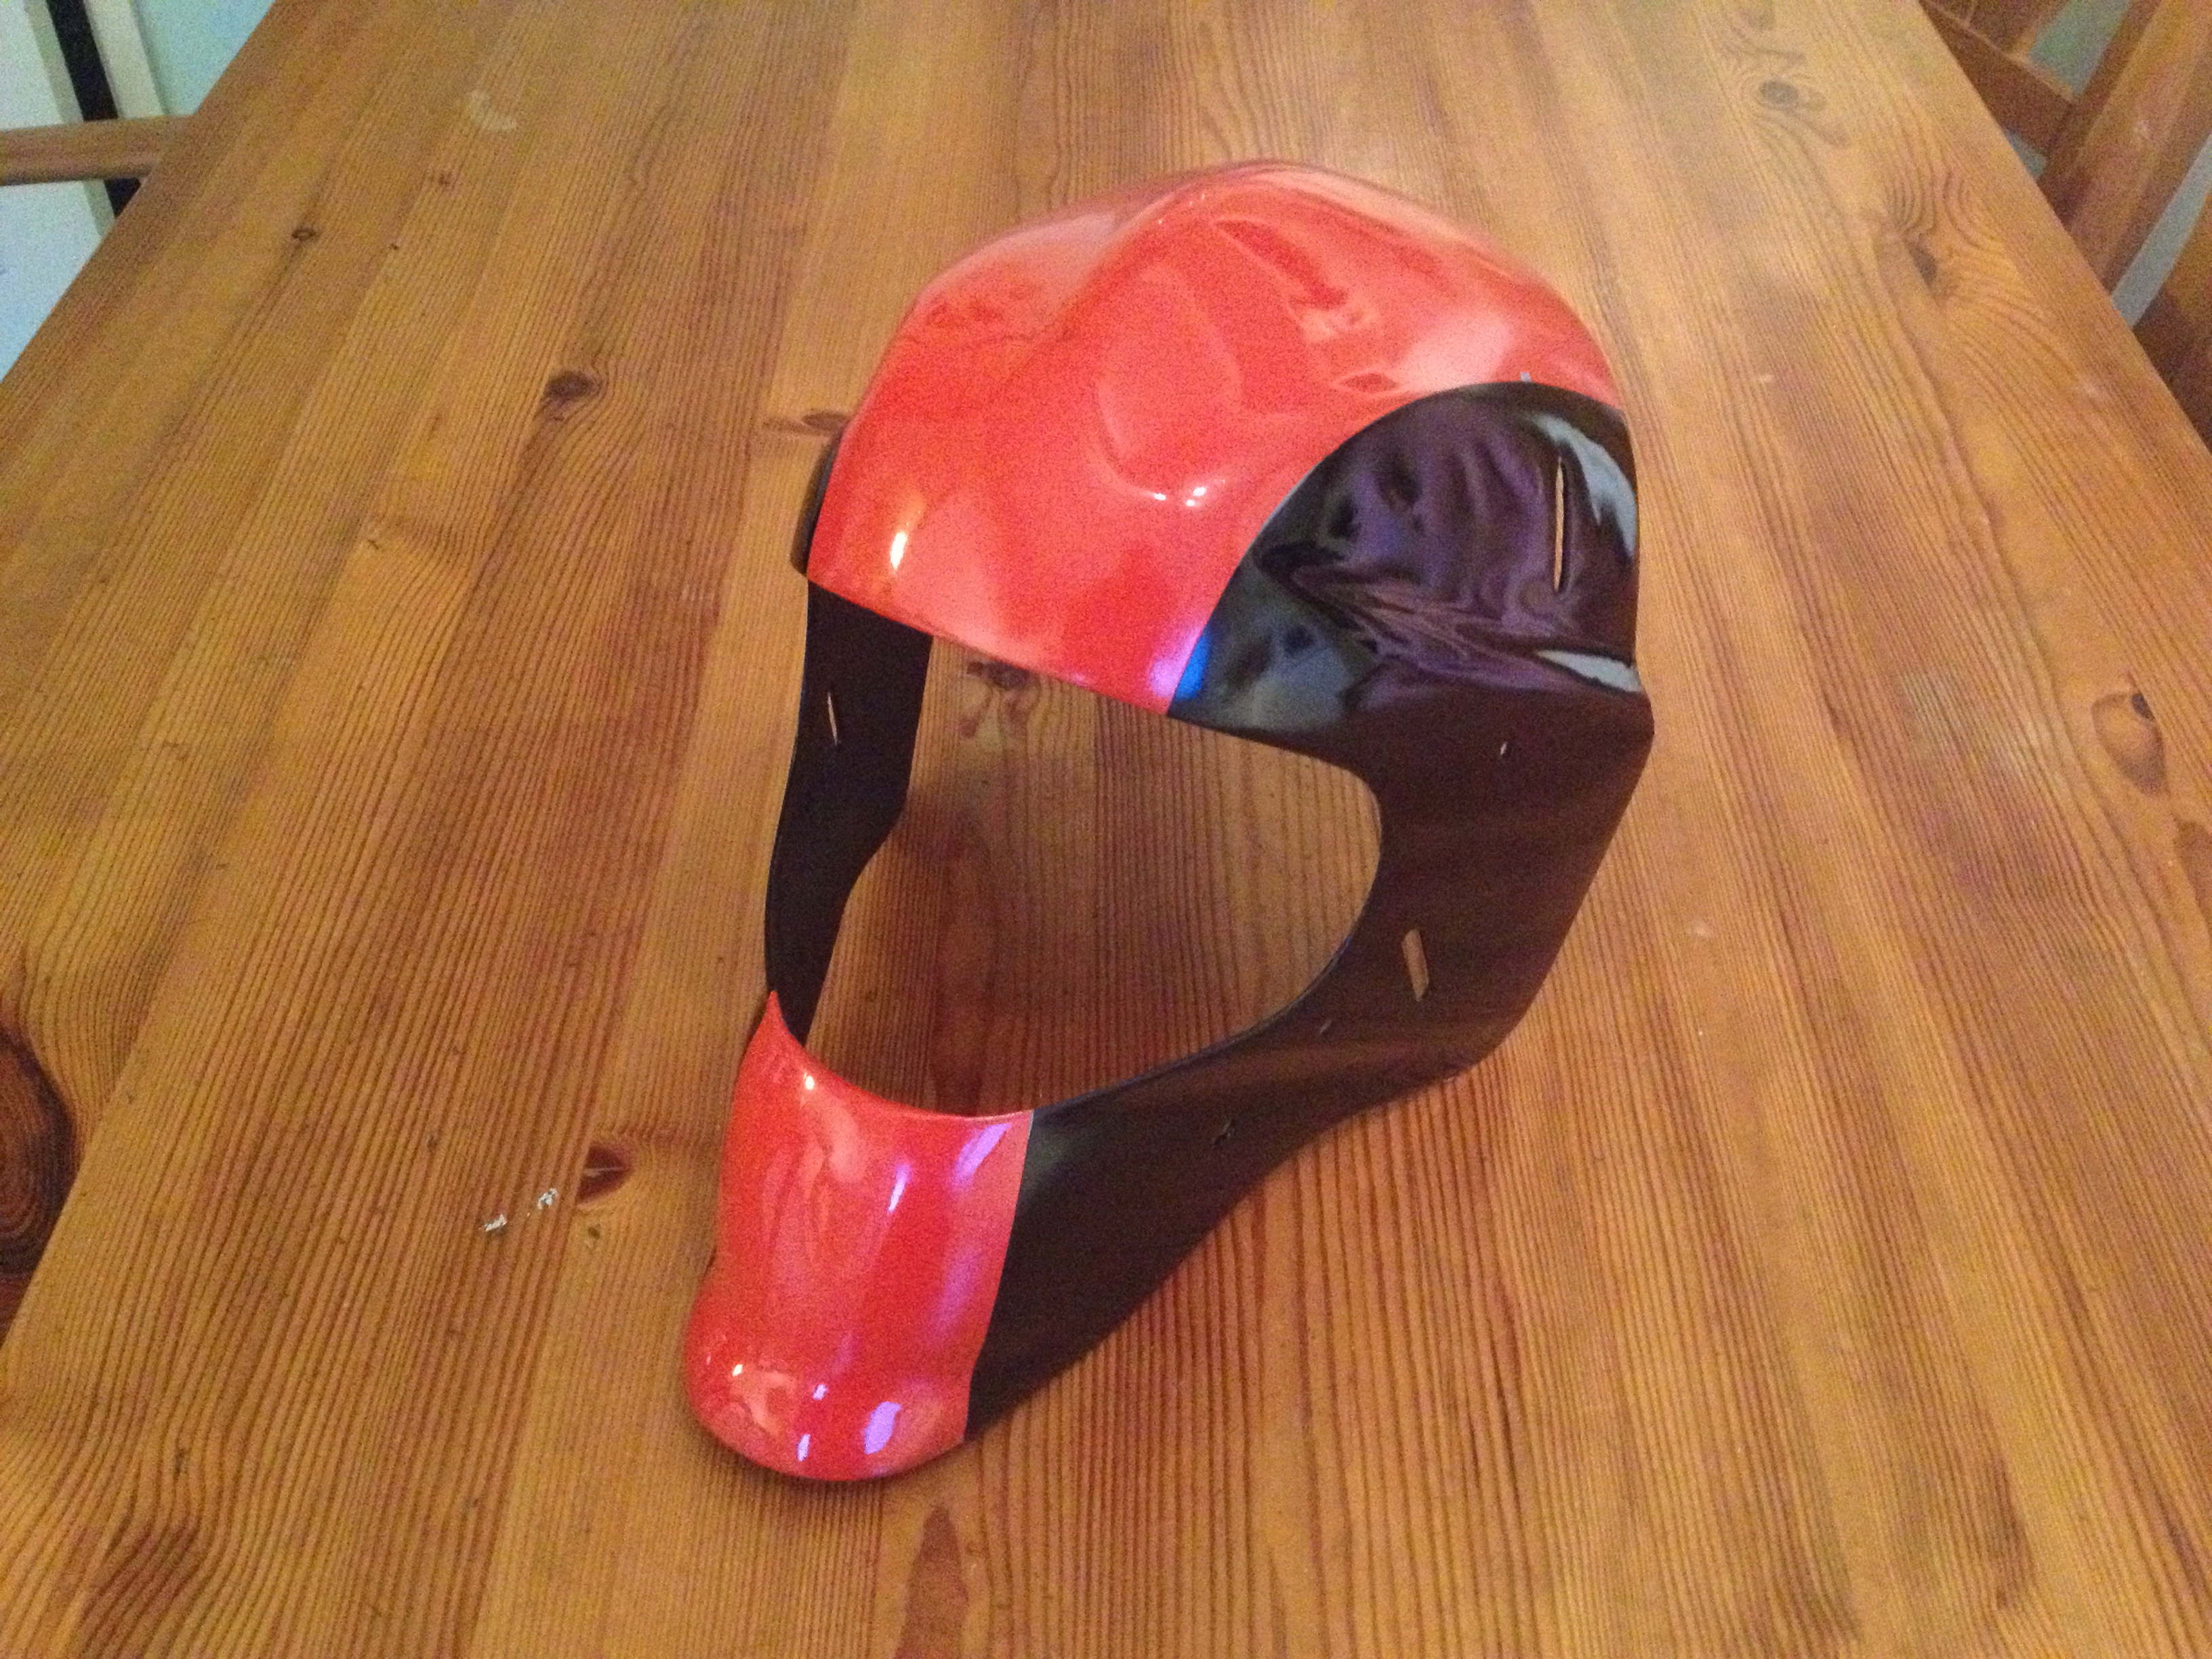
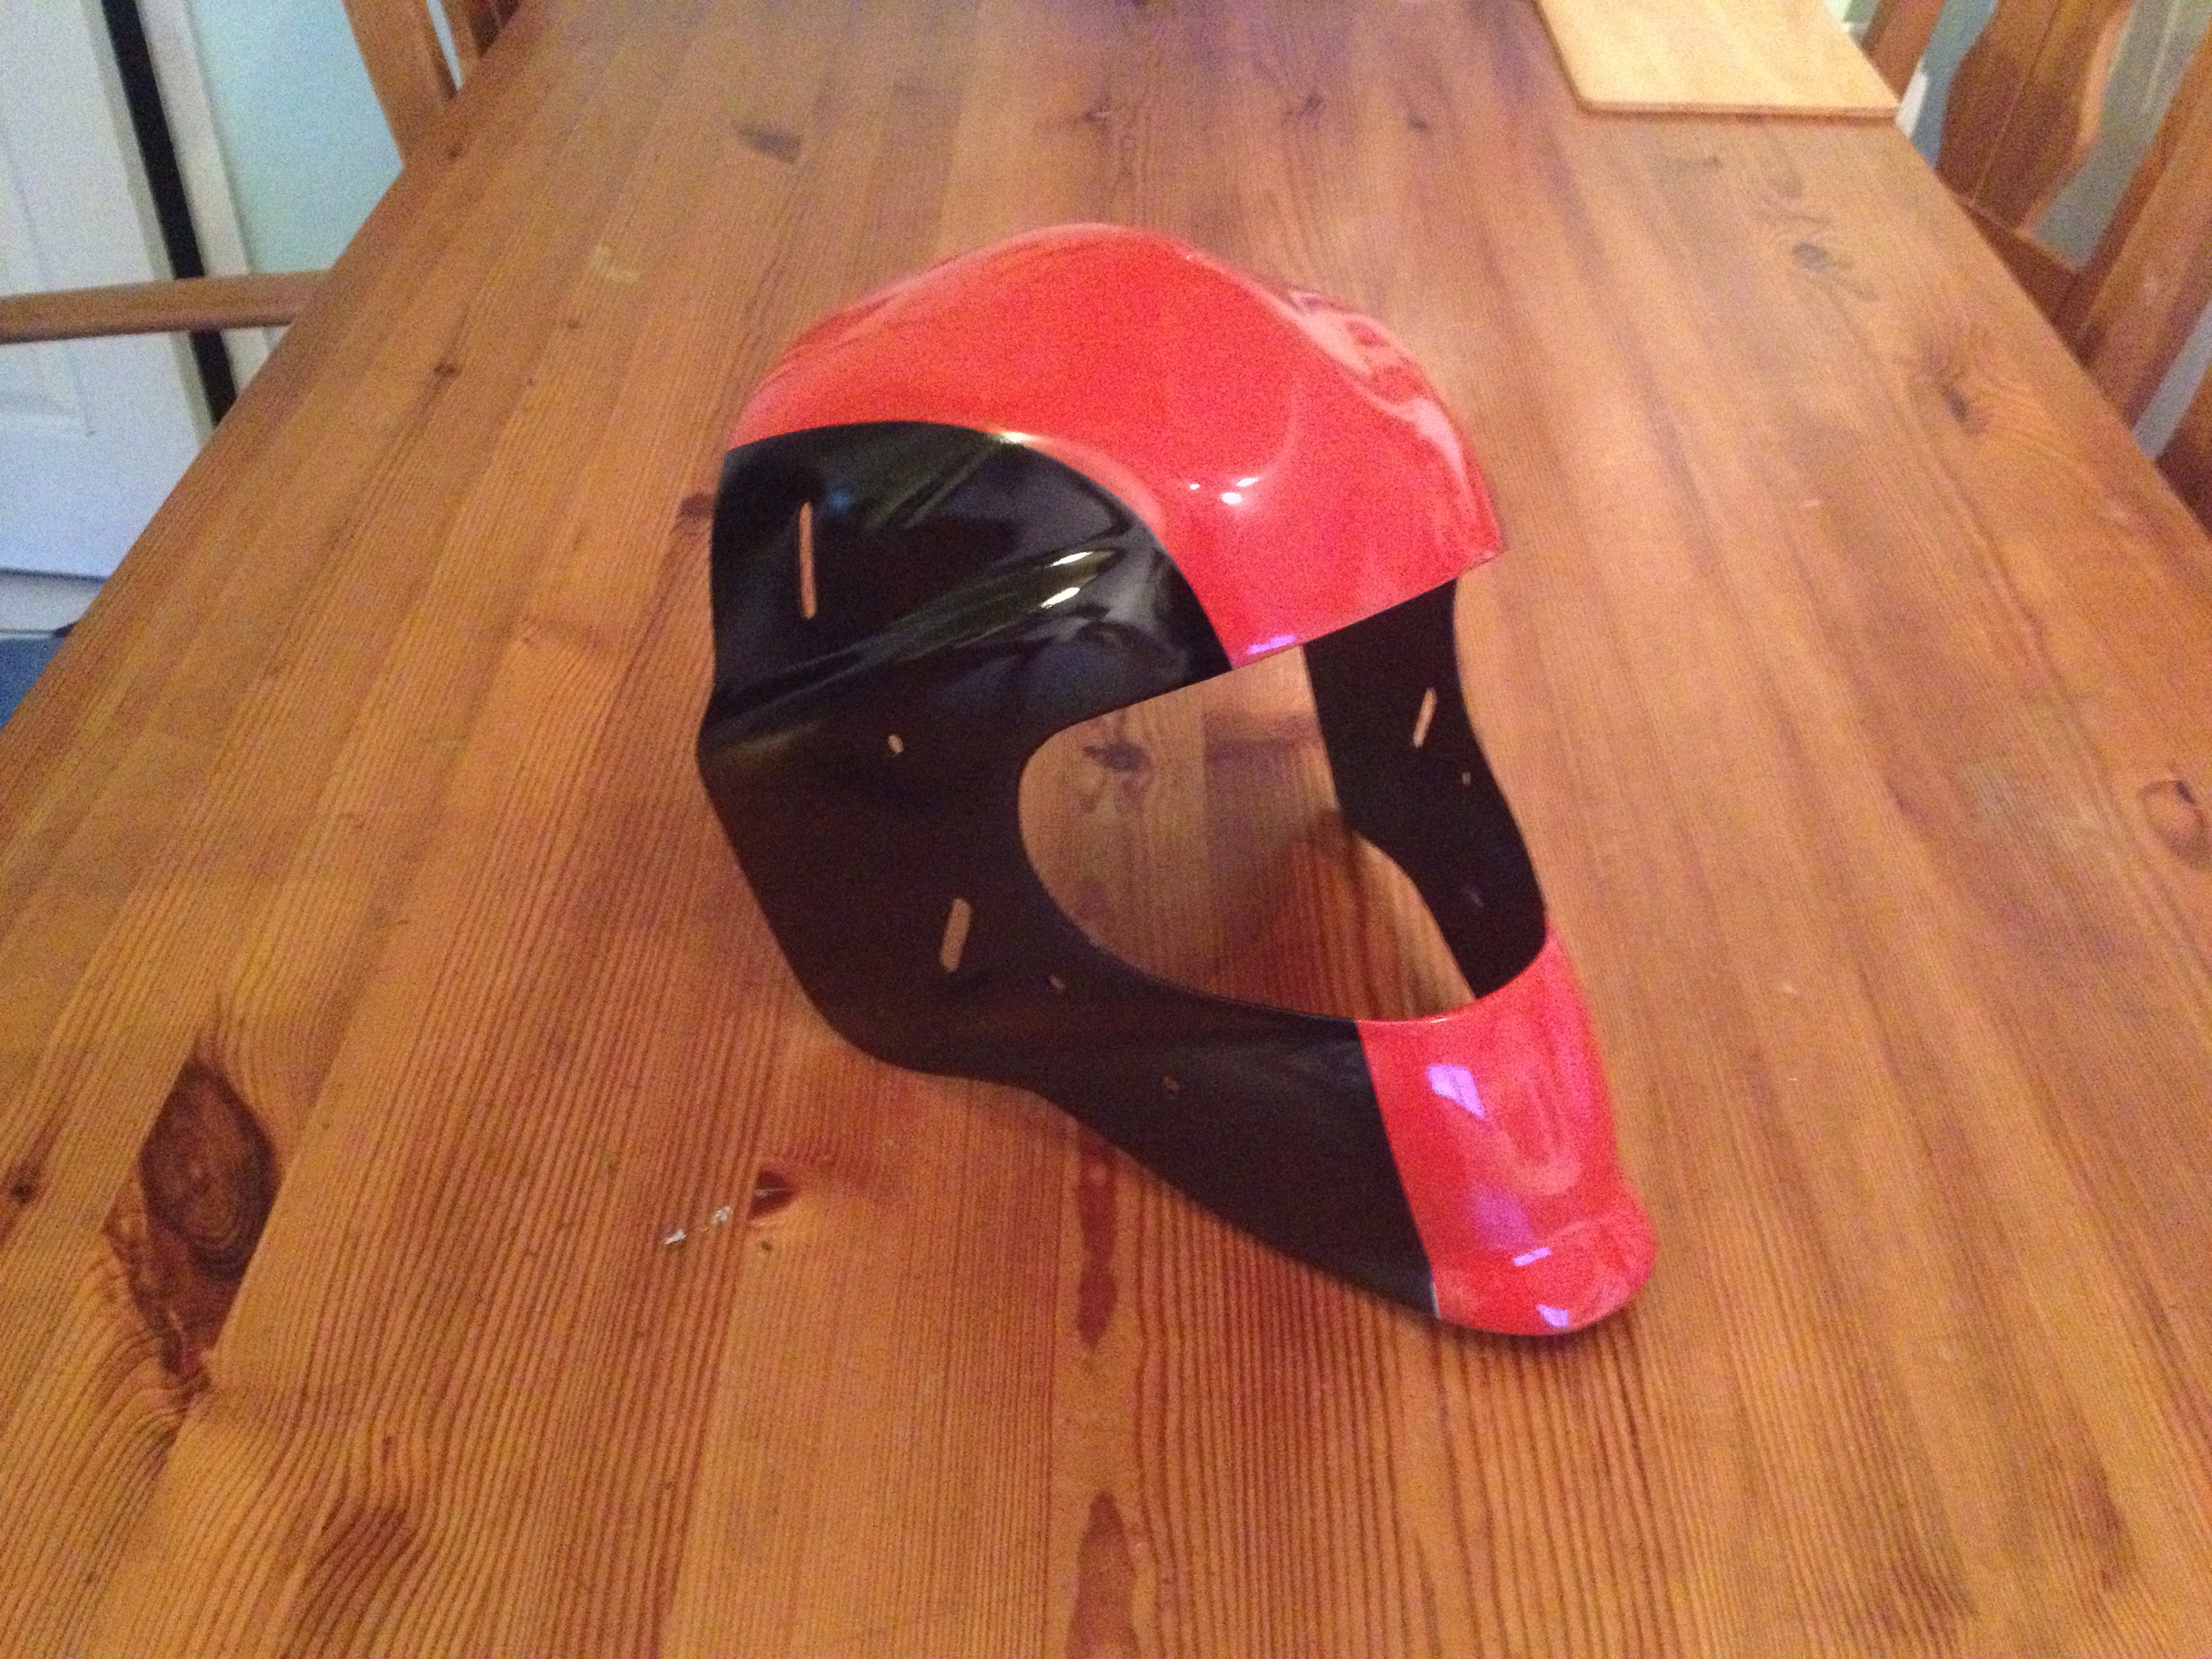
At this point I decided on my colour scheme. I really liked the look of Joyce Sombroek’s blue and orange custom design, so I decided to do something similar in my club colours so I chose paint in red and black for Cliftonville HC Belfast and to match my TK pads.
However, in hindsight I would recommend that you paint the helmet only one colour. The two colours might be really nice looking and a great idea, but the end result will have a degree of discontinuity for a number of reasons.
- Unless you are incredibly accurate with really steady hands, it will be difficult to accurately describe a proper geometric curve using the masking tape, especially on the helmets curved surface
- If you are able to describe a curve such as this, it will be difficult to repeat it on the other side, and will be tricky making it central and therefore symmetrical
- The fact that you are using two colours means that there will be a bump or obvious line at the interface between the colours. While I addressed this by sanding/wet and dry-ing the bump, it can not be completely removed easily.
- No matter how long you leave the helmet to dry after painting, there will always be some part of the paint that will come off when you are removing the masking tape. To put in perspective, professional painters go as far as baking/heat curing the workpiece to avoid this
I was quite lucky in that I managed to get my stripe quite central, but there was a bump between the two colours, as well as some overlap where I failed to mask correctly, as well as paint pull off where the tape damaged the paint. I am pretty pleased with the helmet now, but I will always know the small problems and annoyances that came as a result of choosing to paint it two colours.
Step 8 – Painting
This step is similar to the undercoat step, only we are using paint, so remember, large number of thin coats, wet and dry in between. Don’t forget to keep the newspaper and masking tape you used to cover the large grill hole of the helmet. If you are doing two or more colours, then remember to start with the lightest colour first, as if you make a mistake corrections can be made using the other darker colours. Again, degrease the surface and wait until dry. Then, shake the paint can for the recommended time and spray from the recommended distance remembering to start and finish off the work. A coat should take you 30 seconds to a minute. My paint said it was touch dry ready for another coat in 15 minutes, but I left it for an hour until I started to use the wet and dry just to make sure.
I should mention just how fantastic wet and dry is. It is the reason for the smooth surface and a high quality surface finish. The 1200 grade used in between coats gives the paint a good surface to adhere to, while simultaneously giving the surface the ‘feel’ of being smoother. The use of it wet in gentle circular motions abrades the paint and will give a noticeable difference to the feel of the paint after applying, this smoothness lets you know the areas you have and have not sanded down in between coats.
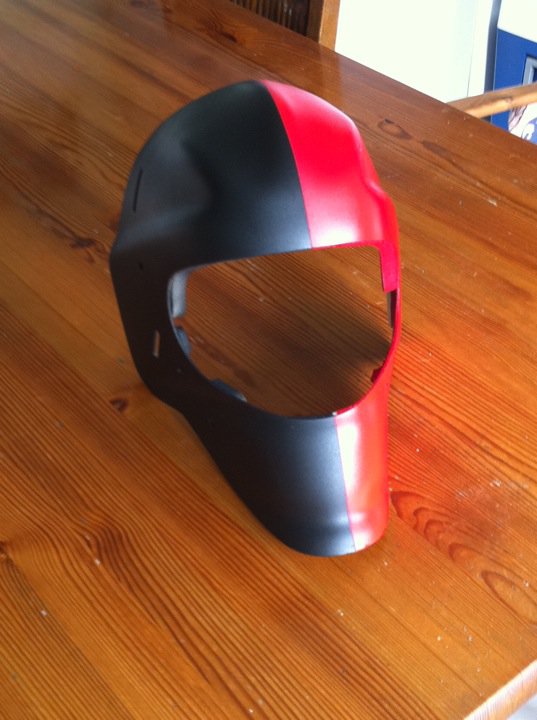
Repeat the above steps until you have an even, uniform, solid covering of paint. For the red paint below, I did 10 coats, which was the majority of the can.
The pictures show some mistakes in the painting as there was some red overlap where the masking tape didn’t cover correctly. It also shows that the freehand masking of the curve is not completely symmetrical and the red stripe is a bit off centre to the right.
The next step after this was the application of the black paint. Follow the same procedure as above to get a similar surface finish. I used the whole can of black, getting about 7 coats before I stopped. At a guess, a regular rattle can of car paint should last you 5 full coats if you are painting your helmet the one colour.

Step 9 – Finishing.
I should start by stating that I skipped this step, as I was happy enough with the finish that I had after completing the painting stage. After all, the paint I used was spray car paint and was designed to be the finish for a car that doesn’t require a clear coat.
However, I did use a clear coat when I painted my helmet the last time, so these instructions are valid, even if they were not used for this particular refurbishment.
Degrease the surface once more. Then take the 1200 wet and dry, wet it and carefully and gently sand the interface areas where the two different paint colours meet to take away the bump or line that will have formed on the masking tape. Wipe with a clean rag and leave to dry before degreasing again in preparation for the clear coat. The clear coat should be done in the same manner as the previous coats of paint, however no wet and dry should be used after spraying. I did one high quality coat of clear and left it at that.
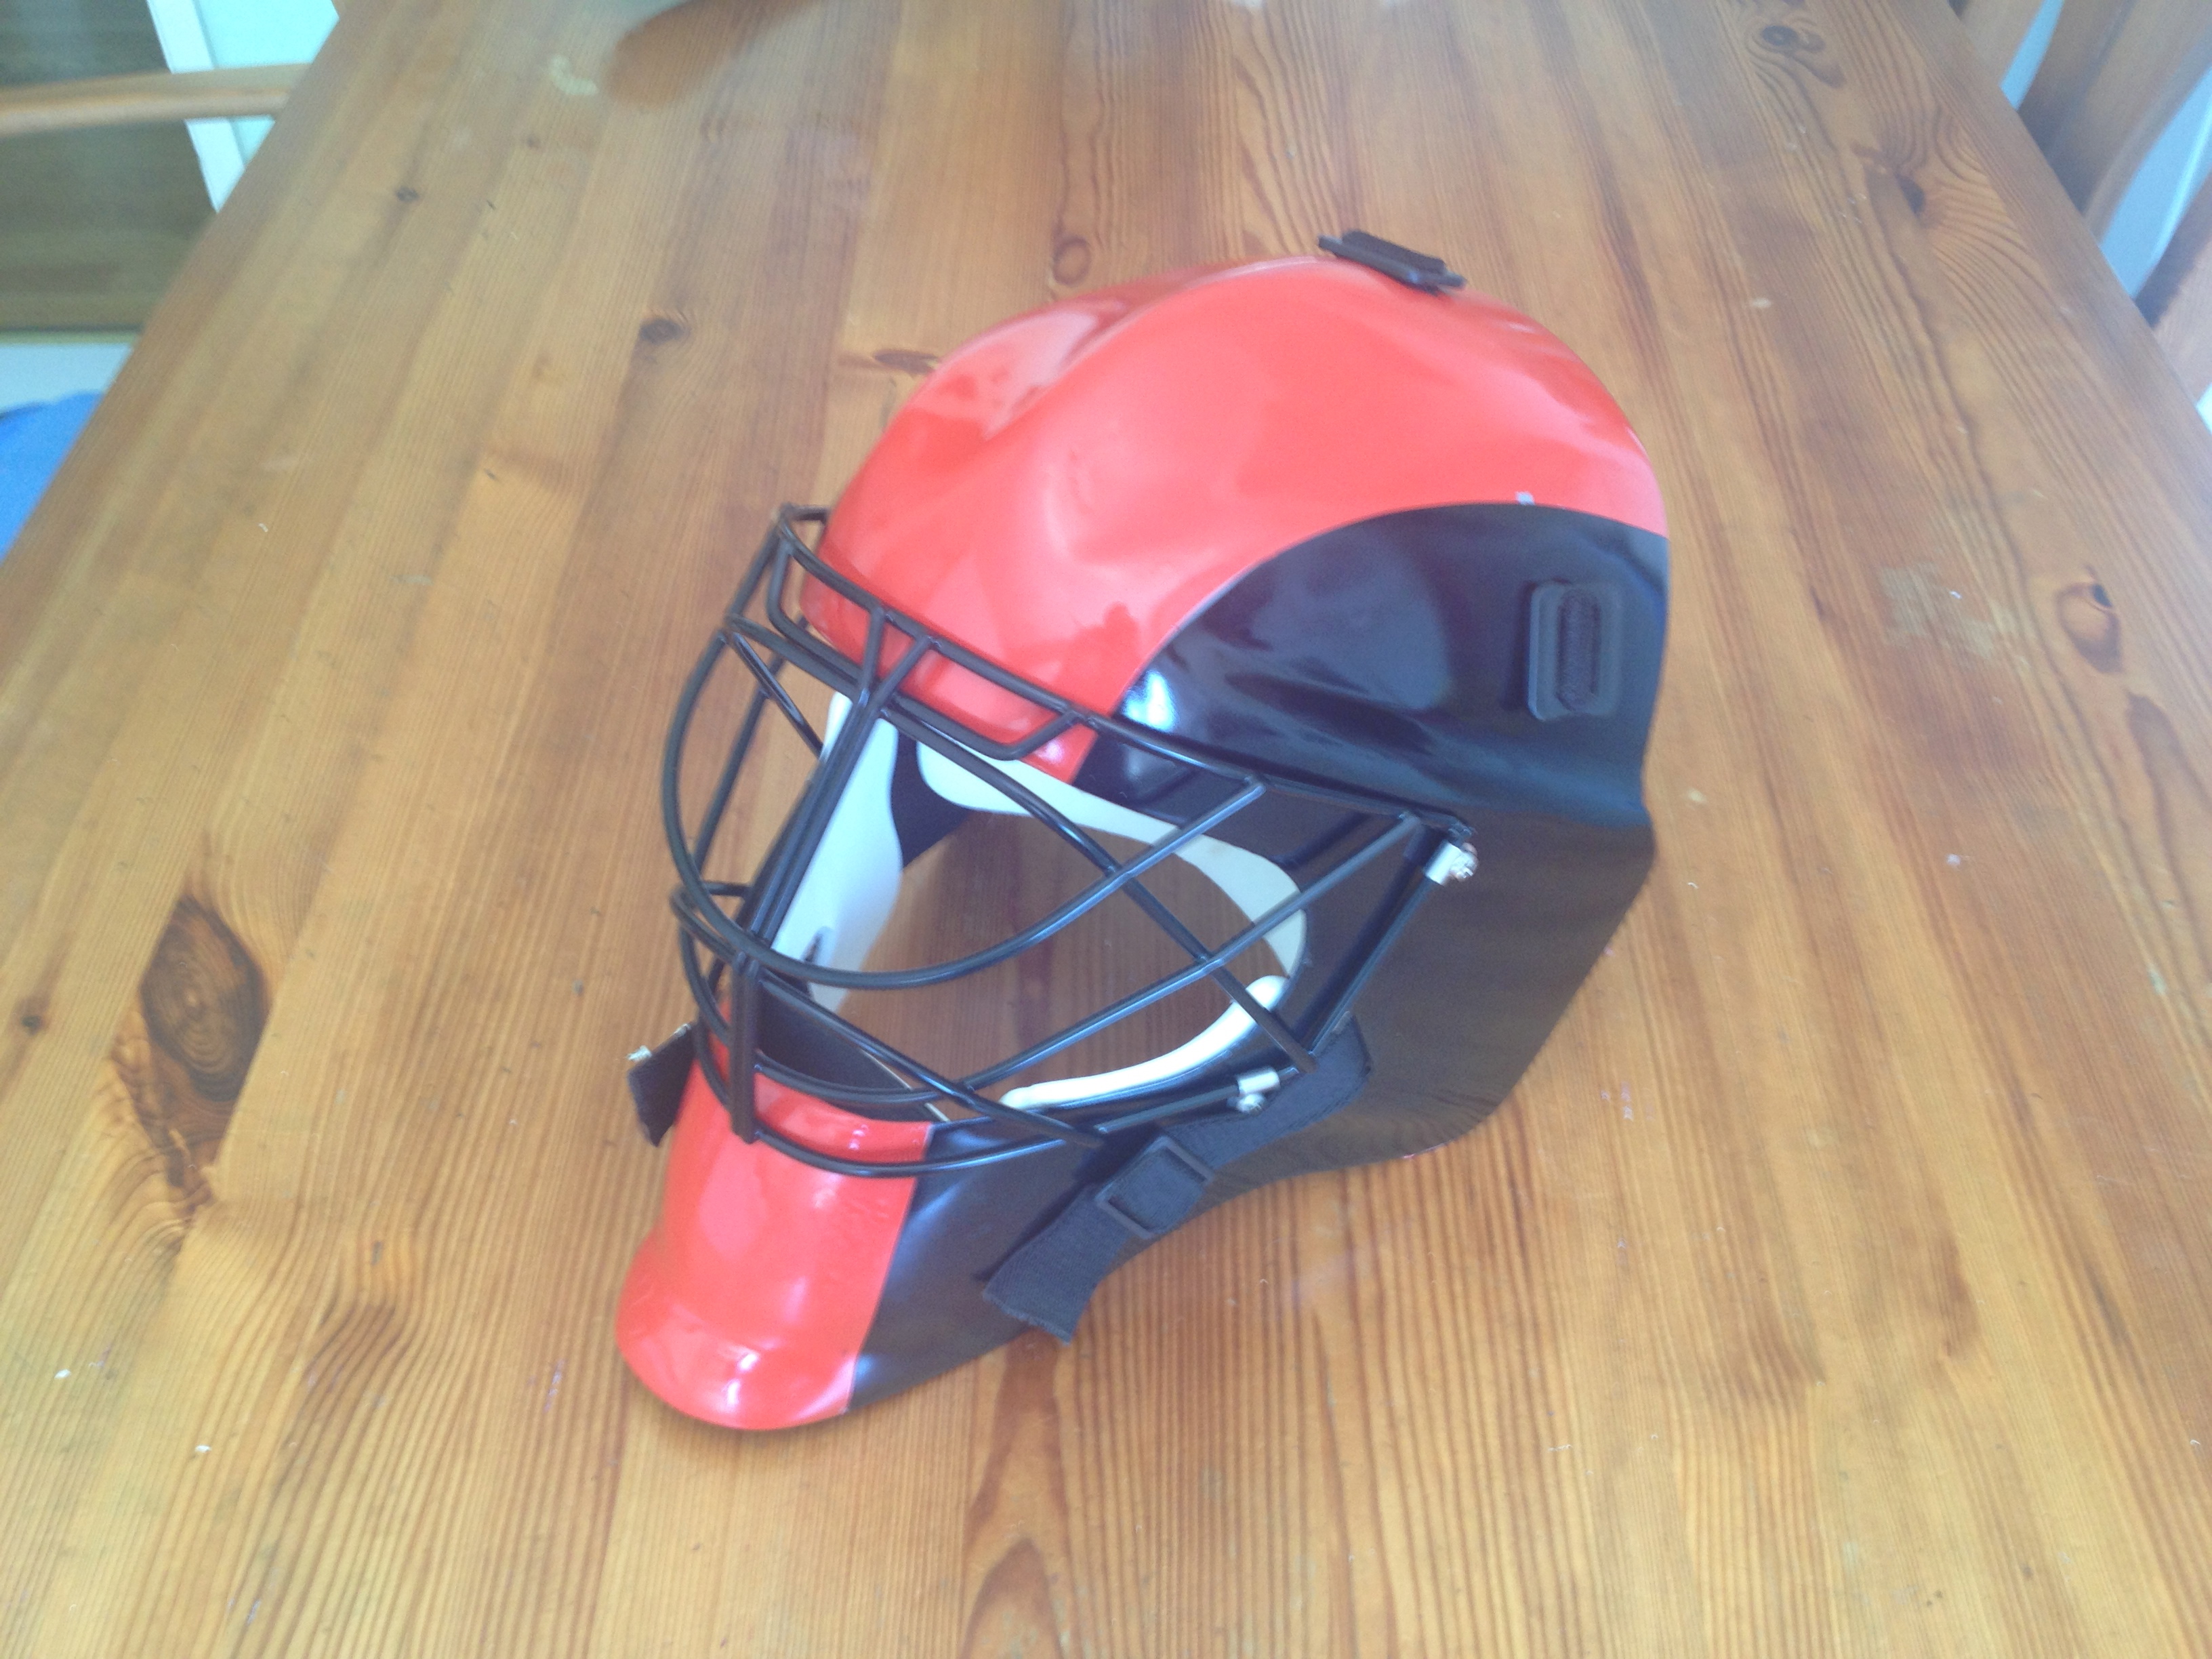
Step 10 – Metal Fittings
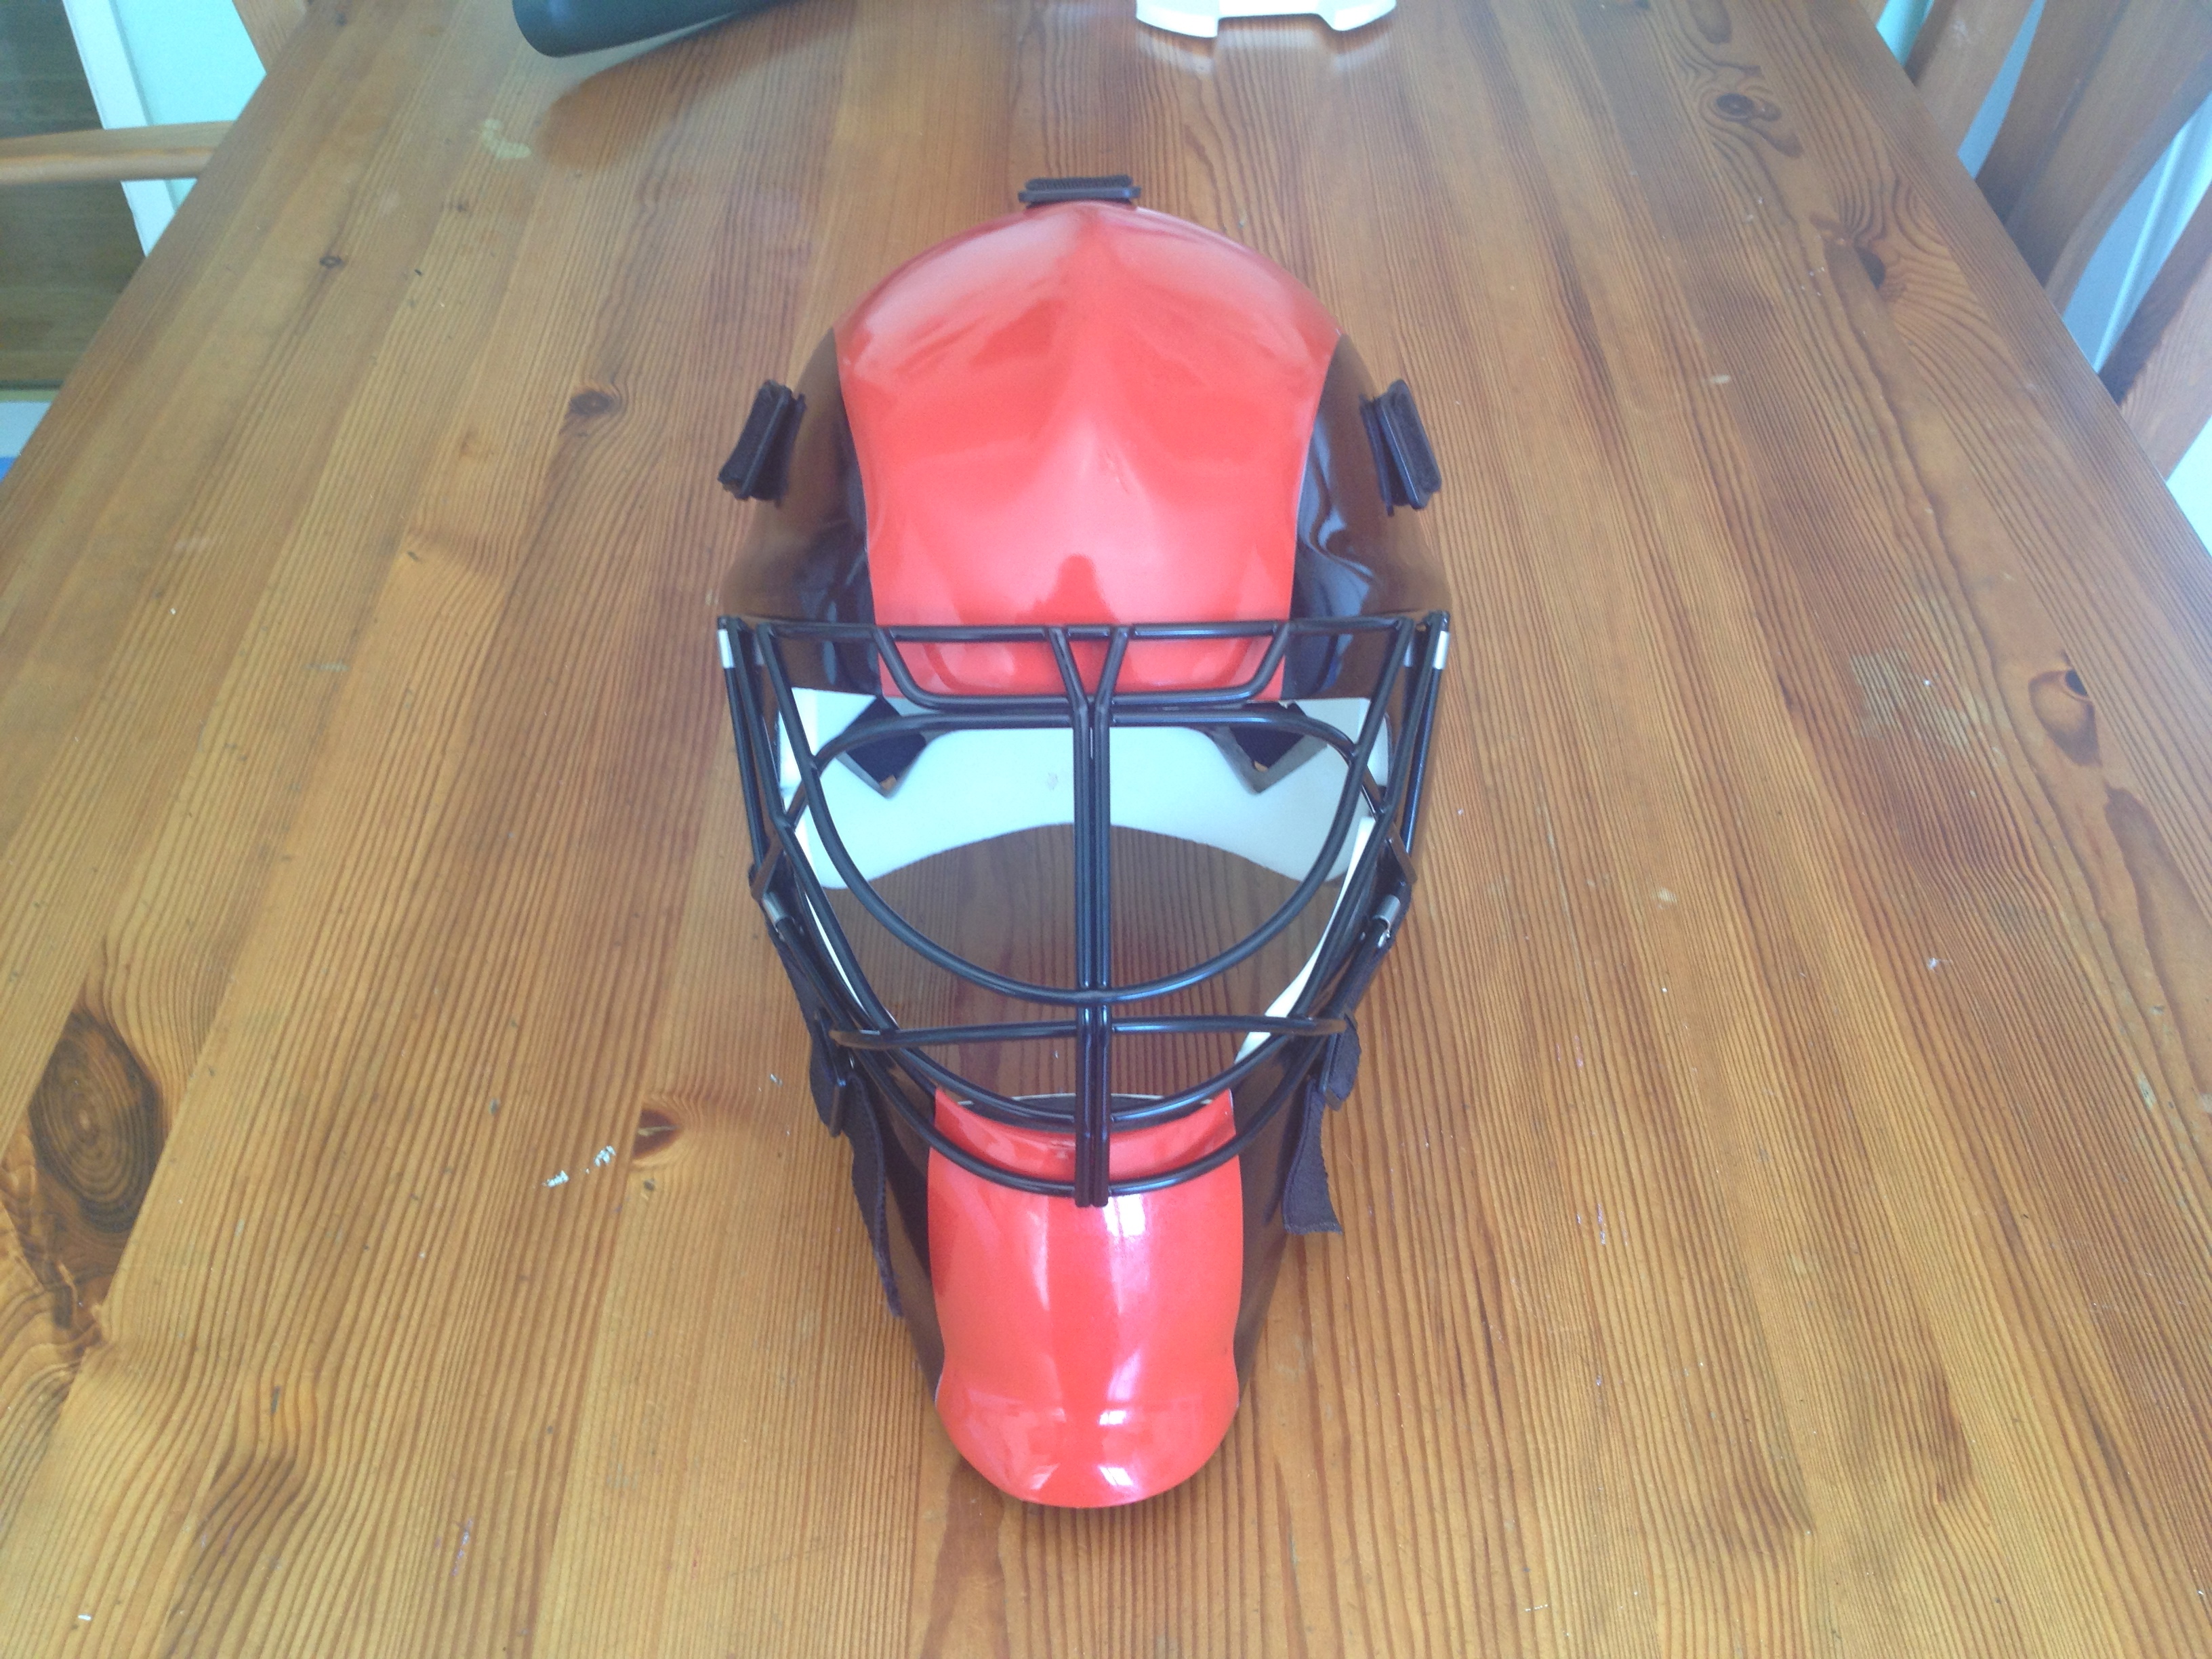
Get the bag of fittings and attach the new grill to the helmet, being careful of the metal on the newly painted surface. Ensure you match the correct screws to the correct back plates and that you put the helmet grill clips in the correct places. Use the pictures below to ensure the grill is positioned correctly. My technique for this was to prise the metal helmet clips open and then put them around the grill, then use the tightening of the screws to close them. I found if you put the grill on and hand tighten the screws before tightening them fully means that you won’t force the screws and put undue pressure on the holes in the helmet. Then put the snap studs back on, remembering that the velcro fitting for the chin cup attaches on the inside of these studs. Position the velcro so that it can accommodate the new chin cup, then fully tighten the screws into position.
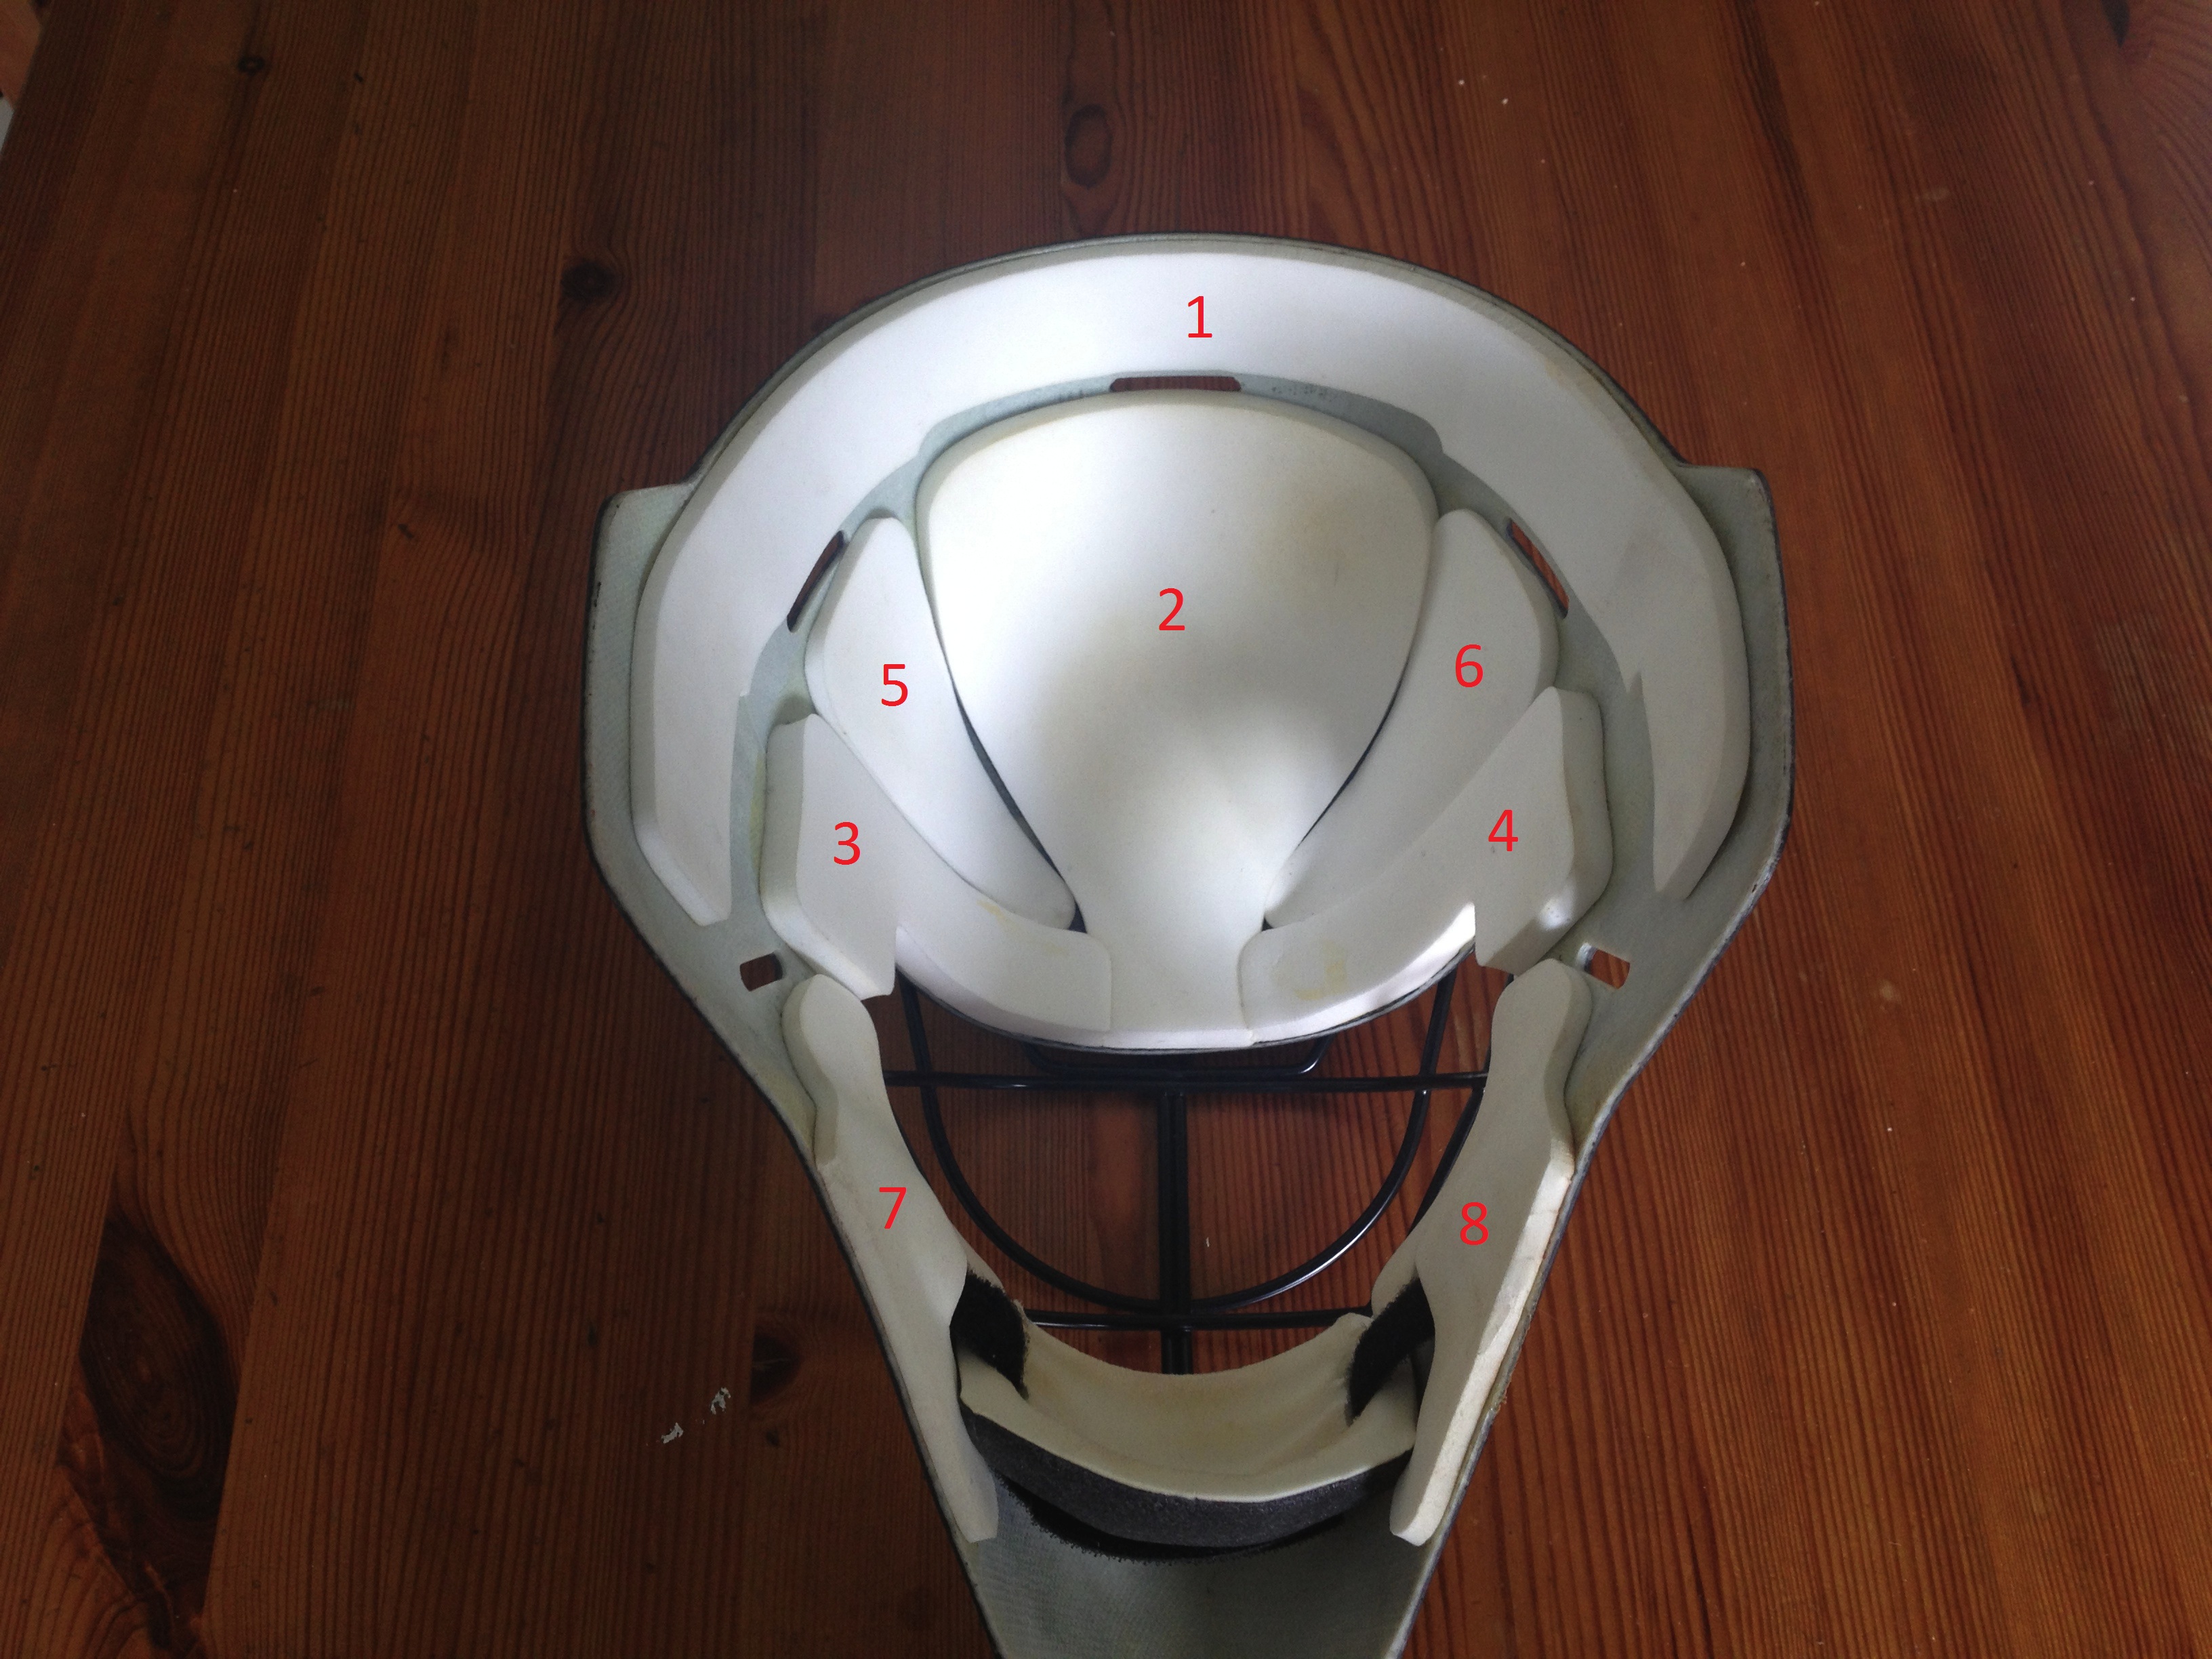
Step 11 – Foam
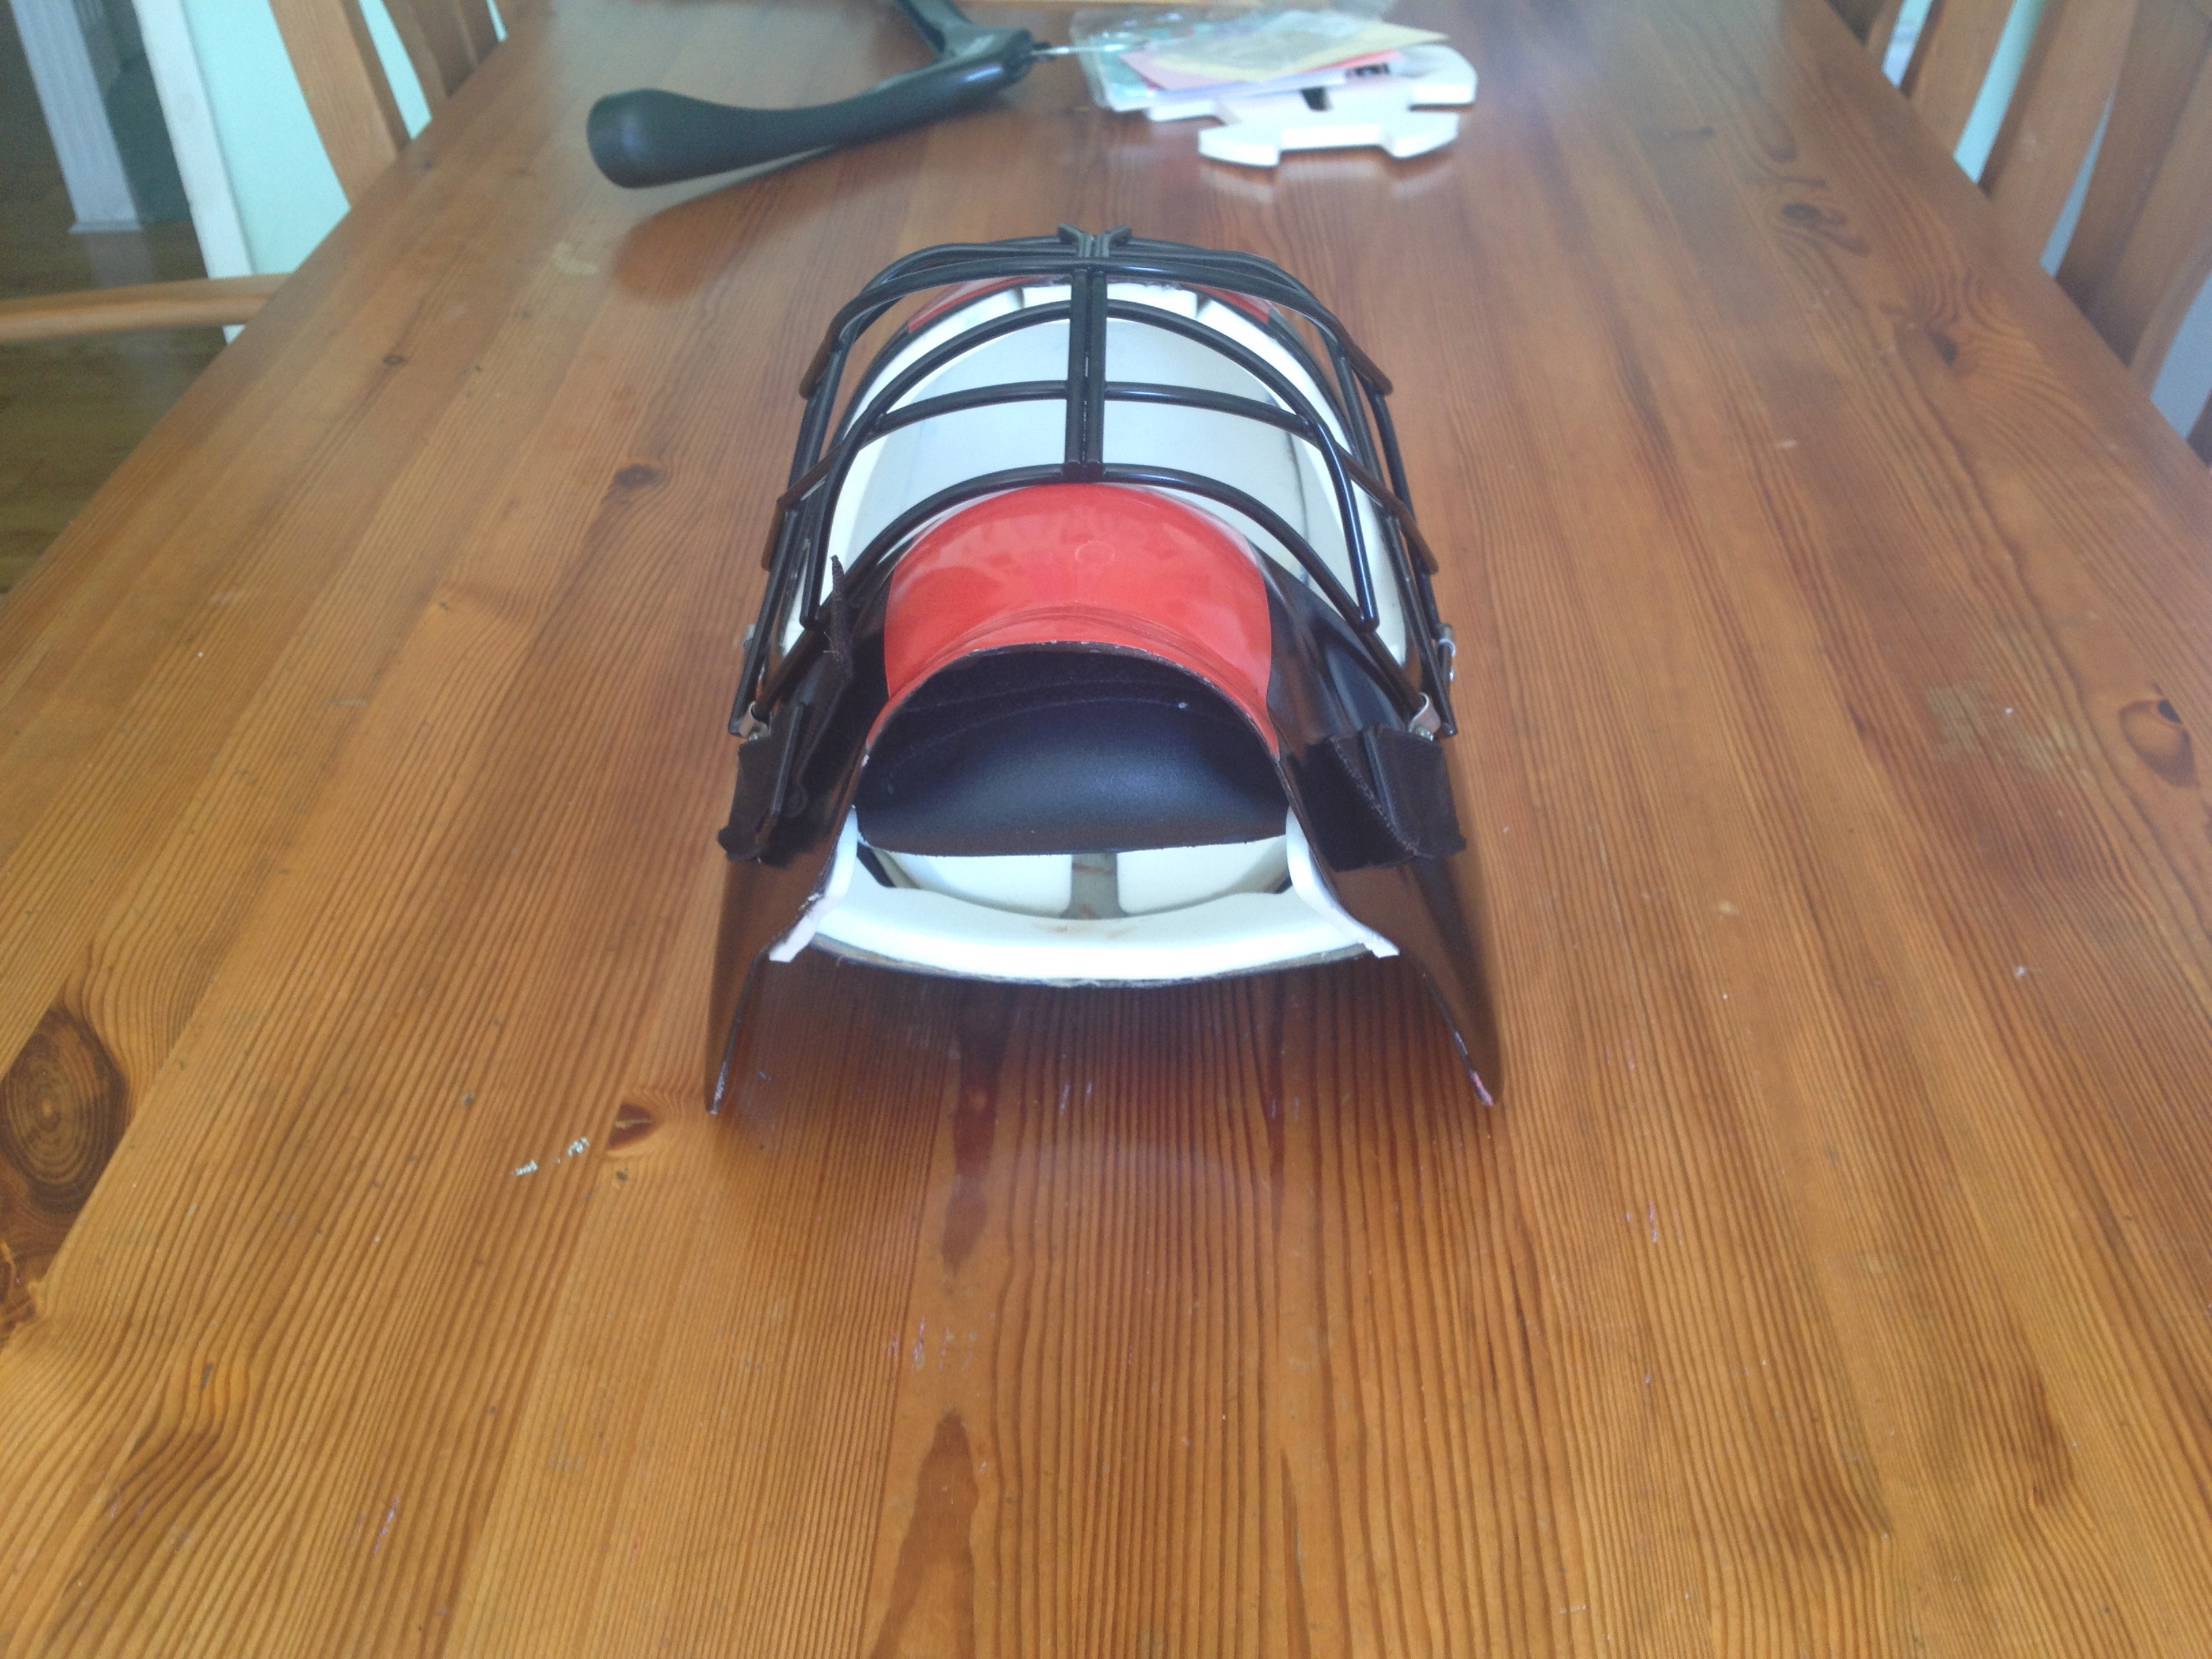
With reference to the picture below showing the layout of the foam, take the new foam and apply to the inside of the helmet. Test the fit by placing the foam dry, with no adhesive on it. The larger parts of the foam will need to be bent and shaped before glueing, as they will pull away from the helmet surface and the glue will not hold. From inspection of the old foam, I could see that some sort of latex adhesive had been used. It is for this reason that I used copydex, as I know it will not damage or affect the carbon fibre or fibreglass.
Start with the largest curved piece that goes around the outside and then continue using the numbered picture below.
The method for glueing with copydex is to paint a thin coat on both surfaces, then wait for it to become tacky before putting the two pieces together. I found copydex was fine for the large curved piece (#1) as it was easily weighted with a book or a bag of flour, as well as for the smaller wedge pieces (#5 & 6), as these are not curved very much. However, due to the large curve of the other pieces, (2, 3, 4, 7 & 8) I found the copydex wasn’t as effective, as it kept lifting off the helmet surface due to its large curvature. As a result, I used a hot glue gun for these pieces instead. The use of the hot glue means that if you decide to refurbish the foam again, you will have to rip the foam and it will not be salvageable. Draw a line of glue around the edges of the foam and put a small amount in the middle of the foam before quickly placing and positioning the foam. Hot glue dries fast so be careful. Don’t forget the helmet back piece, use copydex and a heavy weight for this one.
Notes for positioning
- #1 sits flush to the top edge of the helmet and continues in a curve around to the sides
- #2 sits central to the helmet, ensure it is positioned correctly as to leave the top hole open for the elastic
- #3 & 4 are pushed quite hard against #2. They should form a continuous surface if you look at them side on, with no gaps in between. #3 & 4 also sit flush with the grill hole and gaps to the left and right should be equidistant
- #5 & 6 should be positioned quite tightly against #2 & 5 & 6. Also they should not obstruct the two side holes for the elastic.
- #7 & 8 are tricky. They should cover the screw and part of the elastic, but they are hard to place without either sitting out of the grill hole, or out of the bottom of the helmet.
Step 11 – Plastic Fittings
Take the new elastic back strap and thread it through the back piece of the helmet as shown below.

Then thread the individual pieces of elastic through the corresponding holes and attach the plastic fittings. Three flat fittings for the middle hole and the holes either side and two snap stud fittings for both the far sides of the helmet. At this point you should also fit the new chin cup and sweat band to complete the refurbishment.